
The Complete Guide to the 1of10 Thumbnail Generator
The 1of10 Thumbnail Generator is an AI tool that creates on-brand YouTube thumbnails from a title, description, sketch or reference image, then refines them in a built-in editor. Link your channel so it learns your face and style, pick a model, generate four variations, and finish with one-clic
Quick answer: The 1of10 Thumbnail Generator is an AI tool that creates on-brand YouTube thumbnails from a title, description, sketch or reference image, then refines them in a built-in editor. Link your channel so it learns your face and style, pick a model, generate four variations, and finish with one-click tools for erasing, editing, face swapping, text and 4K upscaling.
Your thumbnail decides whether a video gets watched. Not the title, not the intro, not the editing you spent six hours on. The thumbnail. It is the single image a viewer scans in under a second before they choose you or the video stacked next to you in the sidebar. Move your click-through rate from 4% to 6% and you have not improved your channel by 2 points. You have added 50% more views to every video you will ever publish. That bottleneck is what the 1of10 Thumbnail Generator was built to remove.
That is why thumbnails are worth obsessing over, and why most creators get stuck. Designing one good thumbnail takes time. Designing a good thumbnail for every video, on schedule, while also filming and editing and writing titles, is where the wheels come off. You either ship a weak thumbnail or you blow your upload window fighting with design software.
It is an AI thumbnail generator built specifically for YouTube, trained on what actually gets clicked, and wired to your own channel so the output looks like you made it. This guide walks through the whole tool: how it is set up, the two ways to generate, the editor that handles final touches, and the exact workflow that takes you from a video title to a finished thumbnail in a few minutes.
If you want the design theory behind what makes a thumbnail work, read The Complete YouTube Thumbnail Guide and Thumbnail Design: The Complete Guide to More Clicks first. This guide is about the machine that produces them.
What the 1of10 Thumbnail Generator actually is
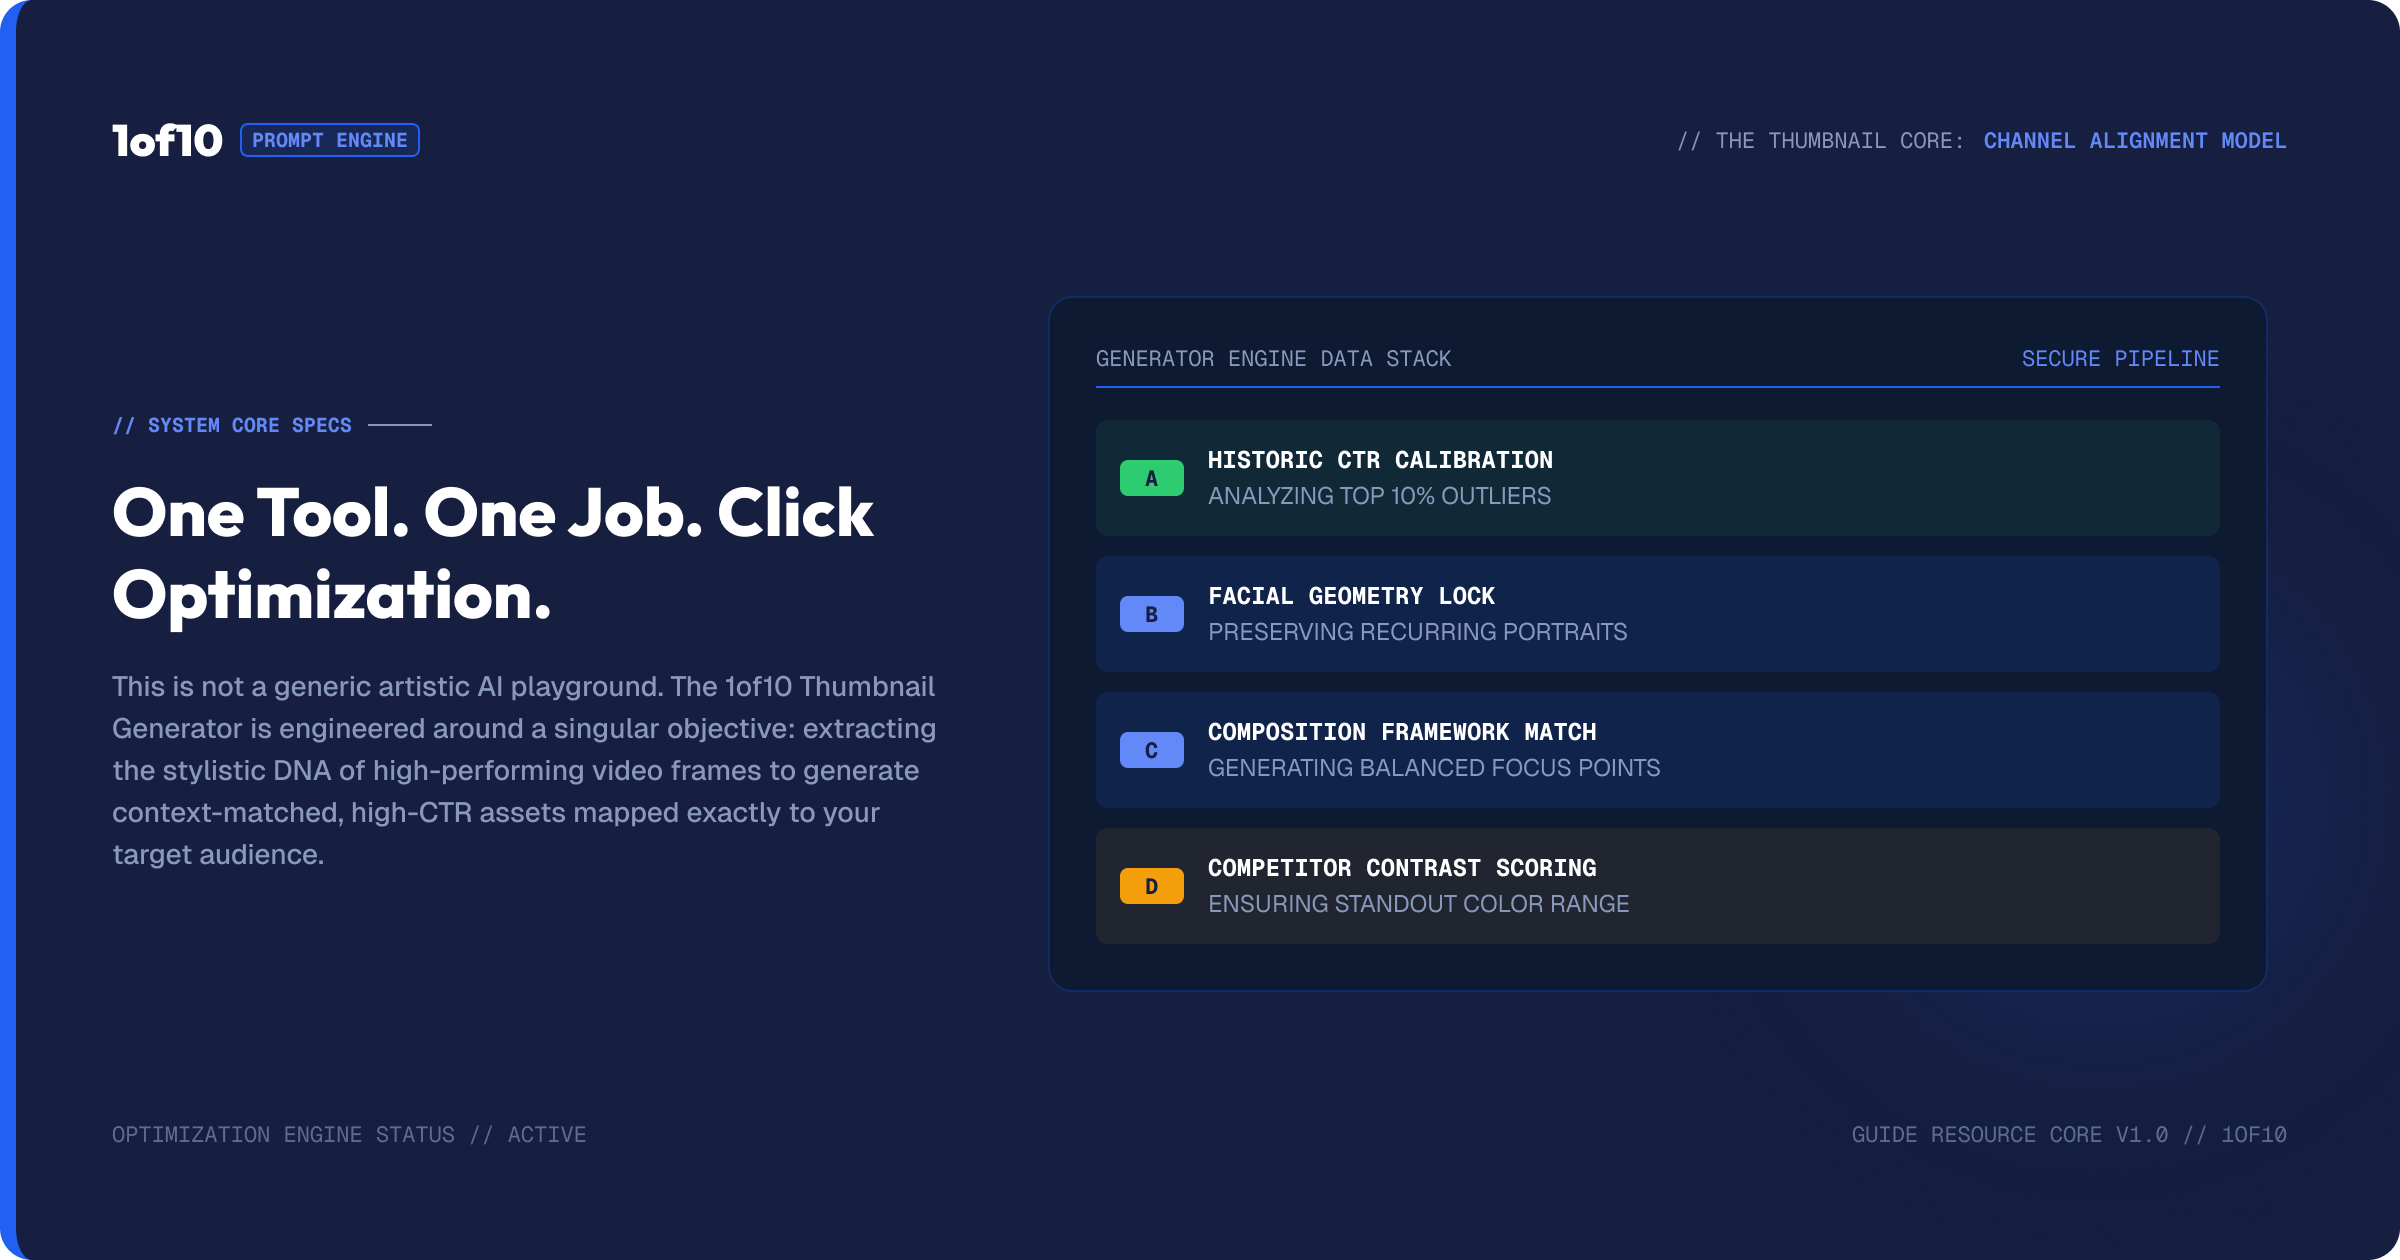
Most AI image tools are general purpose. You type a prompt, you get a picture, and you spend the next twenty minutes fixing the parts that do not look like a YouTube thumbnail. The 1of10 generator is narrow on purpose. It does one job: produce thumbnails that fit your channel and earn the click.
It runs in two modes, and understanding the split is the first thing that makes you fast with it.
Generate a thumbnail. Start from nothing. Give it a title or a description, optionally feed it a reference image or your face, and it produces four finished thumbnail options.
Edit a thumbnail. Already have a thumbnail, whether the tool made it or you uploaded one of your own, and you want to change something. This drops you straight into the editor with one-click tools for erasing, swapping faces, adding text, and upscaling.
You move between the two constantly. Generate to get a strong base, edit to lock in the final 10%. The rest of this guide follows that exact path.
Why a YouTube-specific tool beats a general AI image generator
It is fair to ask why you would not just use a general AI image generator you already pay for. The answer is in the gap between an image and a thumbnail. A general tool gives you a nice picture. A thumbnail has rules: it has to read at the size of a thumbnail, it has to fit the channel it sits on, it has to carry a face that looks like you across video after video, and it has to survive next to ten competing thumbnails in a sidebar. A general tool ignores all of that because it does not know it is making a thumbnail.
The 1of10 generator is trained on high-performing YouTube thumbnails and tied to your channel, so it starts inside those rules instead of fighting them. It outputs at the right dimensions, it holds your likeness, it leans on compositions that earn clicks, and it ships with an editor built around the edits thumbnails actually need. You spend your time choosing between strong options rather than dragging a general image partway toward looking like a thumbnail.
Setting it up so the output looks like you
Before you generate a single thumbnail, three settings sit across the top of the tool. Getting them right is the difference between generic AI output and thumbnails that pass for your own work.
Link your channel
This is the setting most people skip and then wonder why the results feel off. When you link your YouTube channel, the tool studies it. It learns what you look like across your existing thumbnails, the brand and visual style you tend to use, and the niche and audience you are making content for. After that, every generation is shaped to fit your channel specifically rather than some average creator.
Linking takes seconds. Open the channel dropdown in the top left, type your channel handle, and hit add. From that point the AI already knows your face and your style, which means you often do not need to upload anything to get a strong likeness. We cover the full payoff of this in Link Your YouTube Channel: AI Training for On-Brand Thumbnails.
Pick your model: Gen-2 or Gen-2.5
The tool gives you two models, and they are good at different things.
1of10-Gen-2 costs 20 credits per generation. It leads on face consistency and photoreal results, which makes it the default for entertainment and lifestyle content where your face and a believable scene carry the thumbnail.
1of10-Gen-2.5 costs 16 credits and is the newer, faster, cheaper option. It pulls ahead when your thumbnail needs cleaner graphics, charts, or graphic-heavy compositions, the kind of thing educational and finance creators lean on.
There is no universal winner. Run the same prompt through both for your channel and keep whichever lands better. The full breakdown lives in Gen-2 vs Gen-2.5: Choosing the Right Thumbnail Model.
Choose your format: landscape or Shorts
The format switch sets the output shape. Landscape for long-form videos, vertical for Shorts. Everything else about the tool works identically. Only the dimensions of the final image change. If you are unsure which pixel sizes YouTube expects, the YouTube Thumbnail Size Guide 2026 has every format. For when and why to build a dedicated Shorts thumbnail at all, see Landscape vs Shorts Thumbnails: Format Strategy.
Keep your work organised
The top right corner holds your full history: every thumbnail you have generated, plus any you uploaded and edited inside the tool. Scroll it like a feed, or, if you batch thumbnails for several videos at once, create folders so each project stays separate. Click create new any time to jump back to a fresh generation.
The two ways to generate a thumbnail
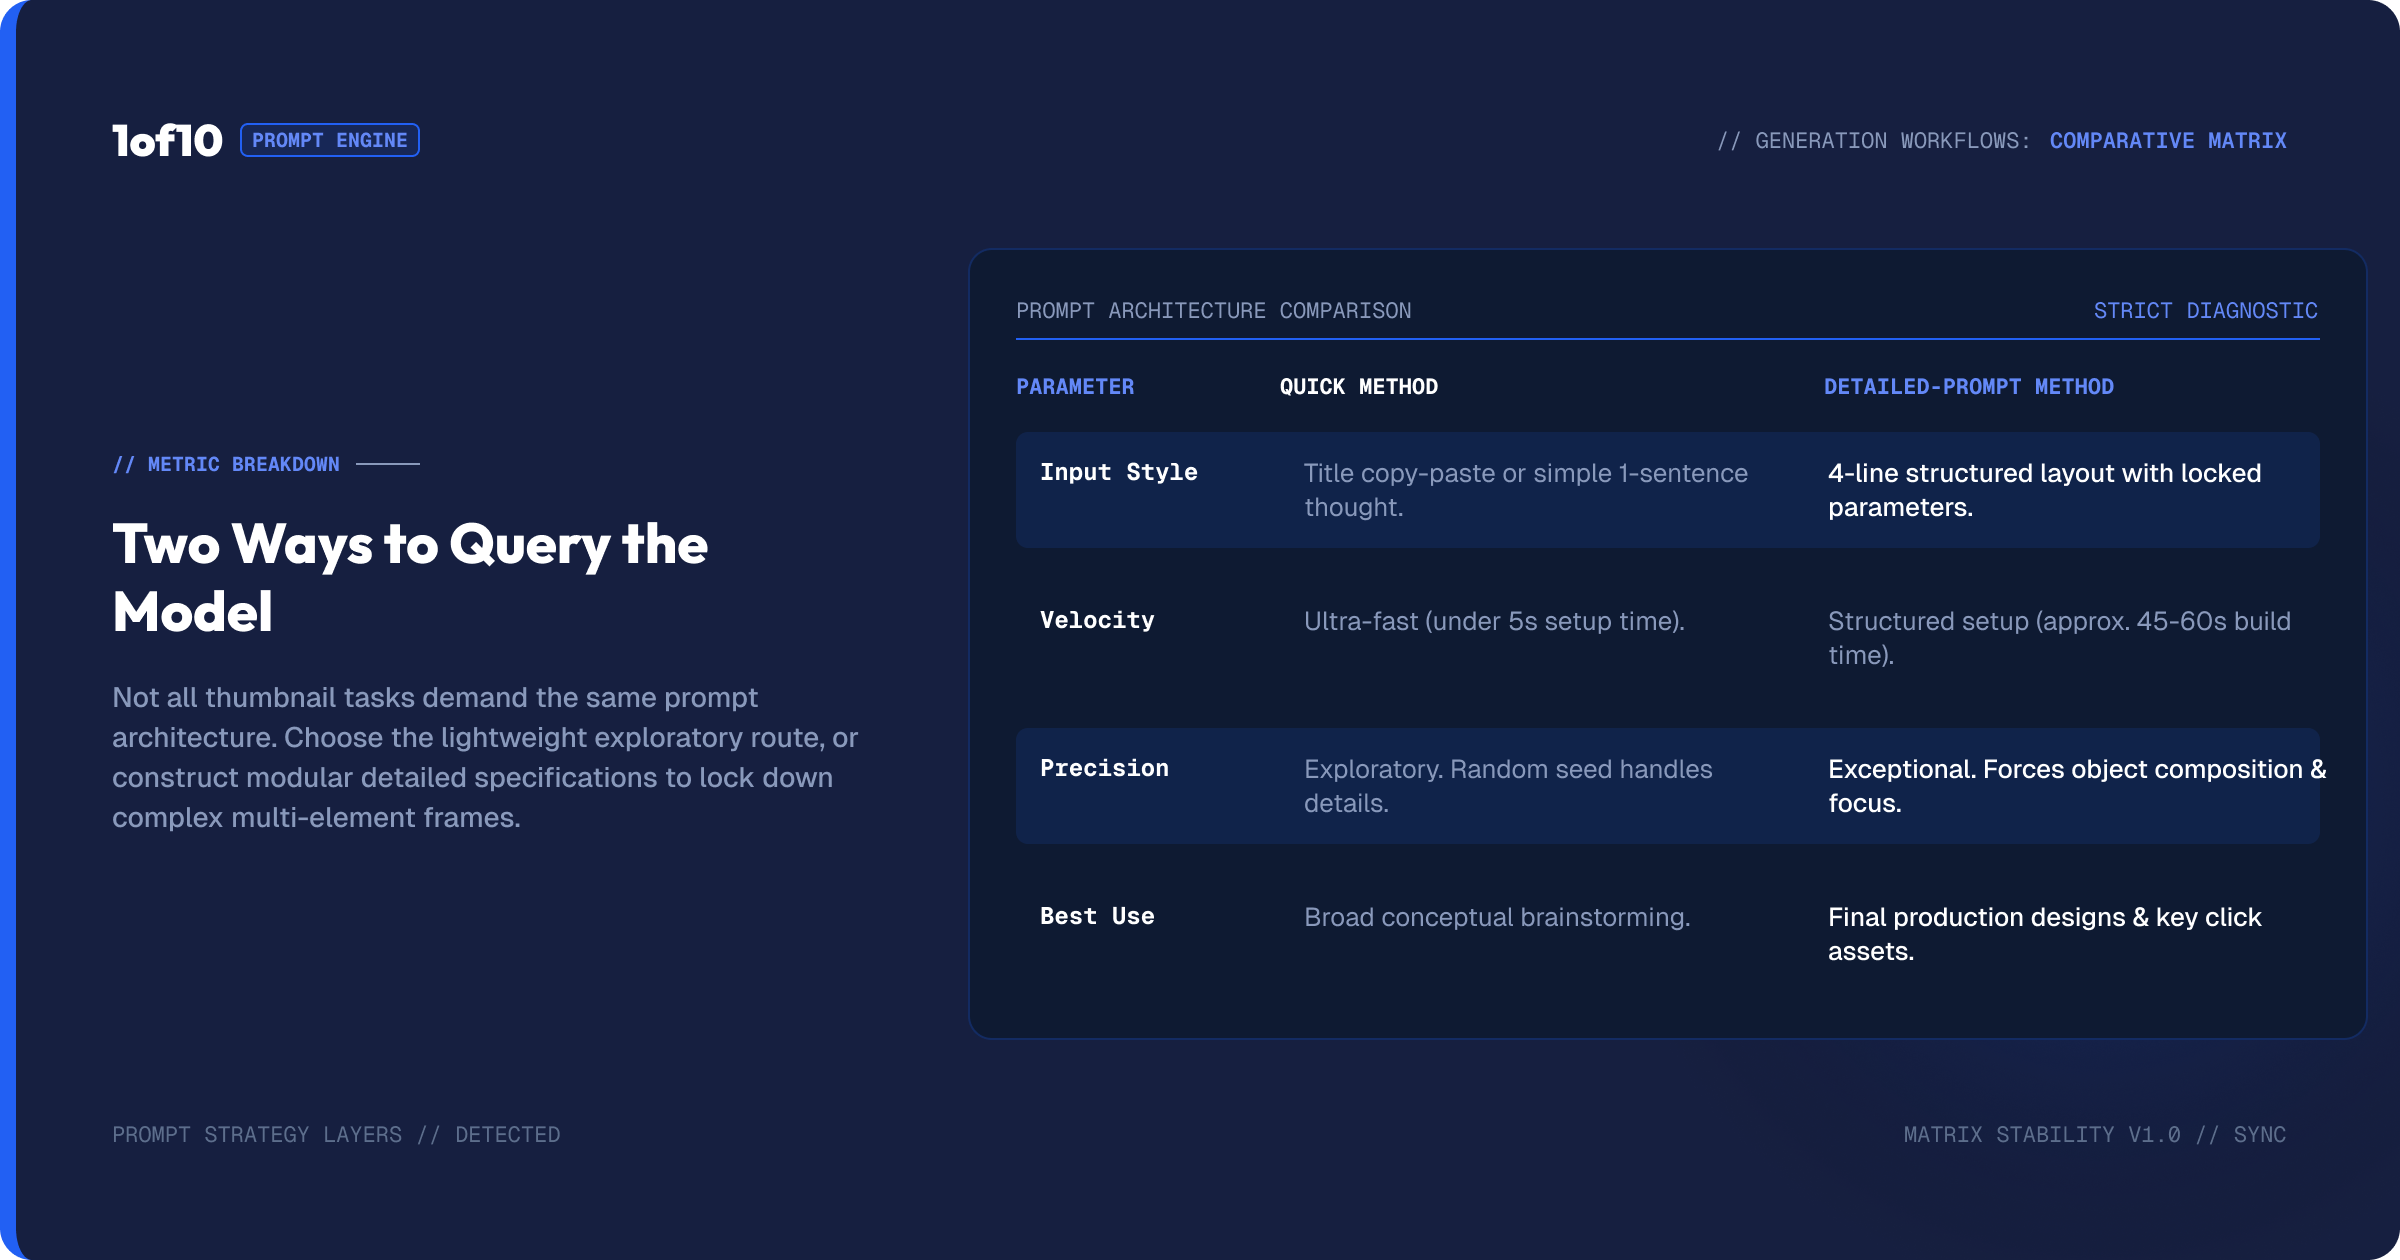
There is a quick way and a powerful way. Both have a place. Knowing when to use each is most of the skill.
The quick way: start from your title
Paste your video title into the prompt box and hit generate. Because your channel is linked, the tool already knows your face and your style, so even a bare title produces four thumbnails that would look at home on your channel.
This is the right move at the start of a thumbnail. You are not trying to nail the final image yet. You are fishing for directions: compositions, angles, and ideas you had not considered. Generating four at a time, which is the default, gives you a wider spread to react to. A couple will be close, one or two will be off, and that is the point. You are collecting raw material. For more on why four beats one, read Why Generate 4 Thumbnail Variations, Not 1.
Results usually land in about a minute. Pick the direction that feels strongest and move on.
The powerful way: write a detailed prompt and iterate
When you want the best the tool can give you, stop describing the video and start describing the thumbnail. The structure that works:
- First line: the title. This hands the AI context for everything you do not spell out, so it can fill gaps in a way that matches the video.
- Then the composition. Exactly what the thumbnail shows. Subject, pose, action, and the moment. For example: the creator stood side on, slamming a katana through a ballistic dummy skull, the skull facing camera, the shot caught moments after impact with chunks flying.
- Then the background. A blue sky, a studio, a specific location.
- Then any text you want baked into the image.
Hit generate and the output will track that description closely. Then comes the part that makes this method powerful: you iterate. Look at what the tool got wrong, add a correction line to the prompt, and generate again. Skull too big? Add a line to make it life-sized and on a table. Want it see-through? Add transparent to the description. Each pass gets closer, and because you are still generating four at a time, you keep getting fresh options instead of grinding a single image.
This loop, generate, read, correct, repeat, is the single most useful habit in the tool. Get the thumbnail 90% of the way there with prompting, then take it to the editor for the finish. The full method, with copy-ready prompt structures, is in The Detailed-Prompt Method.
Feeding the tool more than words
Prompts are not your only input. The plus icon under the prompt box lets you upload images that steer the result:
- Reference image. Style or composition inspiration, or the actual object from your video. Building an ice katana on camera? Upload a photo of the real sword so the thumbnail recreates it.
- Background. A specific scene or environment, like your studio set or a location from the shoot.
- Your face. If the linked channel is not nailing your likeness, upload two clear face shots from slightly different angles. Two angles beats one because the AI then understands the sides of your face, not just the front.
- Sketch. Upload a rough drawing of the composition you have in mind, or build one right inside the tool with the sketch canvas. You do not need to draw well. A crude stick figure with an arrow is enough for the AI to read the layout you want. Add a line of context text so it knows what the shapes are.
For the upload inputs, see Reference Images, Backgrounds and Face Uploads. For the sketch workflow, see Sketch to Thumbnail. If you keep wanting your own face front and centre, How to Create a YouTube Thumbnail With Your Face goes deeper.
The editor: where good thumbnails become finished ones
Once you have a generation you like, click open editor. This is where you fix the last details rather than re-rolling the whole image. A smart habit: remove everything you do not want first, then add and adjust what is left.
Magic Eraser
Highlight anything in the image and remove it in one click for 2 credits. A stray arrow, AI text you do not want, a distracting object in the corner. You do not need to trace it perfectly. Get close and erase. The editor keeps a history strip along the bottom so you can always see the original next to the current version and step back if needed. Full walkthrough in Magic Eraser: Remove Anything in One Click.
Magic Edit
Magic Edit works like the eraser but instead of removing a region, you describe what should change. Highlight the area, type the change into the prompt box, and generate. Turn a brick into a glass table, swap a prop, change a surface. If the new version is worse, the history strip lets you jump back to where you were. It costs 2 credits and is the fastest way to change one part of a thumbnail without touching the rest. See Magic Edit: Prompt Changes into Any Region.
Face Swap
Face Swap detects the faces already in your thumbnail and lets you correct them. Upload up to two face shots for 4 credits and the tool maps your likeness onto the image, no prompt required. The trick is matching the reference to the shot: if the thumbnail shows your face side on, upload a side-on photo, because the AI cannot guess an angle it has never seen. Match the emotion too where you can. Face Swap also adds a face into an image that does not have one, which is handy when a generation produced a great scene with no person in it. More in Face Swap: Lock Your Likeness.
Text and fonts
The text tool adds and positions text layers anywhere on the thumbnail. You get a full font set, including Impact, Anton, Bebas Neue, Oswald, Bangers, and Luckiest Guy, and you can upload your own brand font. Standard controls cover size, bold, italic, alignment, stroke, and shadow, and you can stack several text blocks for layouts with text in more than one spot. The thing that matters most on YouTube is readability at small sizes, since most viewers see your thumbnail at the width of a thumb. Choose your font deliberately. Text and Fonts: Thumbnail Typography That Reads Small covers it, and The Thumbnail Color Psychology Report explains which color and contrast choices pull the eye.
Adjust and crop
Adjust gives you color controls. Most generations need only a light touch, but a small bump to vibrance and contrast makes everything pop a little harder, which counts double when the thumbnail is displayed small. Crop trims dead space so every inch of the frame earns its place. The two together are your final-polish pass. Details in Adjust and Crop: The Final Polish That Pops in Feed.
Upscale and download
When the thumbnail is ready, download it. The default export is 1280x720, the standard YouTube thumbnail resolution. If you want maximum quality, choose the 4K option to upscale and download for 1 credit. The upscaler is strong, which opens a second use: take an old thumbnail that you like but that looks low-res, upload it into the editor, and upscale it to refresh it instantly. See Upscale to 4K and Download and, for the technical resolution numbers, YouTube Thumbnail Resolution: The Complete 2026 Guide.
What each action costs
The tool runs on credits, and knowing the cost of each action helps you work without burning through them. Here is the full list.
| Action | Credits |
|---|---|
| Generate with Gen-2 | 20 |
| Generate with Gen-2.5 | 16 |
| Magic Eraser | 2 |
| Magic Edit | 2 |
| Face Swap | 4 |
| Upscale to 4K | 1 |
| Text, Adjust, Crop, Download | included |
The pattern worth noticing: generation is the expensive step, editing is cheap. That is why the smart workflow leans on prompting and iteration to get the base image right before you open the editor, and then uses the low-cost editor tools to finish. Re-rolling a full generation because you skipped the detailed prompt costs ten times what a Magic Edit would have. Cost is also why the four-variation default is a feature, not a luxury: one generation gives you four candidates, so you are paying once for four shots at the winning thumbnail.
Common mistakes that waste time and credits
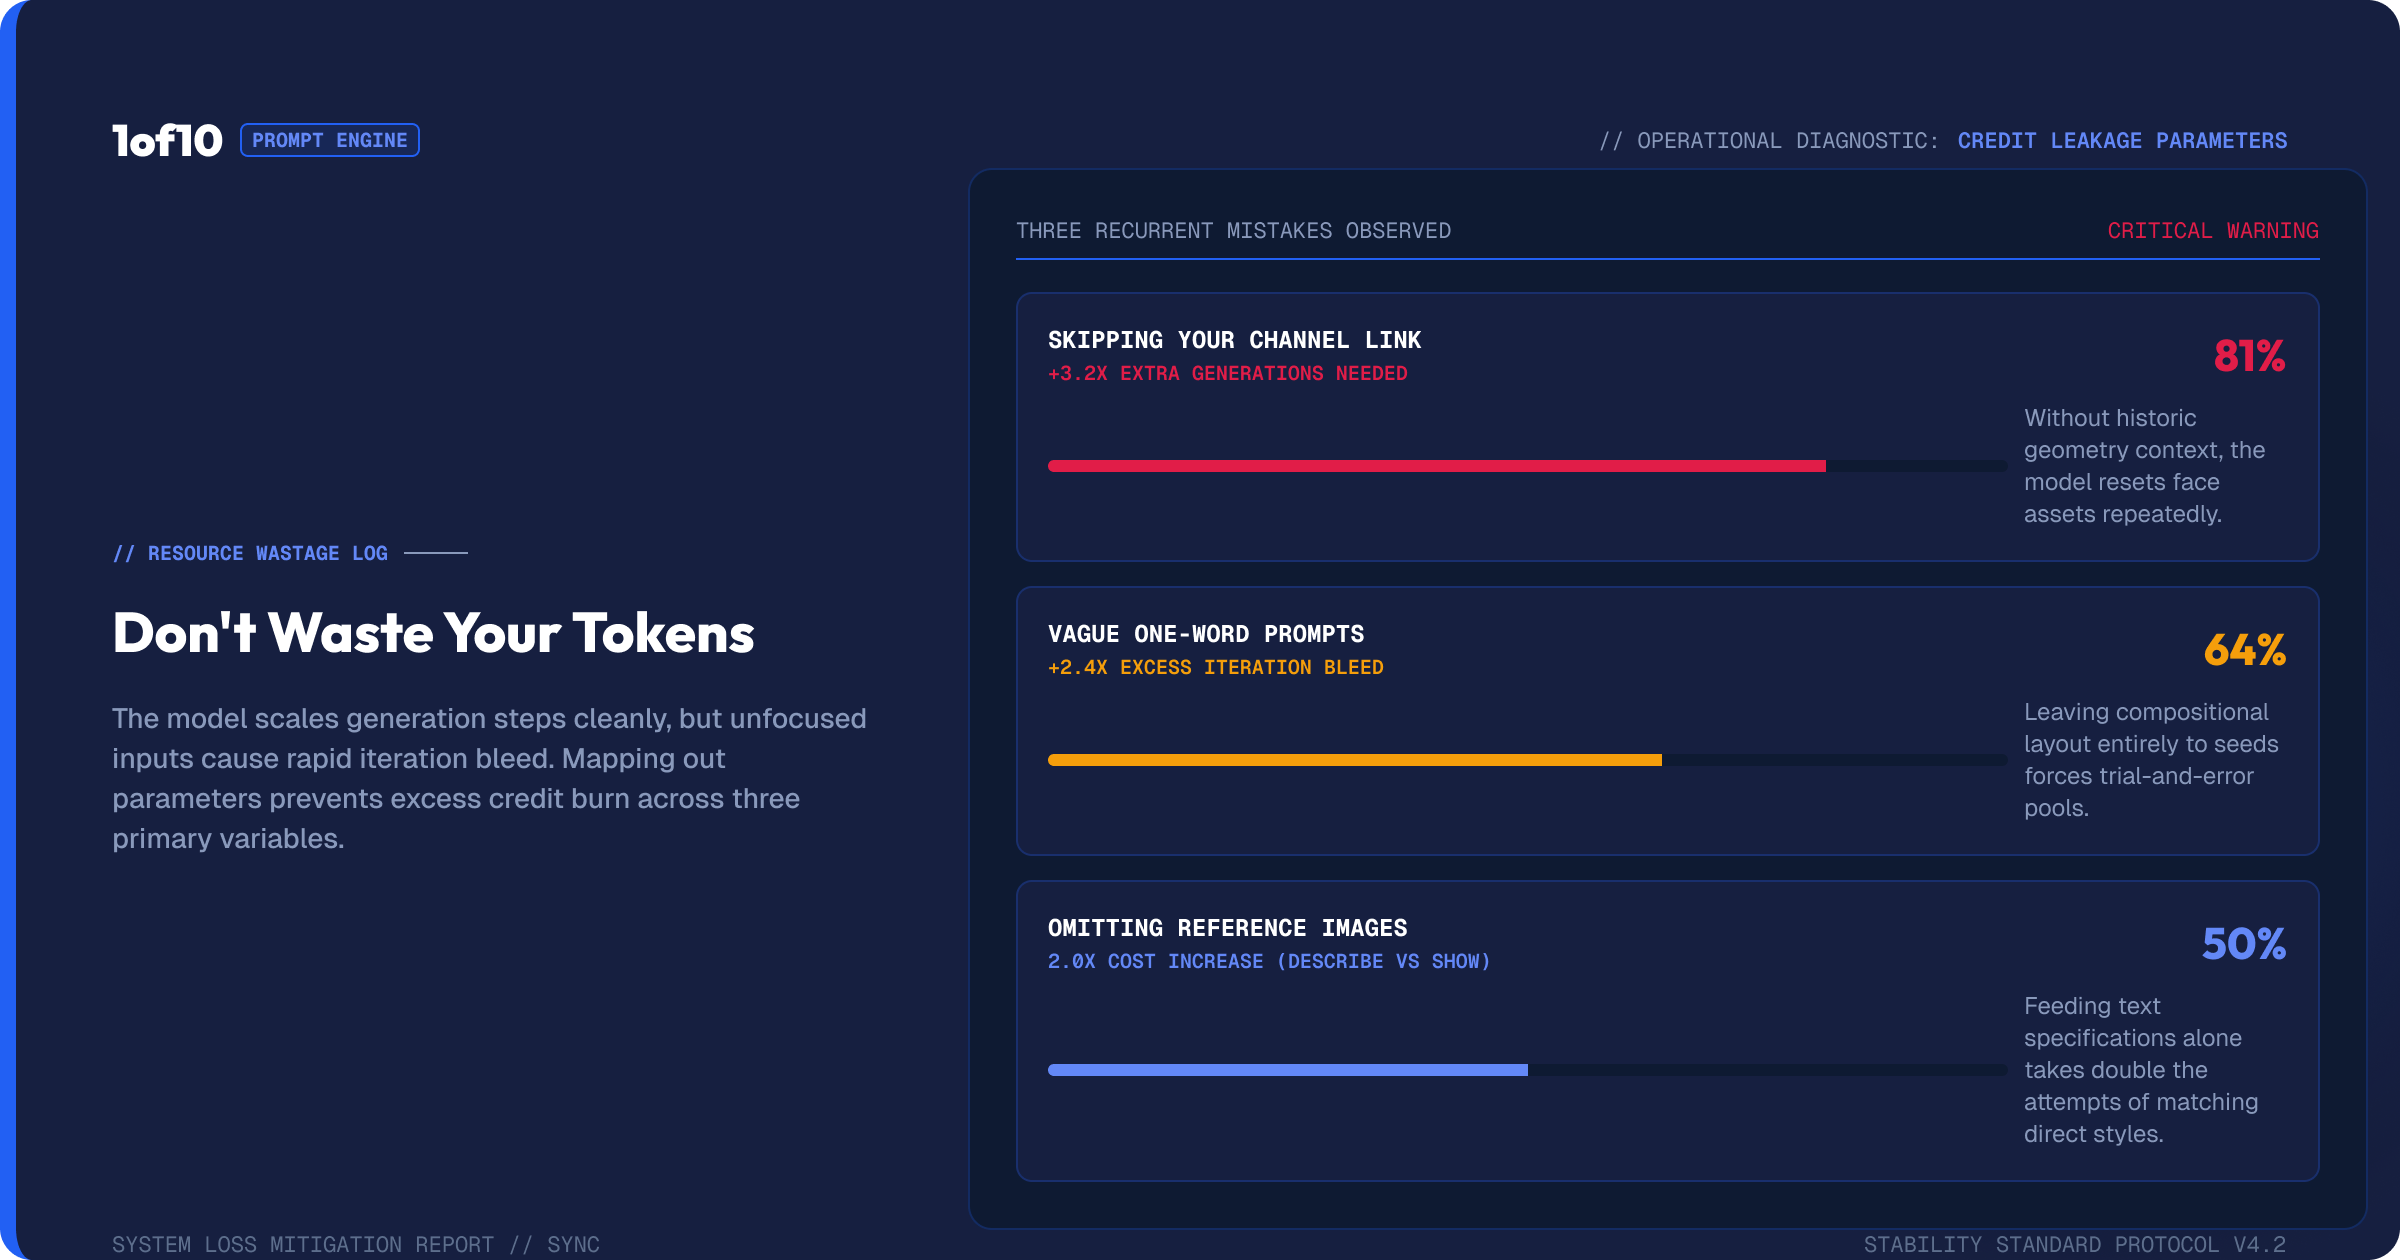
A few habits separate people who get fast results from people who burn credits and get frustrated.
Skipping the channel link. Without it the tool has no idea what you look like or what your channel is about, so it falls back to generic output and you spend extra generations correcting for it. Link the channel once and every future thumbnail starts closer to right.
Writing the video, not the thumbnail. A prompt like "a video about building an ice katana" describes the content. A prompt that describes the shot, the subject, the action, the background, and the text gives the tool something to render. Vague prompts produce vague thumbnails, and you pay 16 to 20 credits each time you guess again.
Jumping to the editor too early. The editor is for the final 10%, not for fixing a composition that is fundamentally wrong. If the base image is off, correct the prompt and regenerate. Trying to rescue a weak generation with edits is slower and rarely as good as one more prompt pass.
Uploading one front-on face for a side-on shot. The AI can only map an angle it has seen. If the thumbnail shows your profile and your reference is a straight-on selfie, the swap struggles. Match the reference angle to the shot.
Ignoring small-size readability. A thumbnail that looks great at full width can turn to mush at the size people actually see it. Check it small. Bump contrast and vibrance, choose a heavy readable font, and keep the text short.
A full workflow, start to finish
Here is how the pieces fit on a real thumbnail. Say the video is "I Built a Deadly Ice Katana."
- Link the channel so the tool knows the creator's face and style.
- Type the title and generate four quick options to see what directions the tool reaches for.
- Switch to a detailed prompt. First line is the title. Then the composition: creator side on, slamming the ice katana through a ballistic dummy skull, skull facing camera, caught the moment after impact, debris flying. Then the background: bright blue sky. Then the text: the word that sells the hook.
- Generate, read, correct. The skull comes out too large, so add a line to make it life-sized and on a table. Generate again. Closer.
- Open the editor. Magic Eraser removes a stray arrow. Adjust nudges the vibrance up. The text tool sets the hook word in a heavy font with a clean stroke so it reads at thumbnail size.
- Upscale to 4K and download. Straight to YouTube.
The whole loop runs in minutes, and you never opened Photoshop. That is the point of the tool. Get close with the generator, finish in the editor, ship.
Who it is for
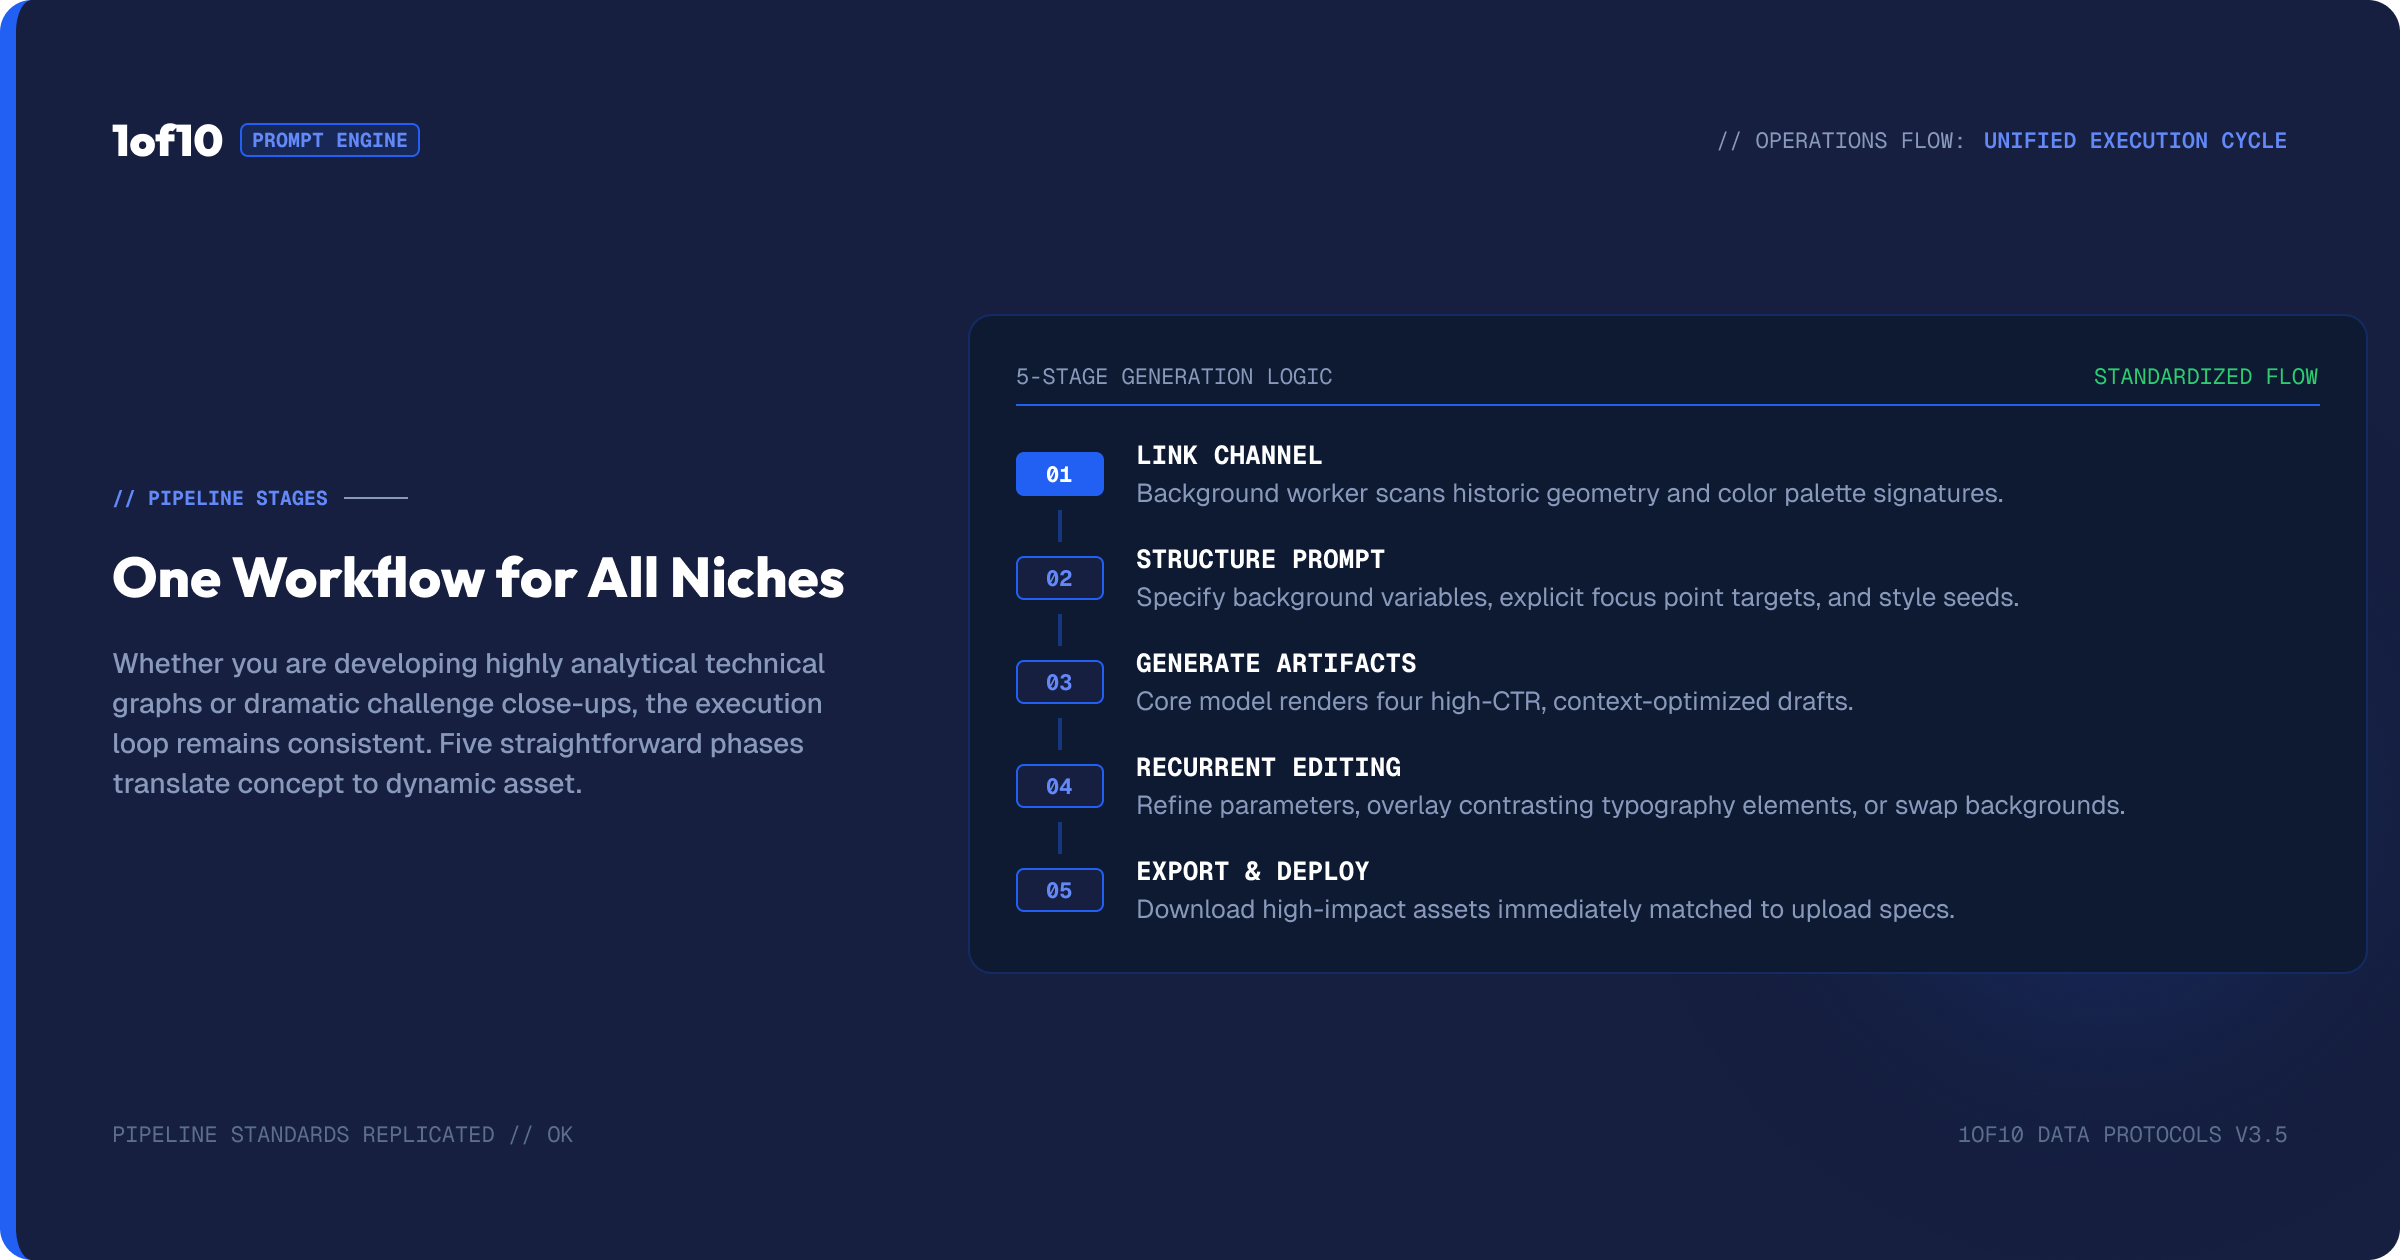
The workflow is identical whether you make educational videos or entertainment. The rule that holds across both: the more descriptive your prompt at the start, the better the results, and the editor handles the rest. A finance channel building a chart-led thumbnail and a challenge channel building a high-action scene use the same five steps. The only thing that changes is the model you pick and the prompt you write.
Take a finance creator. The video is a breakdown of a market crash. They pick Gen-2.5 because it handles graphs and clean graphics better, prompt for a sharp downward chart with the creator reacting in the foreground and a bold number as the text, then use the editor to sharpen the contrast so the chart reads at small size. Done in minutes, no spreadsheet screenshot required.
Now take a challenge creator. The video is a survival stunt. They pick Gen-2 for the photoreal face and scene, write a detailed prompt for the exact moment of action with debris and a dramatic sky, iterate twice to get the intensity right, then face swap to lock their likeness and add a two-word hook. Same five steps, completely different thumbnail, both built without design software.
The tool scales with how specific you are willing to be, which is the one habit worth building no matter your niche.
If you are weighing the tool against other options, Best Thumbnail App for YouTube Creators in 2026 and Thumbnail Maker: How to Create Clicks in 2026 compare the field. And because a thumbnail never works in isolation, pair it with a strong title using How to Write YouTube Titles That Get Clicked and track the result with YouTube CTR: What's a Good Click-Through Rate.
Frequently asked questions
What is the 1of10 Thumbnail Generator? It is an AI thumbnail generator built for YouTube. It produces finished, on-brand thumbnails from a title, a description, a reference image, or a rough sketch, and includes an editor with one-click tools for erasing, editing, face swapping, adding text, and upscaling.
Do I need design skills to use it? No. You describe the thumbnail or sketch a rough layout, and the tool produces it. The editor handles the finishing touches that normally require Photoshop.
Should I use Gen-2 or Gen-2.5? Gen-2 (20 credits) is best for face consistency and photoreal entertainment thumbnails. Gen-2.5 (16 credits) is faster, cheaper, and better for graphics and charts. Try both for your channel and keep the stronger one.
Do I have to upload my face? Usually not. If you link your channel and your face already appears in your thumbnails, the tool detects your likeness on its own. Upload two face shots from different angles only if the results are not quite matching you.
Can I edit a thumbnail I made elsewhere? Yes. Upload it into the edit mode and you get the full editor, including Magic Eraser, Magic Edit, Face Swap, text, and the 4K upscaler.
What size are the thumbnails? The default download is 1280x720, with a 4K upscale option. Use the format switch to produce landscape thumbnails for long-form or vertical thumbnails for Shorts.