The Detailed-Prompt Method: Iterate to the Perfect Thumbnail
The most powerful way to generate is a detailed prompt in four lines: the video title, the exact composition, the background and any text. Generate, spot what is wrong, add a correction line, and regenerate until it is about 90% there, then finish in the editor.
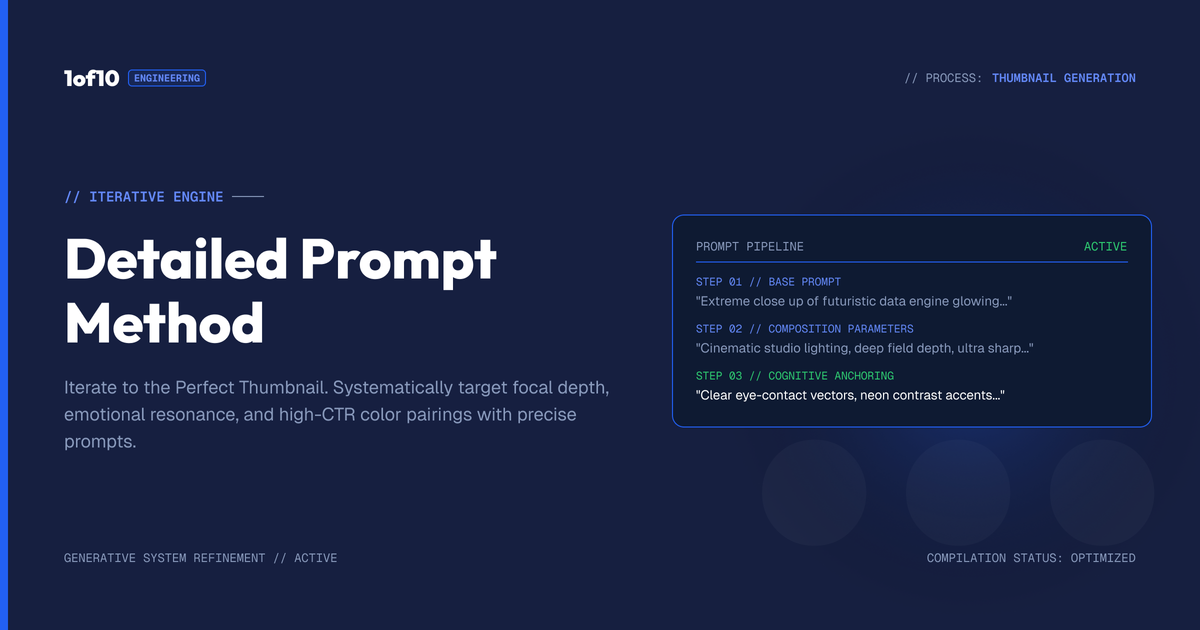
Quick answer: The most powerful way to generate is a detailed prompt in four lines: the video title, the exact composition, the background and any text. Generate, spot what is wrong, add a correction line, and regenerate until it is about 90% there, then finish in the editor.
Most people use an AI thumbnail generator at about 10% of its power. They type the video title, hit generate, glance at the four results, and either grab one or give up. That works, and it is a fine way to start, but it is not how you get a thumbnail that actually competes. The difference between a passable AI thumbnail and a great one is almost always the prompt, and specifically whether you describe the video or describe the thumbnail. This guide teaches the detailed-prompt method: the structure that gets the 1of10 Thumbnail Generator to render exactly what you see in your head, and the iteration loop that refines it from close to perfect.
For the whole tool, see The Complete Guide to the 1of10 Thumbnail Generator. This post is the deep dive on the single skill that separates good output from great.
Two ways to prompt, and when to use each
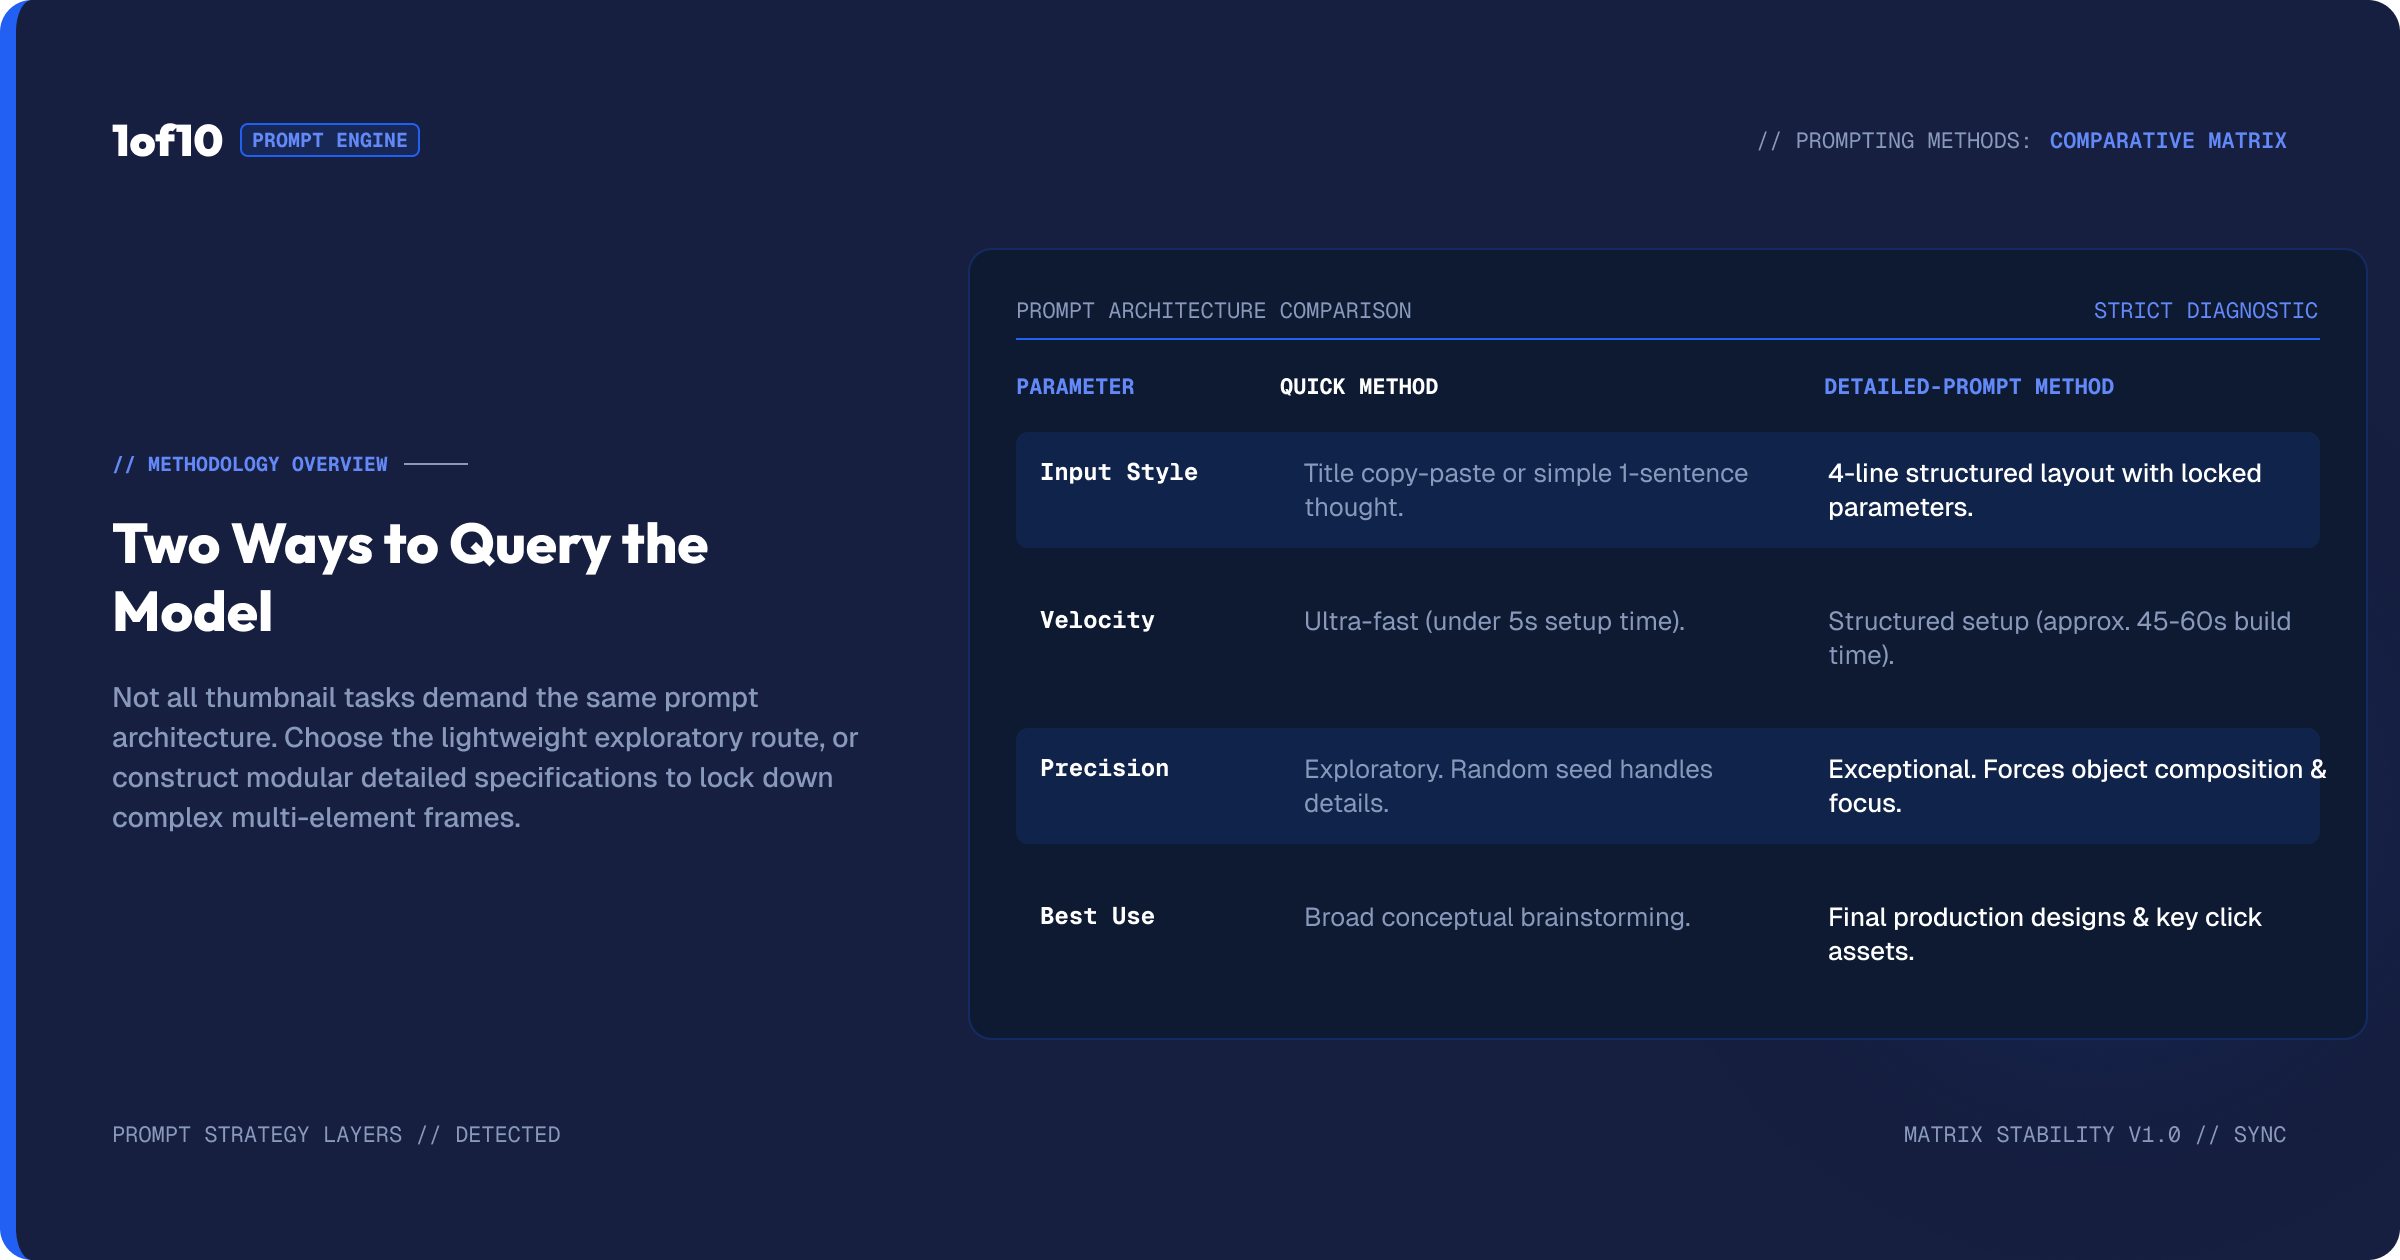
The tool accepts two kinds of input, and both have a place.
The quick prompt. You type the title, like "I Built a Deadly Ice Katana," and generate. Because your channel is linked, the four results already look like your channel. This is the right move at the very start of a thumbnail, when you are not chasing the final image yet. You are fishing for directions, seeing what compositions the tool reaches for, collecting ideas. For more on reading those early batches, see Why Generate 4 Thumbnail Variations.
The detailed prompt. This is where the real work happens. Instead of naming the video, you describe the exact thumbnail you want, shot by shot. The tool then renders close to that description, and you refine from there. This is the method that gets you a thumbnail you would actually publish, and the rest of this guide is about doing it well.
The pro workflow uses both: a quick prompt to find a direction, then a detailed prompt to execute it.
The structure that works
A strong thumbnail prompt has four parts, in this order. Think of it as briefing a designer who is fast but literal. The more precisely you describe the shot, the closer the result.
Line 1: the title. Always start with the video title. This gives the tool context for everything you do not spell out, so it can fill gaps in a way that fits the video. If your prompt forgets to mention a detail, the title helps the tool guess correctly.
Line 2: the composition. This is the heart of the prompt. Describe exactly what the thumbnail shows: the subject, the pose, the action, and the moment. Do not write "an ice katana." Write "the creator stood side on, slamming an ice katana through a ballistic dummy skull, the skull facing the camera, the shot caught the moment after impact with chunks of the dummy flying everywhere." Specificity here is what makes the tool render your shot rather than a generic one.
Line 3: the background. State the setting. "A bright blue sky background." "A dark studio with one spotlight." "A grassy field." The background frames the subject and sets the mood, and leaving it vague lets the tool decide for you.
Line 4: the text. If you want words baked into the image, say so and say what they are. "White text reading LETHAL with an arrow pointing at the blade." You can also add this in the editor later with the Text and Fonts tool, which gives you more control, but stating it in the prompt gets the layout roughed in.
Put together, a full prompt reads like a complete brief, and the output tracks it closely.
A copy-ready prompt template
Use this skeleton and fill in the brackets:
Title: "[your video title]"
The thumbnail shows [subject] [doing what], [angle and framing], [the exact moment]. [Key detail about the action or expression].
Background: [setting and mood].
Text: [the words you want] in [position], [style note].
A worked example:
Title: "I Built a Deadly Ice Katana"
The thumbnail shows the creator side on, slamming an ice katana through a ballistic dummy skull, the skull facing camera, caught the moment after impact, chunks of the dummy flying. Intense expression.
Background: bright blue sky.
Text: LETHAL in the top corner, bold white with an arrow to the blade.
That prompt gives the tool a real scene to build instead of a vague idea to interpret. The output will not be perfect on the first pass, and that is fine, because the next step is where the method earns its name.
The iteration loop: read, correct, regenerate
Here is the part that makes this method powerful. You do not expect a perfect thumbnail from one generation. You expect a close one, then you fix it in passes.
Generate your detailed prompt and look hard at the four results. Find what is wrong. Maybe the skull came out too large. Maybe the blade is the wrong shape. Maybe the lighting is flat. Whatever it is, do not start over. Add a correction line to your prompt and generate again.
Skull too big? Add: "Make the skull life-sized and on a table." Want it see-through? Add: "Make it a transparent ballistic dummy skull." Lighting flat? Add: "Dramatic side lighting." Each correction sharpens the next batch, and because you are still getting four results per generation, you keep getting fresh options as you close in.
This loop, generate, read, correct, regenerate, is the single most useful habit in the entire tool. Repeat it as many times as it takes. Three passes is common. The thumbnail gets closer every time until you land on one that is 90% of the way there, at which point you take it to the editor for the final touches rather than chasing the last details with full generations.
Why iterate in the generator instead of the editor
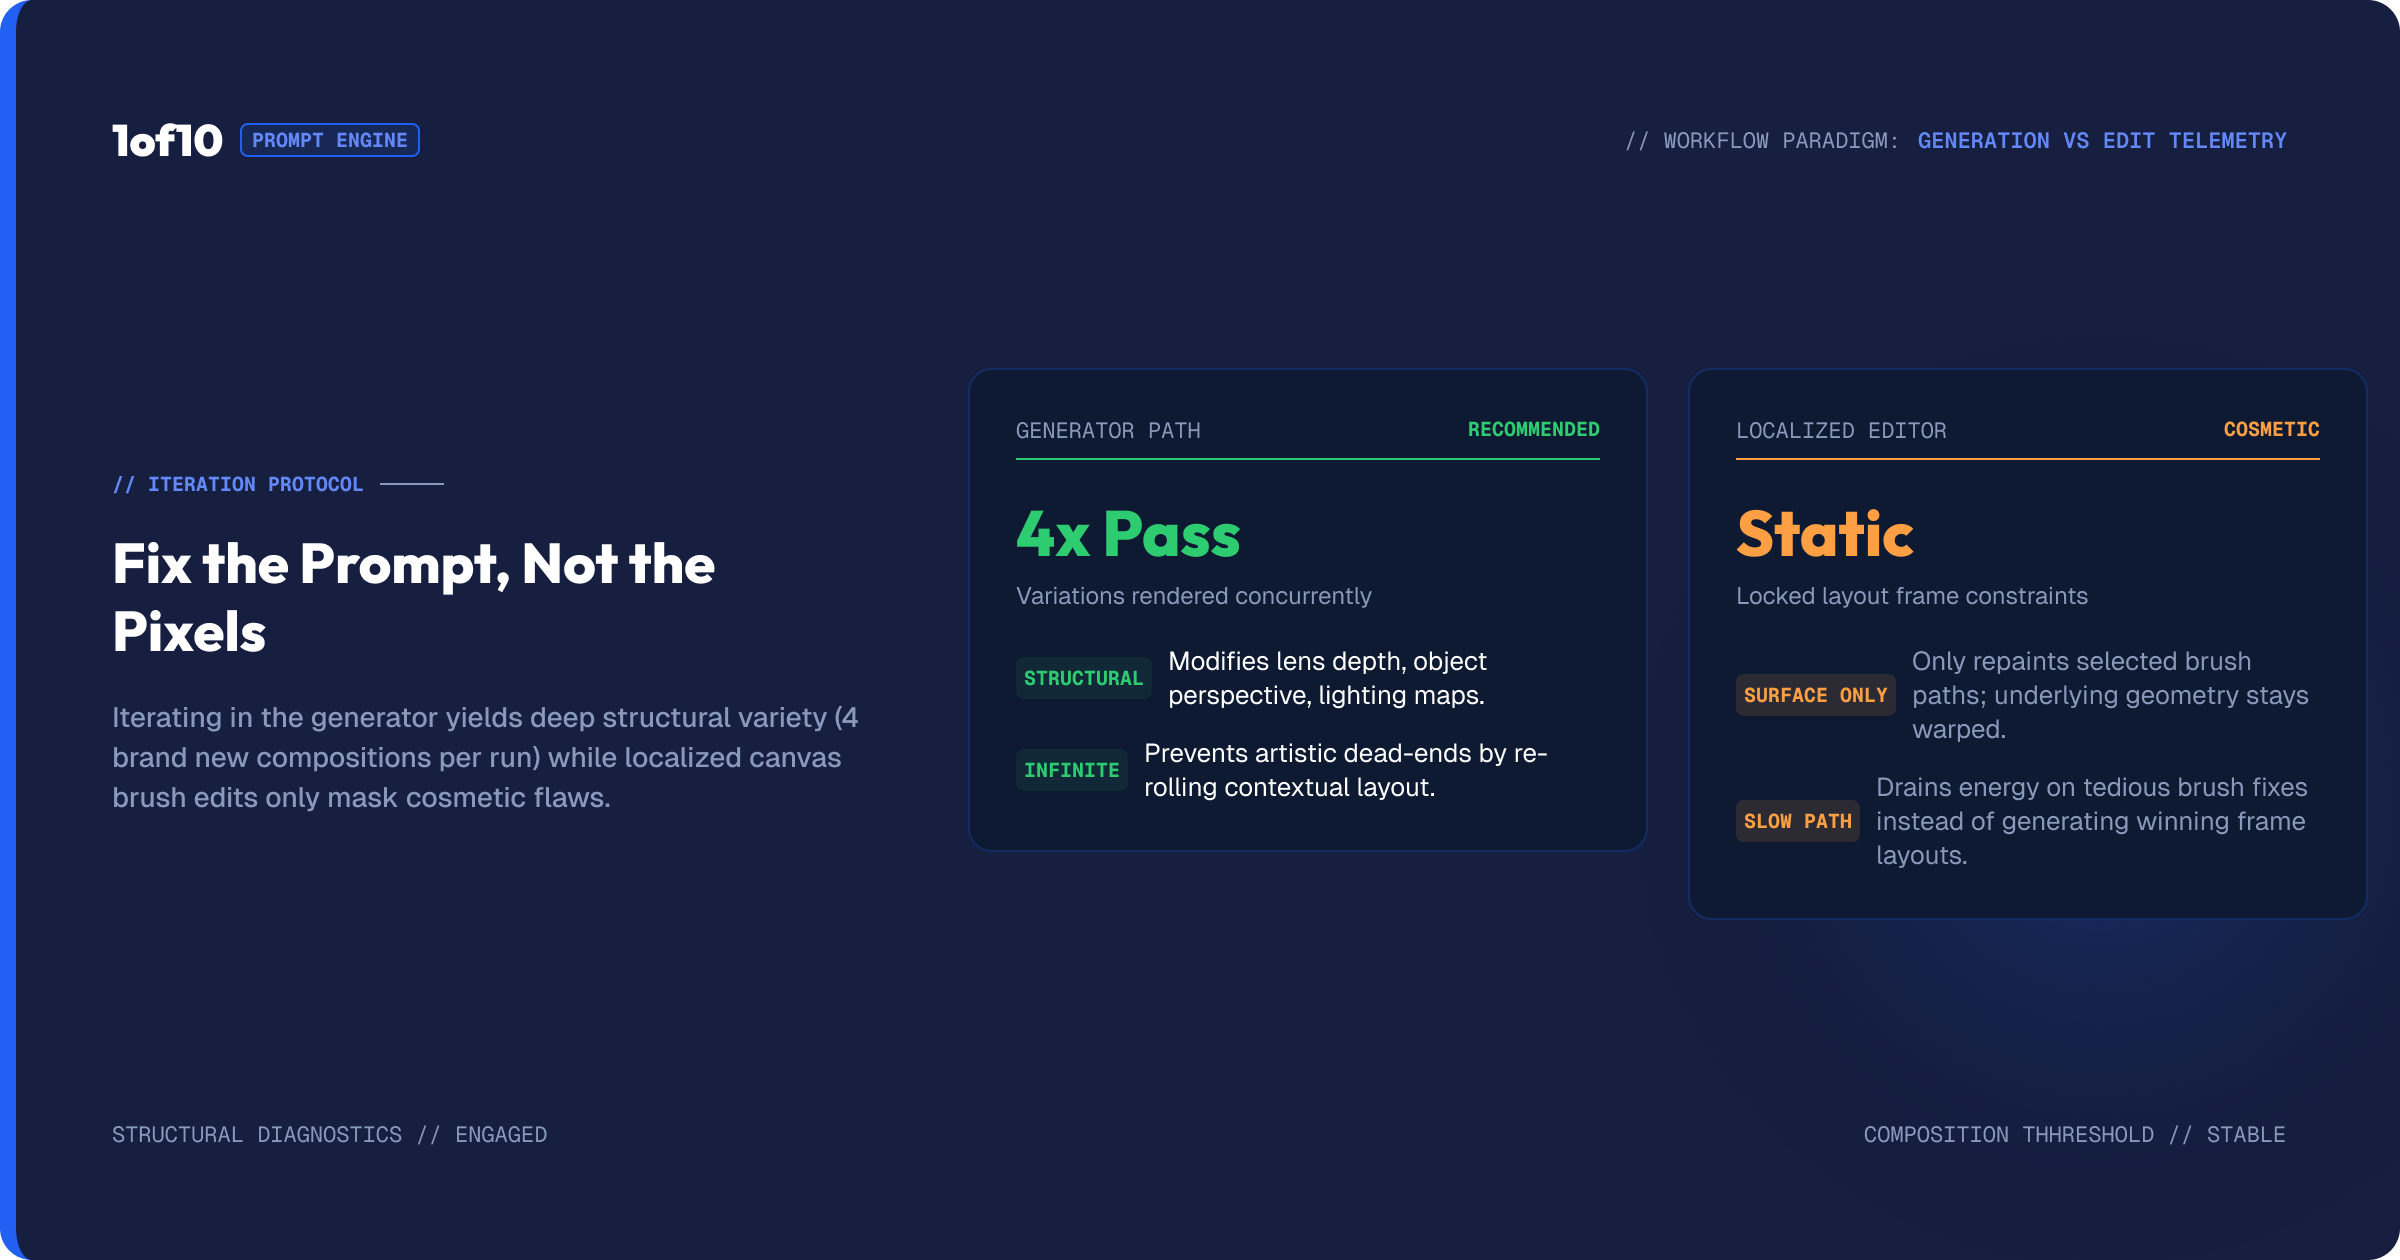
You might wonder why you would refine in the generator at all when the editor exists. Two reasons.
First, the generator gives you variety on every pass. Each correction produces four new options, so you are not just fixing one image, you are exploring four versions of the fix. That spread often surfaces a better composition than the one you were aiming for.
Second, the generator handles big changes better than the editor. Changing the whole scene, the angle, or the core action is a generation job. The editor is built for the final 10%: removing a stray element, adjusting color, placing text. The rule of thumb: if the change is structural, correct the prompt and regenerate. If the change is a finishing touch, take it to the editor. For the editor side, see Magic Edit and Magic Eraser.
How long should a thumbnail prompt be?
There is a sweet spot. Too short and the tool fills the gaps with guesses. Too long and the instructions start to contradict each other or dilute the important parts. Aim for two to four sentences of real description after the title line: enough to pin down the subject, the action, the moment, the background, and the text, without burying those essentials under adjectives.
A good test: every sentence in your prompt should change the image if you removed it. If a phrase is not doing visible work, cut it. "A dramatic, epic, intense, powerful shot of" is four words that all mean the same vague thing and steer nothing. "The creator mid-swing, caught the instant the blade connects" is specific and every word earns its place. Write tight, concrete prompts and the tool has a clear target instead of a fog of mood words.
Reading the four results to plan your next correction
The iteration loop runs on how well you read the output. When your four thumbnails come back, do not just ask "which is best." Ask "what did the tool get wrong, and is the same thing wrong across all four." A mistake that shows up in every variation is a prompt problem, so fix it with a correction line. A mistake in only one variation is just that variation, so ignore it and judge the others.
This distinction saves you credits. If the skull is too big in all four, that is your prompt, and one correction line fixes the whole next batch. If the skull is fine in three and odd in one, you do not need to change anything, you just pick from the three. Reading the spread this way turns each generation into precise feedback rather than a vague sense that something is off, and it tells you exactly what your next correction line should say. For more on judging a batch, see Why Generate 4 Thumbnail Variations.
The No Text option
One prompt-adjacent control worth knowing: the No Text toggle. If you want a clean thumbnail with no baked-in words, perhaps because you plan to add typography precisely in the editor, switch No Text on before generating. The tool then produces the image without trying to render text, which avoids the garbled lettering that AI image tools sometimes produce. You then add crisp, controlled text afterward with the Text and Fonts tool. For many creators this is the cleanest path: generate the scene text-free, then own the typography in the editor where you have full control over font, stroke, and placement.
Prompt recipes by thumbnail type
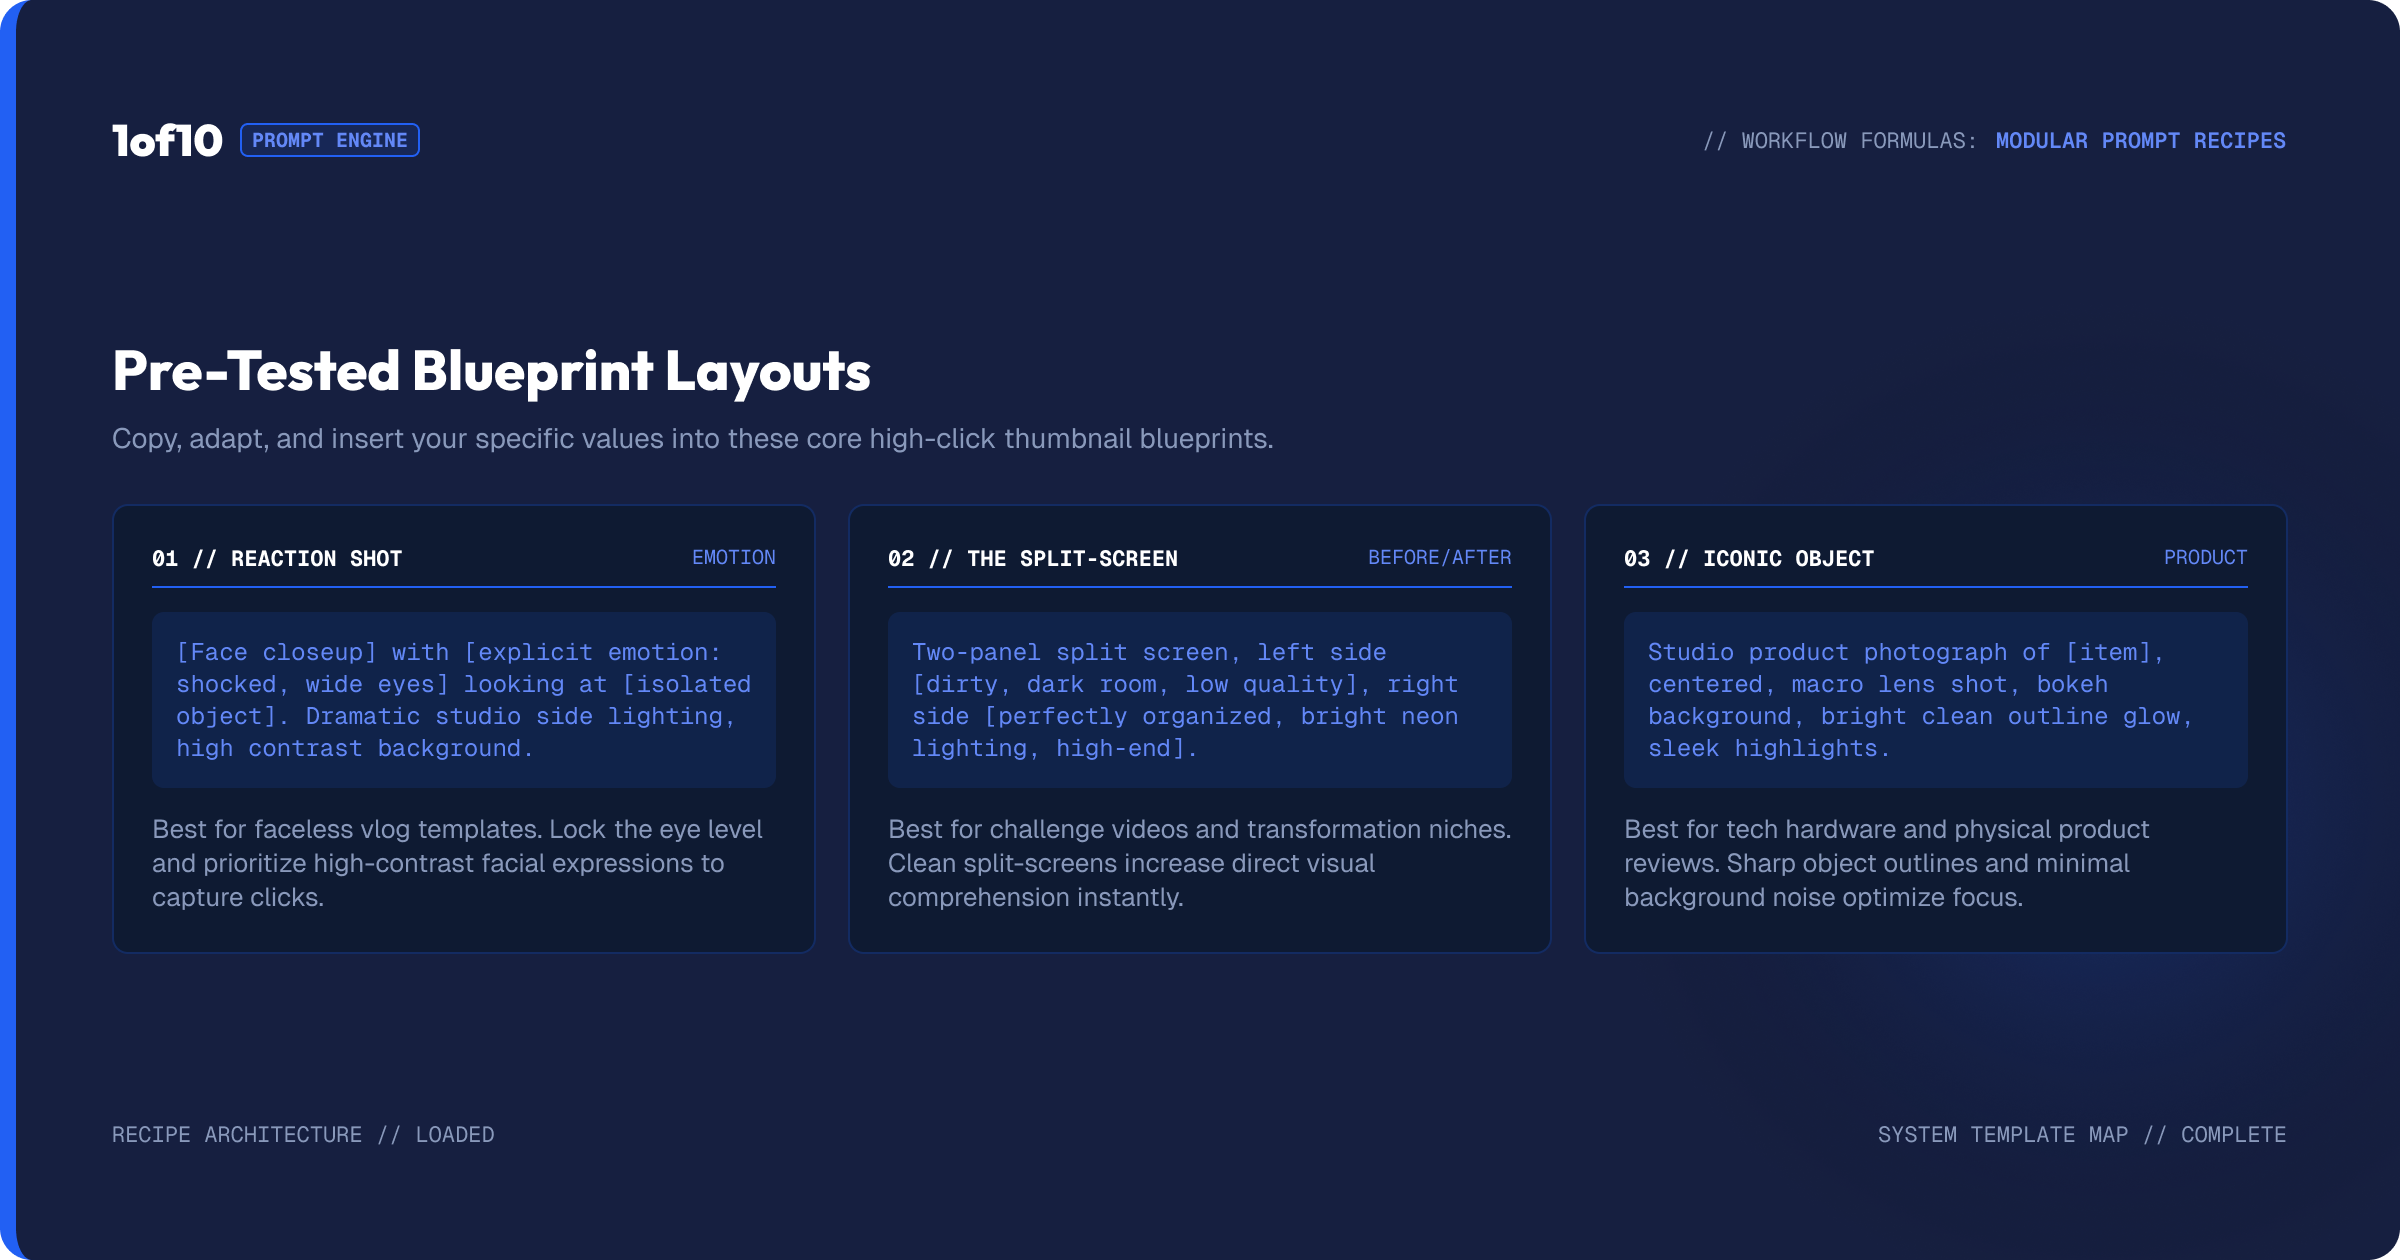
The four-line structure adapts to whatever you make. A few patterns.
The reaction thumbnail. Lead the composition with the face and the emotion. "The creator front on, mouth open in shock, hands on head, looking at [the thing]." Reaction thumbnails live or die on the expression, so describe it precisely.
The before-and-after. Describe the split. "Split composition, left side [before state], right side [after state], a clear divider down the middle." The tool needs to know it is building two halves.
The object-hero thumbnail. Put the object first and big. "A [object] filling most of the frame, dramatic lighting, the creator small in the background reacting." Good for builds, reviews, and unboxings.
The data thumbnail. Describe the graphic. "A steep red line chart crashing downward, the creator beside it pointing, a big number in the corner." This is where Gen-2.5 tends to shine, covered in Gen-2 vs Gen-2.5.
The location thumbnail. Lead with the setting. "The creator standing in [dramatic location], wide shot, [time of day and weather]." Good for travel and adventure content.
Each recipe is the same four-line structure pointed at a different kind of shot. Once the structure is muscle memory, you adapt it without thinking.
Pairing prompts with uploaded inputs
Prompts are powerful on their own, and stronger with inputs. The plus icon lets you feed the tool a reference image, a background, your face, or a sketch, and these combine with your written prompt. If your prompt describes the real object you built, upload a photo of it as a reference so the tool recreates the actual thing. If you want a specific setting, upload it as a background. The full input workflow is in Reference Images, Backgrounds and Face Uploads, and the sketch route is in Sketch to Thumbnail. The detailed prompt and the uploaded inputs are not either-or. Used together, they give you the tightest control the tool offers.
Building a prompt library for your channel
Once you find prompt structures that work for your content, save them. The detailed-prompt method rewards repetition, because the same skeleton produces consistent results across videos. If you make challenge content and a particular composition keeps landing, the phrasing that produced it is reusable. Keep a short document of your best-performing prompt patterns, swap the specifics per video, and you cut your thumbnail time dramatically while holding a consistent style.
This compounds with everything else the tool does. A linked channel handles your face and style, a saved prompt structure handles the composition, and the iteration loop handles the polish. Over a few weeks you stop starting from scratch and start running a repeatable system, which is exactly how high-output channels keep thumbnail quality high without burning hours per video. Your in-tool history helps here too, since you can scroll back to the generation that worked and read the prompt that made it.
Common mistakes
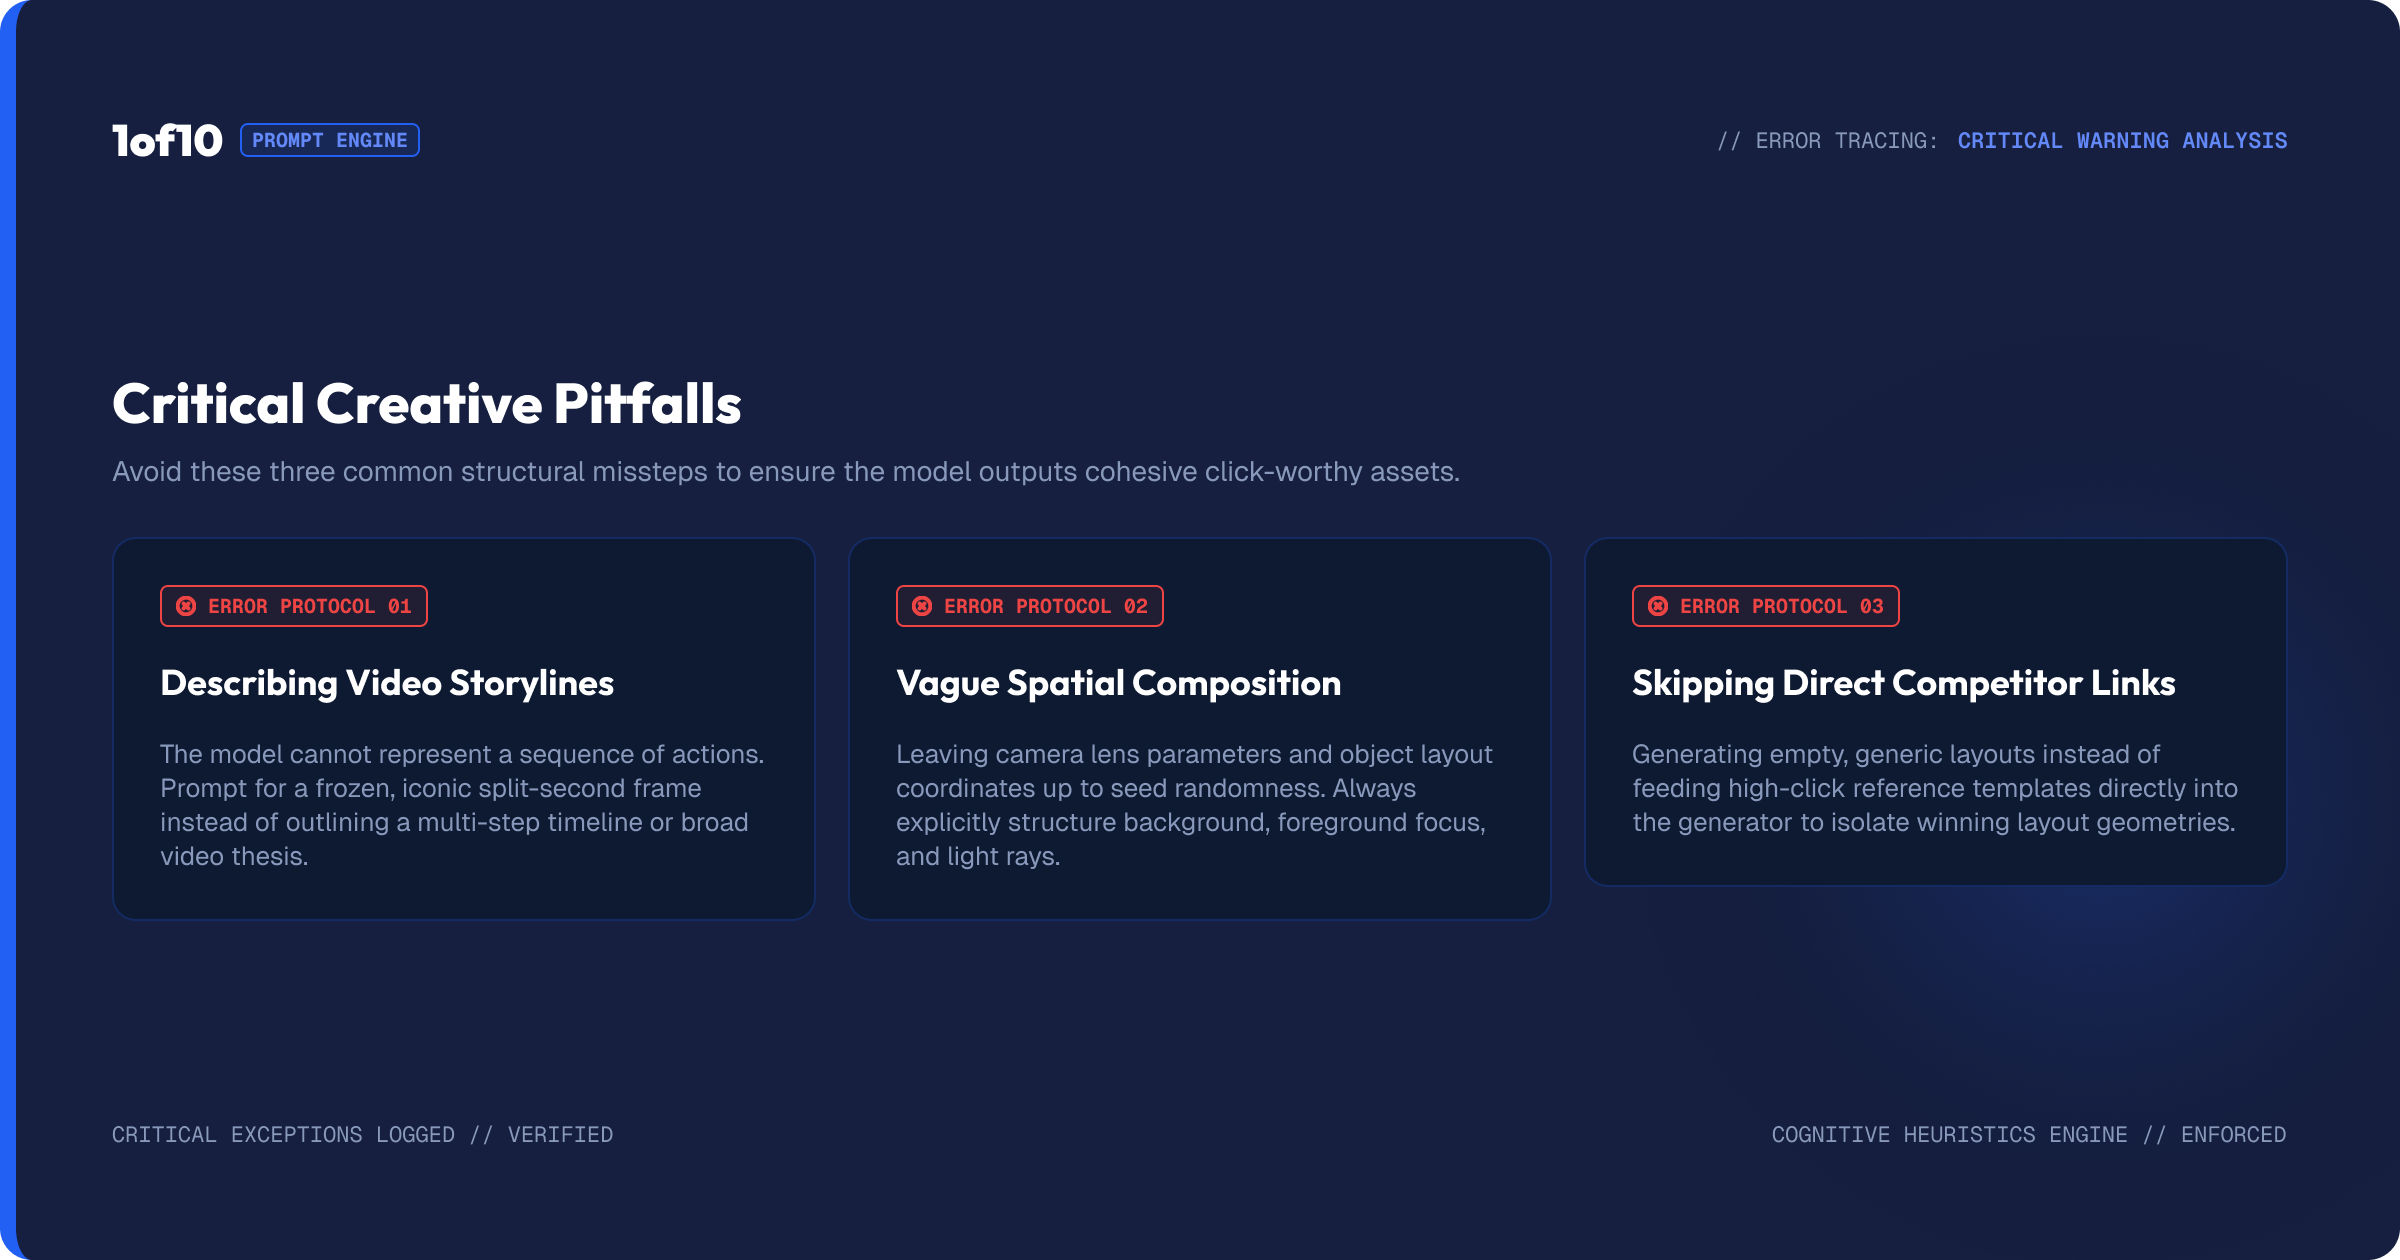
Describing the video, not the thumbnail. The biggest one. "A video about building an ice katana" is content, not a shot. Describe what the image shows.
Vague composition. "The creator with a sword" leaves everything to the tool. Say the pose, the angle, the action, the moment. Precision is the whole point.
Skipping the title line. The title gives the tool context that fills the gaps in your description. Always lead with it.
Trying to nail it in one generation. The method is iterative by design. Expect a close first pass, then correct. Demanding perfection in one shot wastes the tool's biggest strength.
Over-stuffing text into the prompt. A line of intended text is fine. A paragraph of caption is not. Keep prompt text short and place the final text precisely in the editor.
Iterating in the editor when you should regenerate. If the composition is fundamentally off, no amount of editing fixes it cleanly. Correct the prompt and generate again.
Frequently asked questions
How do I prompt AI for a YouTube thumbnail? Describe the thumbnail, not the video, in four parts: the title for context, the composition (subject, pose, action, moment), the background, and any text. Generate, then add correction lines for what is wrong and regenerate until it is close, then finish in the editor.
What is the best structure for a thumbnail prompt? Line 1 the video title, line 2 the exact composition, line 3 the background and mood, line 4 the text you want and where. This briefs the tool like a designer and produces output that tracks your description closely.
Why are my AI thumbnails coming out generic? Almost always because the prompt describes the video rather than the thumbnail. Swap "a video about X" for a specific shot: who is in frame, their pose and expression, the action, the moment, the background. Specific prompts produce specific thumbnails.
How many times should I iterate? As many as it takes, but three passes is common. Generate, find what is wrong, add a correction line, regenerate. Stop when the thumbnail is about 90% there and move to the editor for final touches.
Should I add text in the prompt or the editor? Both work. A short text line in the prompt roughs in the layout. For full control over font, size, stroke, and placement, add or refine text in the editor with the Text tool.
The takeaway
The quick prompt finds a direction. The detailed prompt executes it. Brief the tool in four lines, the title, the composition, the background, and the text, then run the iteration loop: generate, read, correct, regenerate, until the thumbnail is 90% there. Take it to the editor for the finish. This one skill is the difference between using the tool at 10% and using it at full power, and it is the habit every great AI thumbnail comes from. The full pipeline is in The Complete Guide to the 1of10 Thumbnail Generator.