
Video Editing for Beginners: The YouTube Creator's Guide (2026)
Video editing for beginners comes down to four skills: cutting the footage down to the good takes, putting those takes in an order that holds attention, fixing the sound, and exporting a file YouTube plays well. Learn the vocabulary and a simple seven-step workflow and you can edit your first YouTube video this weekend, in free software, with the slowest step handed to AutoCut.
Search this topic and you get two kinds of result. Reddit threads that say "just start" and tutorials that teach the buttons of one program. Neither helps when you have 40 minutes of yourself talking to a camera and no idea what an editor means by a rough cut, B-roll or a LUT.
This guide fixes that in order. First the basics of how any editor works. Then the terms you will hear in every tutorial. Then which free editor to pick, the workflow itself, the export numbers, the mistakes that make a video look amateur, and finally where AI does the boring part so you can spend your hours on the interesting one. If you already know the words and want the full production process, the complete guide to editing YouTube videos is the pillar this post sits under.
How do I start learning video editing?
Start by editing one short, real video from start to finish in free software, not by watching tutorials for a month. Take a five-minute talking-head clip, cut out the pauses, add one title, level the audio, export it and upload it unlisted. That one loop teaches more than any course, because every later skill is a refinement of it.
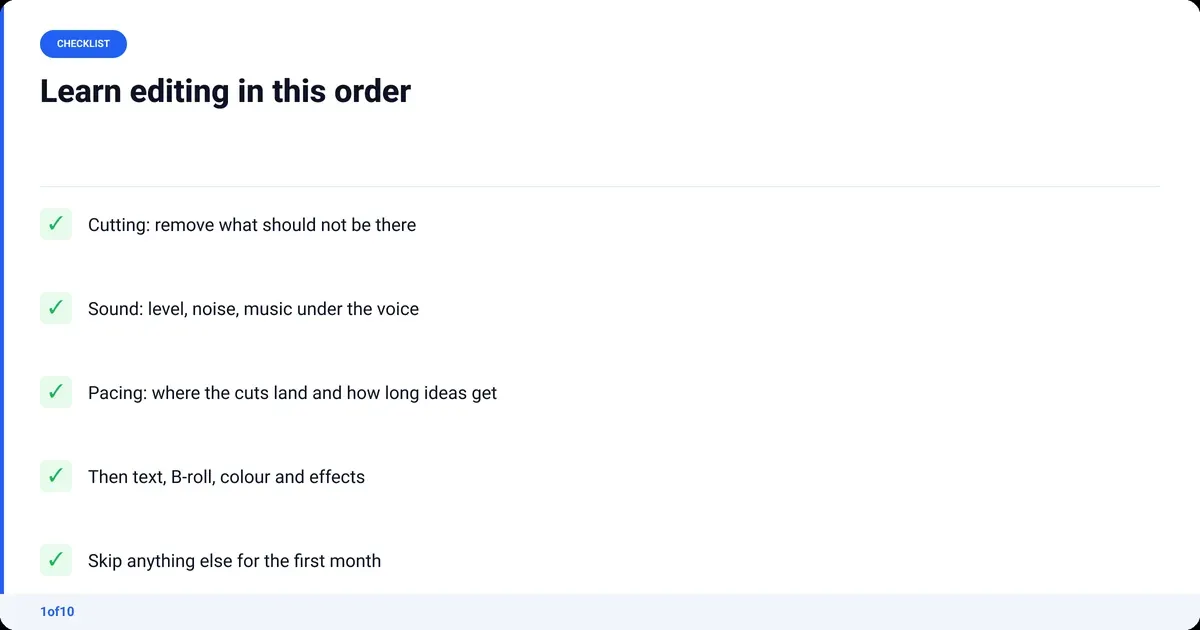
Beginners usually get this backwards. They study transitions, effects and colour before they have made a single clean cut. The order that works is the reverse:
- Cutting. Removing what should not be there. This is 70 percent of editing and it is the skill that makes a video watchable.
- Sound. Level, noise, music under the voice. Viewers forgive soft picture and punish bad audio.
- Pacing. Where the cuts land and how long each idea gets. This is the taste part and it takes years, so start early.
- Everything else. Text, B-roll, colour, effects. Useful, visible, and worth nothing without the first three.
| What beginners think they need | What the first video needs |
|---|---|
| Premiere Pro and a course | Any free editor and one afternoon |
| Transitions and effects packs | Straight cuts only |
| A colour grade | Correct white balance and exposure |
| Motion graphics | One clean title card |
| A gaming PC | Whatever plays the footage without stuttering |
The rule for the first month: if a technique is not cutting, sound or pacing, skip it.
Video editing basics: how an editor actually works
Every video editor, from iMovie to DaVinci Resolve, is the same machine. You import files, they appear as clips, you place clips on a timeline, you trim and reorder them, then you export the timeline as a new video file. The original files are never changed. That is called non-destructive editing, and it is why you can experiment freely.
Once you can see that machine, every tutorial makes sense regardless of the software. The parts:
- Media pool or bin. The list of files you imported. Nothing here is on the timeline yet.
- Timeline. The horizontal strip where the video is built, left to right in time. Video tracks sit above, audio tracks below.
- Clip. One piece of a file placed on the timeline. One file can become fifty clips.
- Playhead. The vertical line that shows where you are. Cuts happen at the playhead.
- In and out points. The start and end of the part of a clip you want to keep.
- Trim. Dragging the edge of a clip to shorten or lengthen it.
- Ripple delete. Removing a piece and closing the gap so nothing after it moves out of sync.
- NLE. Non-linear editor, the technical name for all of this software. Non-linear because you can work on any part in any order.
Five controls do 90 percent of the work, and they have the same job in every program even when the key differs:
| Control | What it does | Why you use it constantly |
|---|---|---|
| Play and pause (spacebar) | Watch the timeline | You listen far more than you click |
| J, K, L | Shuttle backwards, stop, forwards; press twice for double speed | Reviewing 40 minutes of raw at 2x |
| Split or razor | Cut a clip in two at the playhead | Every single edit starts with this |
| Ripple delete | Remove the piece and close the gap | Pulling out pauses without leaving holes |
| Zoom on timeline | See one second or the whole video | Cutting on a breath needs the close view |
Learn those five in your editor on day one. Ignore every other menu until you need it.
Video editing terms you will hear in every tutorial
Editing has a vocabulary, and tutorials assume you already have it. You do not need all of it. You need about 24 terms, and most of them describe one of three things: what kind of footage a clip is, what kind of cut joins two clips, or what stage of the edit you are at. Here they are, grouped that way, with the ones a YouTube creator uses every week explained in full.
What is A-roll and what is B-roll?
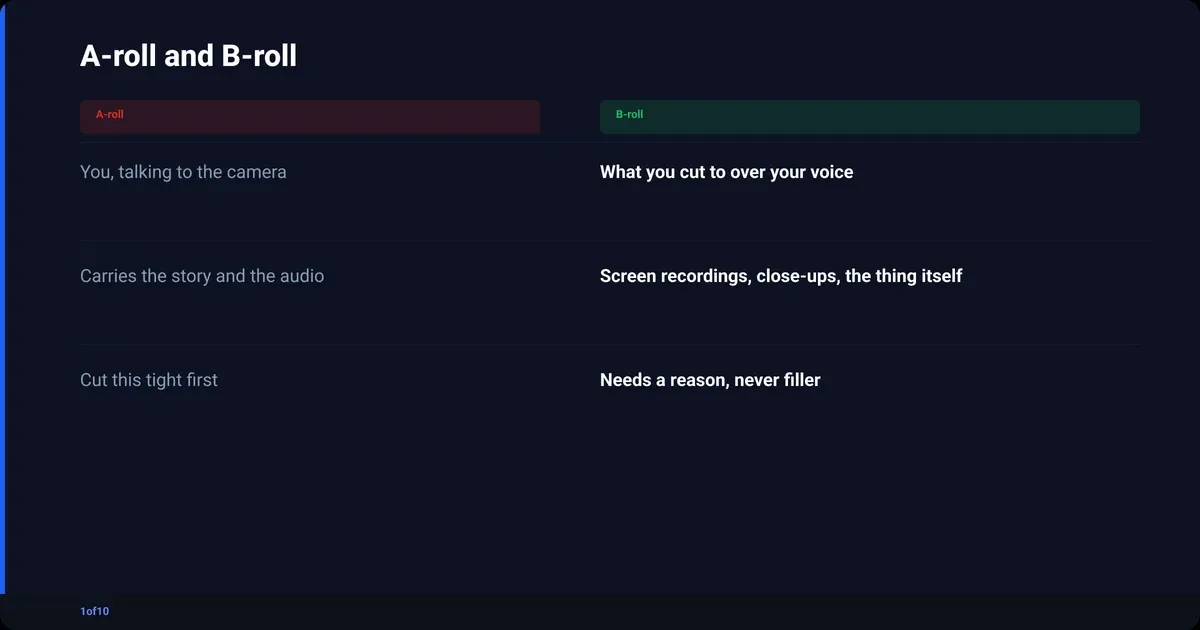
A-roll is the main footage: you, talking to the camera, carrying the story. B-roll is everything you cut to while the A-roll audio keeps playing: a screen recording, a product close-up, a clip of the place you are describing. The terms come from film, where the primary reel was A and the secondary reel was B. On YouTube, A-roll is the spine and B-roll is the seasoning.
Three rules for a beginner:
- Cut the A-roll first. Do not touch B-roll until the talking is tight. B-roll hides jump cuts, but it cannot rescue a rambling A-roll.
- B-roll needs a reason. Show the thing you are talking about. Cutting to random stock footage because a tutorial said "add B-roll every eight seconds" reads as filler.
- Shoot your own. Ten seconds of your hands, your screen or your desk is worth more than a stock clip of a city at night.
A full breakdown, including how much of each a talking-head video needs, is coming later this month in the A-roll vs B-roll post.
What is a cut? Straight cuts, jump cuts, J cuts and L cuts
A cut is the point where one clip ends and the next begins with no transition. It is the basic unit of editing and, on YouTube, the only transition you need for the first year. Four kinds matter:
- Straight cut. Video and audio change at the same moment. The default. Use it 95 percent of the time.
- Jump cut. A cut inside one continuous shot, so you appear to jump forward in time. Every talking-head video on YouTube runs on these. The full guide to jump cuts covers how to make them look intentional rather than accidental.
- J cut. The audio of the next clip starts before its picture. You hear the sound of the next scene, then you see it. Named for the J shape it makes on the timeline.
- L cut. The picture changes but the audio of the previous clip carries on underneath. This is how B-roll works: your voice continues while the viewer sees something else.
Fades, wipes and the transition pack that came with your editor exist. Leave them alone until you can name a reason for each one.
What is a rough cut?
A rough cut is the first full version of the video with the structure in place and the polish left out. The right takes are chosen, the silences and rambles are gone, the order is set, but there is no B-roll, no music, no colour work and the timing is loose. It is the stage where you find out whether the video works before you spend hours making it pretty.
The stages after it have names too, and tutorials use them as if you were born knowing them:
| Stage | What is true at this point | What you are checking |
|---|---|---|
| Assembly | Every usable take on the timeline in order, nothing removed | Do I have the footage I need? |
| Rough cut | Bad takes and dead air gone, structure set | Does the video work? |
| Fine cut | Pacing tightened, B-roll and text placed | Does every second earn its place? |
| Picture lock | No more changes to the cut | Safe to start colour and sound |
| Final cut | Colour, audio mix, graphics all done | Export |
The rough cut is where a beginner loses a weekend, because it means listening to every minute of raw footage at least once and making hundreds of tiny decisions with the razor. It is also the one stage that software can now do on its own, which is the subject of the last section. A full comparison of the rough cut and the final cut, and what each stage is for, is coming later this month.
Colour correction vs colour grading (and what a LUT is)
Colour correction makes the footage look normal: correct white balance so skin is not orange or blue, correct exposure so the face is neither muddy nor blown out, and match every clip to the others. Colour grading comes after, and it makes the footage look like a choice: warmer, colder, more contrast, a lifted black point. Correction is technical and mandatory. Grading is creative and optional.
A LUT (look-up table) is a saved colour recipe you can drop on a clip. Two things every beginner learns the hard way:
- A LUT is a grade, not a correction. Applying one to uncorrected footage gives you a stylish version of the wrong colours. Correct first, then grade.
- The same LUT looks different on every camera. LUTs sold "for cinematic footage" were built on someone else's footage under someone else's light. Treat them as a starting point and dial the strength down.
Rec 709 (also written BT.709) is the colour standard that ordinary HD and 4K video is delivered in. If your editor asks what colour space to use and you are not shooting HDR, that is the answer.
Export terms: resolution, frame rate, codec, bitrate, container
Export is where the timeline becomes a file, and the export dialogue is the most jargon-dense screen in any editor. Five words cover it:
- Resolution. The pixel size of the frame. 1080p is 1920 x 1080. 4K (2160p) is 3840 x 2160.
- Frame rate. Frames per second. 24, 25, 30 or 60. Export at the rate you recorded at.
- Codec. The compression method. H.264 is the standard for YouTube uploads.
- Bitrate. How much data per second the file uses. Higher is bigger and cleaner, up to a point YouTube then re-encodes anyway.
- Container. The file wrapper. MP4 for YouTube. MOV is the other common one.
The actual numbers are in the export section below, with the source.
The rest of the vocabulary, one line each
| Term | Meaning |
|---|---|
| Aspect ratio | Frame shape. 16:9 for YouTube, 9:16 for Shorts |
| Cutaway | A B-roll shot inserted into A-roll |
| Cross dissolve | A fade from one clip to the next. Reads as "time passed" |
| Keyframe | A saved value at a point in time, so a setting can animate |
| Lower third | Name or title text in the bottom third of the frame |
| Match cut | Two shots joined on a similar shape or movement |
| Montage | A run of short clips compressed over music |
| Proxy | A small copy of a heavy file used to edit smoothly, swapped back for export |
| Punch-in | Zooming into the frame to hide a jump cut or add emphasis |
| Room tone | The silence of a room, recorded so cuts in audio sound natural |
| Scrub | Dragging the playhead to skim through footage |
| Sync | Lining up separately recorded audio with video |
| Timecode | The clock stamp on every frame, hours:minutes:seconds:frames |
| Transcode | Converting a file from one format to another |
That is the whole vocabulary a YouTube creator needs. When a tutorial uses a word not on this page, it is usually a feature name, not a concept.
What is the easiest video editor for beginners?
The easiest video editor for a YouTube beginner is the one already on your machine: iMovie on a Mac or iPhone, Clipchamp on Windows 11, CapCut on any phone. All three are free, all three make straight cuts, titles and audio levels obvious, and all three will carry you through your first ten videos. When you outgrow them, the free version of DaVinci Resolve is the deepest desktop editor that costs nothing.
Beginner video editing software is a crowded category, and the honest answer is that the differences matter far less than the workflow. Here is how they compare on the things that matter in month one.
| Editor | Runs on | Free version | Best for | Where it runs out |
|---|---|---|---|---|
| iMovie | Mac, iPhone, iPad | Yes, included | First edits on Apple hardware | Two video tracks, limited colour tools |
| Clipchamp | Windows 11, browser | Yes, included with Windows | First edits on a PC | Fewer audio tools, some features behind the paid plan |
| CapCut | Phone, Mac, Windows | Free tier | Fast edits with auto captions | Short-form habits, some features behind the paid tier |
| DaVinci Resolve | Mac, Windows, Linux | Yes, full editor free | Growing into professional colour and audio | Steep interface, needs a capable computer |
| Premiere Pro | Mac, Windows | Trial only | Industry standard, most tutorials | Subscription, complexity |
| Descript | Mac, Windows, browser | Paid plans (a Descript pricing breakdown is coming this month) | Editing by deleting words in a transcript | Less control over the picture |
Two notes. First, if CapCut is your starting point and you are hitting its limits, the CapCut alternatives for YouTube creators post compares the options. Second, none of these editors do the rough cut for you. They give you a razor and a timeline. The silence hunting, the take picking and the ramble trimming are still your hours, whichever program you choose, unless you put an automated first pass in front of it.
How to edit a YouTube video for beginners: the seven-step workflow
To edit a YouTube video as a beginner, work in this order: organise the files, watch the footage once, make the rough cut, tighten the pacing and add B-roll, fix the audio, correct the colour, then export and watch it back. Doing the steps out of order is the most common beginner mistake, because every step after the rough cut has to be redone if the cut changes.
Step 1: Organise the footage
Make one project folder with subfolders: video, audio, b-roll, graphics, exports. Copy the card into video before you open the editor. Rename nothing on the card itself; rename copies. Then back up (the 3:2:1 section below explains how). This is ten minutes of admin that prevents the "media offline" panic every beginner hits once.
Step 2: Watch it once and mark the keepers
Play the raw footage at 1.5x or 2x with the J, K, L keys and note the timecode of every take you like. Do not cut yet. This pass tells you whether the video works before you commit hours to it, and it is the closest thing editing has to a plan.
- Write the timecodes in a text file or in your editor's markers.
- Mark every "that was the good one" moment. Ignore the rest.
- If a section has no good take, decide now whether to reshoot or cut the section.
Step 3: Make the rough cut
Drop the keeper takes on the timeline in order. Then go through them and remove three things: silences longer than about half a second, rambles and false starts, and repeated takes of the same line. Cut on a breath, never mid-word. When you are done, every clip on the timeline should be something you want the viewer to hear.
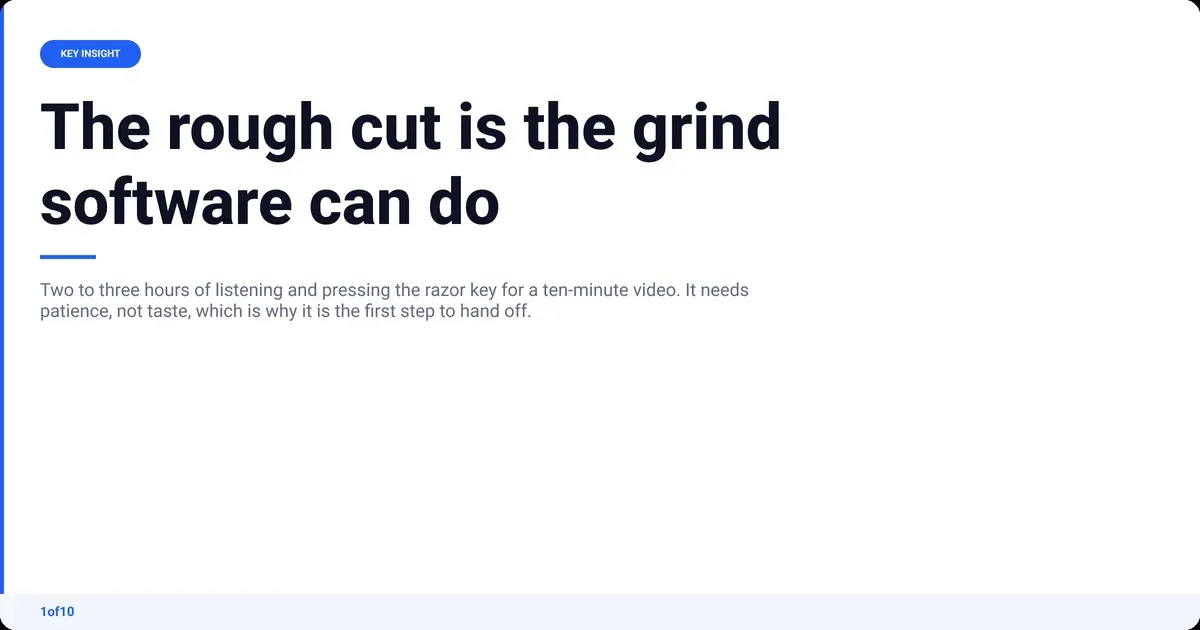
This is the grind. For a ten-minute video cut from 40 minutes of raw, expect two to three hours by hand, most of it listening and pressing the razor key. It needs patience, not taste, which is exactly why it is the step to automate: AutoCut takes the raw file, removes the silences, rambles, dead air and repeated takes, and returns a clean A-roll in minutes. If you use it, step 3 becomes a review: watch the returned cut, use Auto Retakes to pick between the versions of each line it found, and move on.
Step 4: Tighten the pacing and add B-roll and text
Now watch the rough cut as a viewer. Anywhere you feel a sag, cut deeper. Anywhere a point needs a picture, add B-roll over the cut (an L cut: your voice continues, the picture changes). Add on-screen text only where it helps someone follow along: a step number, a key term, a number they need to remember. Deliver the promise of the title inside the first 30 seconds.
- Alternate punch-ins (a 10 to 20 percent zoom) on jump cuts so the frame changes with the cut.
- One title card at the start, one lower third when a name matters. That is plenty.
- Music, if any, comes in now: quiet, under the voice, and not for the whole video.
Step 5: Fix the audio
Audio is the difference between a video people watch and one they close. In order: remove background noise, cut the low rumble below about 80 Hz, add light compression so the loud words and quiet words sit closer together, then set one consistent level for the voice and keep music around 18 to 20 dB under it. If you recorded on a phone or a cheap mic, the noise removal step is doing most of the work.
AutoCut's Audio Enhance runs this pass on the footage it cuts, including phone and cheap-mic recordings, so the A-roll you get back has the noise gone and the voice cleaned before you touch a fader.
Step 6: Correct the colour, then grade
Correct first. White balance so skin looks like skin, exposure so the face sits in the middle of the range, then match every clip to the first. Only when every clip matches do you grade, and for a talking-head video the grade is small: a little warmth, a little contrast, saved as a preset you reuse every week so the channel looks like one channel. Stay in Rec 709 unless you are deliberately delivering HDR.
If that paragraph was a foreign language, do only the correction for your first videos: exposure, white balance, Rec 709 export. The color grading guide covers the rest when you are ready.
Step 7: Export, watch it back, upload
Export an MP4 with H.264 video and AAC audio at the resolution and frame rate you shot at (the exact settings are in the next section). Then watch the exported file from start to finish before you upload. Every editor alive has shipped a video with a missing clip or a muted track that only showed up in the export. Then upload: the guide to uploading a video to YouTube covers the fields that are easy to skip.
That is the whole workflow. Steps 1, 2, 4 and 7 are yours. Steps 3, 5 and 6 are the mechanical ones, and in 2026 they can be handed off. Your first AutoCut is free, on up to 30 minutes of raw footage, so the fastest way to learn what a clean rough cut looks like is to drop your first file in and study what comes back.
What export settings should a beginner use for YouTube?
Export an MP4 container with H.264 video and AAC-LC audio at 48 kHz, at the same frame rate you recorded, in the BT.709 colour space. For 1080p at 24, 25 or 30 fps YouTube recommends an 8 Mbps video bitrate; for 4K at those frame rates, 35 to 45 Mbps; stereo audio at 384 kbps. Every number below comes from YouTube's recommended upload encoding settings.
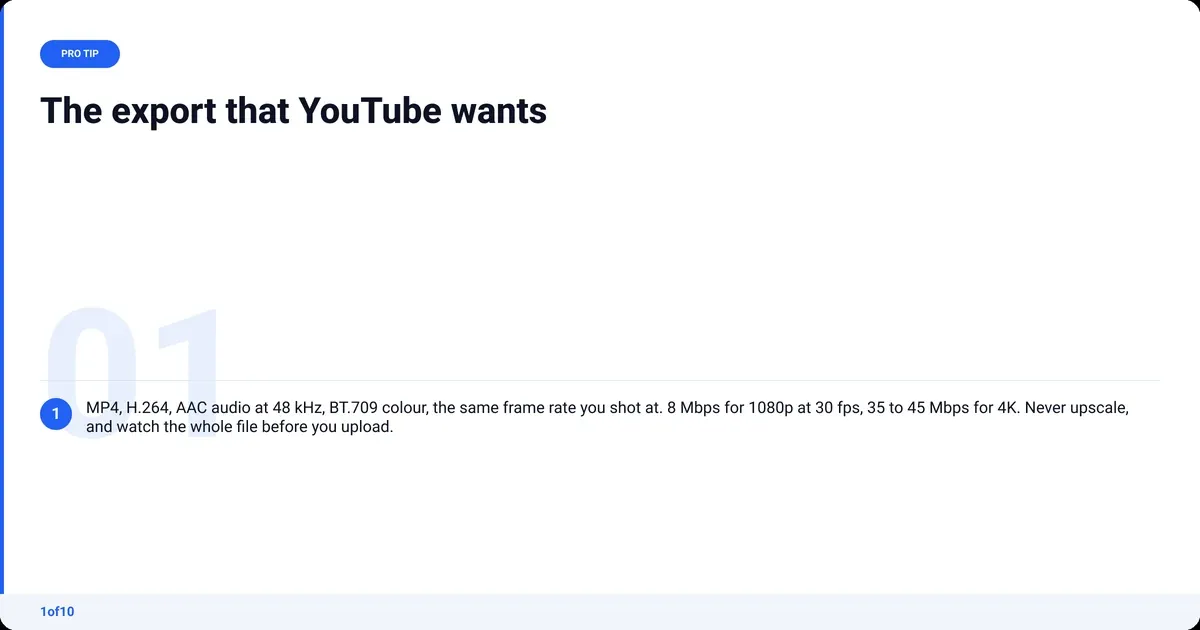
| Setting | YouTube's recommendation |
|---|---|
| Container | MP4 |
| Video codec | H.264 |
| Audio codec | AAC-LC (Opus and Eclipsa Audio also accepted), 48 kHz |
| Frame rate | Same as recorded: 24, 25, 30, 48, 50 or 60 |
| 1080p bitrate, 24/25/30 fps | 8 Mbps |
| 1080p bitrate, 48/50/60 fps | 12 Mbps |
| 4K (2160p) bitrate, 24/25/30 fps | 35 to 45 Mbps |
| 4K (2160p) bitrate, 48/50/60 fps | 53 to 68 Mbps |
| Stereo audio bitrate | 384 kbps |
| Colour space (SDR) | BT.709 |
Resolution follows the 16:9 frame: 1080p is 1920 x 1080 and 4K is 3840 x 2160, per YouTube's resolution and aspect ratio guidance. Three beginner rules on top of the table:
- Never upscale. Shot in 1080p? Export in 1080p. A 4K export of 1080p footage is a bigger file with the same picture.
- Match the frame rate to the footage. A 30 fps timeline exported at 24 fps stutters on every pan.
- Use the YouTube preset, then check it. Most editors have one. Confirm resolution, frame rate and that the audio is stereo, not one-channel mono.
Add chapters once it is uploaded: YouTube needs at least three timestamps, the first at 00:00, and each chapter at least 10 seconds long, per YouTube's video chapters help page. Chapters are the cheapest retention feature on the platform and beginners never use them.
What beginner mistakes make a video look amateur?
The mistakes that make a beginner's video look amateur are almost never about equipment. They are transitions where a cut should be, music louder than the voice, cuts that land mid-word, a heavy LUT on uncorrected footage, and a cut that is too slow because the editor was scared to lose anything. Every one of them is free to fix.
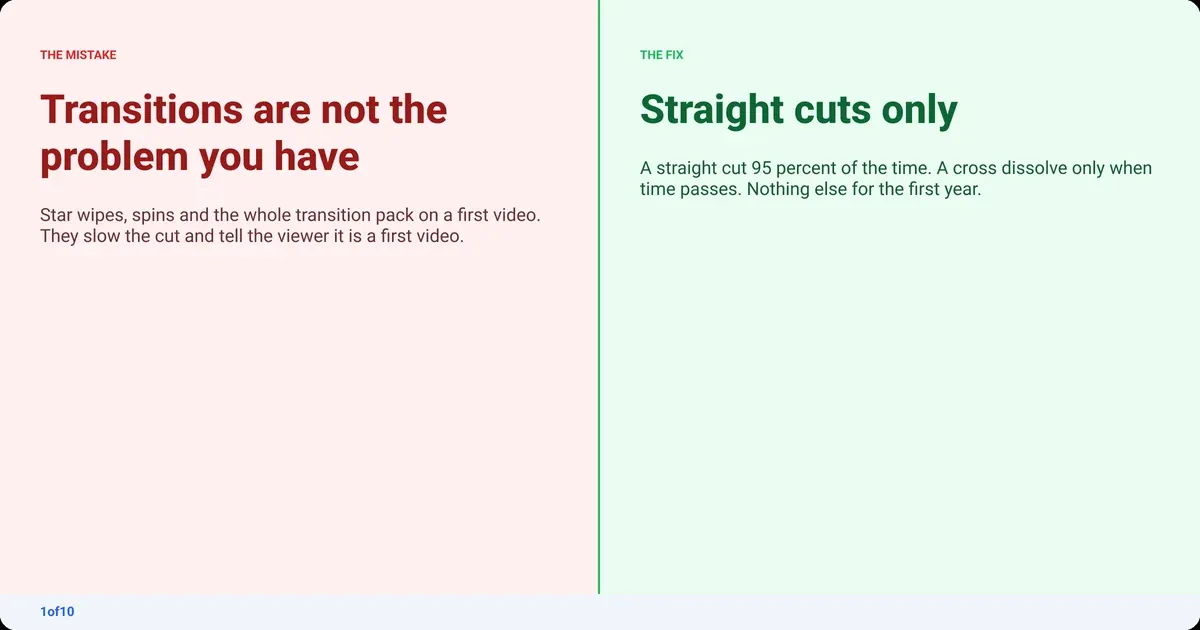
| Mistake | Why it hurts | Fix |
|---|---|---|
| Star wipes, spins, every transition in the pack | Screams "first video" and slows the cut | Straight cuts. A cross dissolve only when time passes |
| Music at the same level as the voice | Viewers strain, then leave | Music 18 to 20 dB under the voice, or none |
| Cutting mid-word or mid-breath | The ear hears the seam even if the eye misses it | Cut on the breath before the next sentence |
| LUT on uncorrected footage | Orange skin, crushed shadows | Correct white balance and exposure first, LUT at 30 to 50 percent |
| Keeping everything | A 14-minute video with 8 minutes of content | Cut until it hurts, then cut one more |
| Same framing on every jump cut | The jumps are visible and jarring | Alternate punch-ins on every other cut |
| Mixed frame rates on one timeline | Stutter on the clips that do not match | Shoot everything at one rate and set the timeline to it |
| Uploading without watching the export | A muted track or missing clip goes live | Watch the whole file once before upload |
| Skipping the thumbnail until the last minute | The best edit in the world gets no clicks | Plan the thumbnail before you shoot; the thumbnail design guide shows what works |
The last row is not an editing mistake, strictly, but it is the one that wastes the most editing. A video nobody clicks is a video nobody watches, however good the cut.
What is the 3:2:1 rule in video editing?
The 3:2:1 rule is a backup rule, not an editing technique: keep three copies of your footage, on two different kinds of storage, with one copy somewhere else. For a creator that means the copy on your computer, a copy on an external drive, and a copy in cloud storage. It matters because raw footage cannot be re-shot, and a drive fails on the one week you did not back up.
In practice, on the day you shoot:
- Copy the card to the project folder on your computer (copy 1).
- Copy the same folder to an external drive (copy 2, second medium).
- Let cloud sync upload the folder overnight (copy 3, offsite).
- Only then format the card.
Beginners searching for this sometimes mean one of two other rules with numbers in them. The rule of thirds is a framing rule: put your eyes on the top third line of the frame, not dead centre. The 180-degree rule is a continuity rule for two-person scenes: keep the camera on one side of the line between them so they never appear to swap places. Both are shooting rules, and both matter less for a single person talking to a camera than a good backup does.
How can I learn video editing for free?
You can learn video editing for free with free software, your own footage and a month of small projects, because the thing that teaches editing is editing, not watching. The free version of DaVinci Resolve is a complete professional editor. The official tutorial channels for each editor cover the buttons. Everything else is practice, and the practice plan below takes four weeks at a few hours a week.
| Week | Project | Skill it teaches |
|---|---|---|
| 1 | A 3-minute talking head, straight cuts only, one title | Cutting, the five controls, export |
| 2 | The same video, re-cut 30 percent shorter, with punch-ins | Pacing, jump cuts, the courage to delete |
| 3 | A 5-minute how-to with screen recording as B-roll | L cuts, cutaways, on-screen text |
| 4 | A full upload: audio pass, colour correction, chapters, thumbnail | The whole workflow end to end |
Three habits speed it up more than any course:
- Copy an edit you admire. Pick a video in your niche, watch 60 seconds, and write down every cut, punch-in and B-roll insert with its timecode. Then build the same rhythm with your own footage. This is how editors have always learned.
- Learn shortcuts for the five controls only. Split, ripple delete, J K L, in and out. Ten minutes on the editor's shortcut list saves an hour a video.
- Post the results. Unlisted is fine. A finished video, however rough, teaches more than a perfect one you never exported.
For the free tools question specifically: the phone editors and the desktop free tiers above cover the timeline. For the rough cut and the audio clean-up, your first free AutoCut covers a first video.
Video editing for beginners in 2026: where AI does the boring part
AI has changed which parts of video editing for beginners are still worth learning by hand. The mechanical stages, silence removal, take selection, noise removal and a base colour grade, are now done by software in minutes. The judgement stages, pacing, B-roll choice and what to cut for the viewer, are not, and those are the skills worth your practice hours. Knowing which is which is the most useful thing a beginner can learn in 2026.
Can ChatGPT edit a video?
No. ChatGPT is a text model. It can write your outline, tighten your script, suggest chapter titles and draft the description, and it is good at all of those. It cannot open a video file, find the pauses, pick between two takes or place a cut on a timeline. When a tool says "AI editing", it means one of two things: text-based editing, where you delete words in a transcript and the video follows, or an automated pass that does a specific mechanical job on the footage.
What the automated passes can do well in 2026, and what they cannot:
- Can: remove silence and dead air, detect repeated takes, transcribe and caption, remove background noise, level the voice, apply a base grade.
- Cannot: decide what the video is about, judge which take is funnier, choose the B-roll that proves the point, or know that the third section should be cut entirely.
The pattern is simple. If a task needs patience, software does it now. If it needs taste, it is still yours, and the time you save on the first kind is time you can spend on the second.
What AutoCut does with raw footage
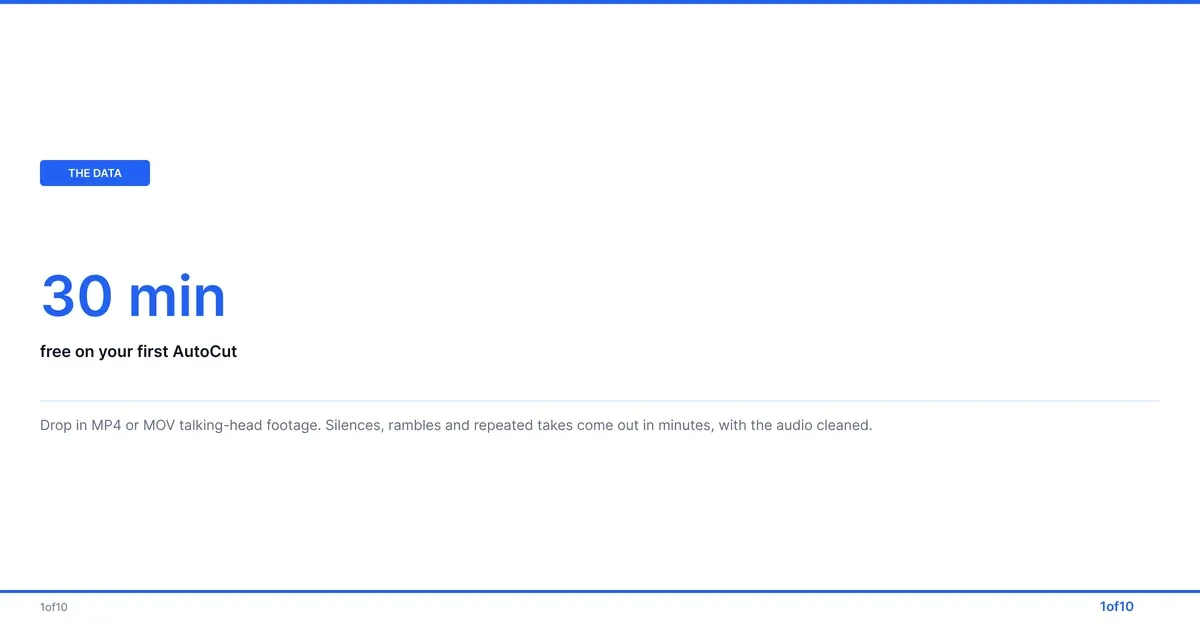
AutoCut is the first-pass editor built for exactly this split. Drop in raw talking-head footage, one file or several video or audio files, MP4 or MOV, up to 30 minutes, with no prompts and no setup. It returns a clean A-roll in minutes. Four things happen on the same upload:
- AutoCut removes silences, rambles, dead air and repeated takes.
- Auto Retakes lines every version of a take up side by side so you pick the one you like.
- Audio Enhance removes background noise and improves the voice, including phone and cheap-mic recordings.
- Auto Sync lines up the sources if you recorded on more than one mic, so picture and sound stay locked.
It produces the long video, not vertical clips. Use it standalone for a simple upload, or as the first step before Premiere Pro or DaVinci Resolve, where you add the B-roll, text and pacing decisions that are yours to make. The 1of10 video editor page walks through the full workflow. Your first AutoCut is free, on up to 30 minutes of raw footage, which is enough to see what a clean rough cut looks like on your own footage before you ever pay for anything.
Frequently asked questions
Can I learn video editing for free?
Yes. The free version of DaVinci Resolve is a full professional editor, iMovie is included on Apple devices, Clipchamp is included with Windows 11 and CapCut has a free tier. Each has an official tutorial channel. Add your own footage, a four-week practice plan of small projects, and the habit of copying edits you admire, and there is nothing left to pay for.
How long does it take to learn video editing?
A weekend to make a watchable video, a month to be comfortable, a year to develop taste. Cutting, sound and export are mechanical and come fast. Pacing, the sense of when a cut should land, only comes from editing many videos and watching how people respond to them. Start posting early so that feedback loop begins in month one, not month twelve.
Is CapCut good enough for YouTube videos?
For a beginner, yes. CapCut handles straight cuts, titles, auto captions and audio levels, and it exports 1080p and 4K files YouTube accepts. Its limits show up when you want multi-track audio control, serious colour work or a large long-form project, at which point DaVinci Resolve's free version or Premiere Pro is the step up. Start with it; move when you hit a wall.
What is the difference between a rough cut and a final cut?
A rough cut has the structure and the right takes but no polish: no B-roll, no music, no colour work, loose timing. A final cut has everything: tightened pacing, B-roll, text, a finished audio mix and a colour grade, ready to export. Between them sit the fine cut and picture lock. Beginners should judge whether a video works at the rough cut, before spending hours on polish.
Do I need an expensive computer to edit videos?
No. Any recent laptop edits 1080p talking-head footage comfortably, and phones edit it well in CapCut or iMovie. 4K and heavy colour work want more memory and a decent graphics card, and if playback stutters, editors let you work from small proxy files and swap the originals back at export. Upgrade when the software slows you down, not before.
What is B-roll and do I really need it?
B-roll is the footage you cut to while your voice continues: a screen recording, a close-up, the thing you are describing. You do not need it for a first video; a clean A-roll with punch-ins on the jump cuts holds attention fine. Add B-roll when a point needs a picture to be understood, and shoot it yourself rather than reaching for stock clips.