
How to Edit YouTube Videos in 2026 (Without Learning Premiere Pro First)
To edit a YouTube video, cut the raw footage down to the takes you want, tighten the pacing, cover the cuts with B-roll, clean the audio, correct the color, export an H.264 MP4 and package it with a thumbnail and title. The cutting stage takes longer than everything else combined, and it is the one stage you can now hand off: AutoCut turns up to 30 minutes of raw talking-head footage into a clean A-roll in minutes.
Almost every guide on how to edit YouTube videos is really a guide to one piece of software. Premiere Pro, DaVinci Resolve, CapCut, whichever one the author uses. That is not your problem. Your problem is a memory card with 47 minutes of you talking to a camera, a video due Sunday, and no idea which of the four things you have to do first.
So this guide is about the process, not the buttons. Every stage is explained in the order a working editor does it, and it applies to any editor you pick. At the end is a workflow that gets the same video done in a fraction of the time, because most of the hours you are dreading are hours a machine can do now.
What does YouTube video editing actually involve?
Editing a YouTube video is eight jobs done in sequence: organise the footage, make the rough cut, fix the pacing, add B-roll and text, fix the audio, correct the color, export, then package the upload with a thumbnail and title. Only two of those jobs (pacing and B-roll) need taste. The rest are mechanical, and mechanical means they can be automated.
Here is the whole job in one table. The last column decides how you should spend your time.
| Stage | What it does | Skill needed | Automatable in 2026? |
|---|---|---|---|
| 1. Organise | Import, name, sort the raw files | None | Partly |
| 2. Rough cut | Remove silence, rambles, bad takes | Patience | Yes |
| 3. Pacing | Decide what stays, in what order, how fast | Taste | No |
| 4. B-roll and text | Cover cuts, illustrate points | Taste | No |
| 5. Audio | Noise, EQ, levels, music | Technical | Yes |
| 6. Color | Correction, then a grade | Technical | Yes |
| 7. Export | Encode to YouTube's spec | None | Yes |
| 8. Packaging | Thumbnail, title, description | Research | Partly |
If you only read one section, read the rough cut one. That is where beginners lose their weekends.
How long does it take to edit a YouTube video?
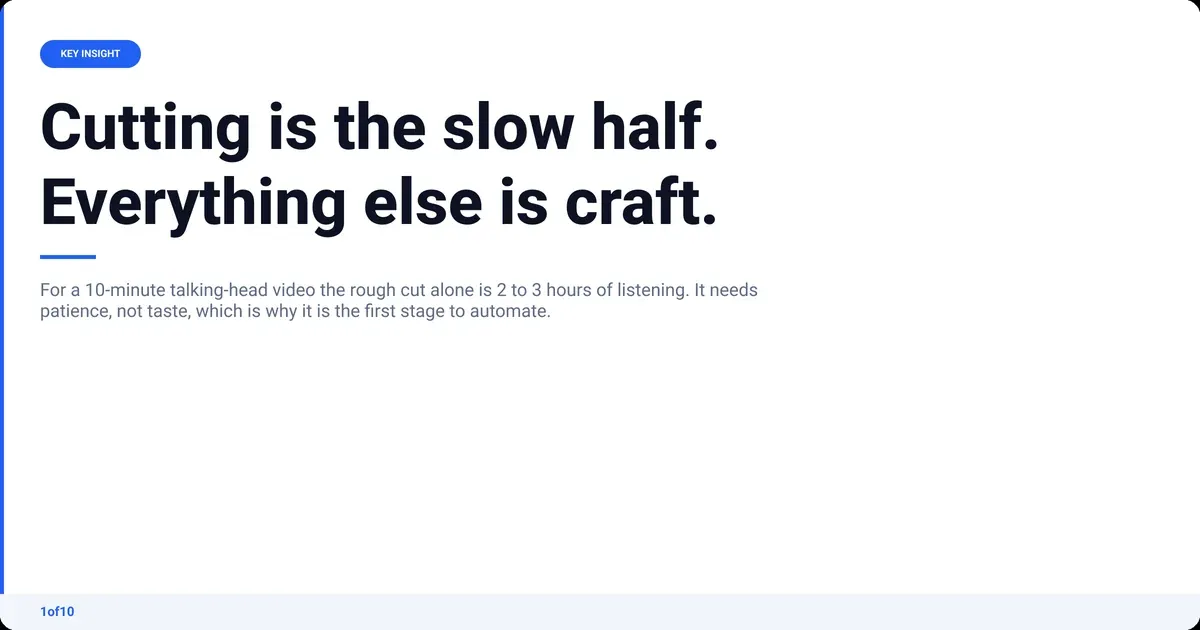
Editing a 10-minute talking-head video by hand takes roughly 4 to 9 hours from raw footage to upload, and the rough cut alone is usually 2 to 3 of those hours. The range depends on how much you shot: an unscripted talking head typically produces 4 to 6 minutes of raw for every finished minute, and every raw minute has to be listened to at least once.
These are working estimates from editing talking-head content, not a survey. Here is a realistic budget for a 10-minute video cut from 45 to 60 minutes of raw footage.
| Stage | By hand | With the rough cut, audio and color automated |
|---|---|---|
| Organise and import | 15 to 30 min | 10 min |
| Rough cut | 90 to 180 min | 5 min processing, 20 min review |
| Pacing pass | 30 to 60 min | 30 to 60 min |
| B-roll, text, graphics | 45 to 90 min | 45 to 90 min |
| Audio clean-up and mix | 20 to 40 min | 5 min review |
| Color correction and grade | 15 to 30 min | 5 min review |
| Export and upload | 20 to 40 min | 20 to 40 min |
| Thumbnail and title | 30 to 60 min | 30 to 60 min |
| Total | 4.5 to 9 hours | 2.5 to 4.5 hours |
Three things shape that number more than anything else:
- How much you shot. Every extra minute of raw is a minute you scrub through. Extra takes "just in case" are the biggest reason edits run long.
- Whether you cut by hand. Silence removal and take selection are pure grind. This is what the automation column removes.
- How much B-roll you want. A face-to-camera video with on-screen text is a two-hour job. A cutaway every 8 seconds is a two-day job.
The second column does not make the whole edit fast. Pacing and B-roll take as long as they take. The boring hours disappear and the creative ones remain.
Step 1: Plan the edit and organise your footage
The fastest edit is the one you planned before you pressed record. Write a bullet outline (not a word-for-word script unless you can read one naturally), record in short takes with a pause between them, and say the take number out loud when you restart a line. Then put everything in one project folder with subfolders for video, B-roll, audio and graphics before you open the editor.
That last part is admin, and it is also where most guides stop. Here is the version that saves time:
- Shoot for the edit. Leave two seconds of silence before and after each take. Clap once when you restart a line. Both give the cut a clean place to land, and both give automated silence removal something obvious to find.
- Record at the frame rate you will upload. YouTube's own guidance is to upload at the same frame rate you recorded at, so pick 24, 25, 30 or 60 and stay there for every clip in the video. Mixed frame rates cause stutter that no amount of editing hides.
- Name the raw files before importing.
ep12-take-A,ep12-broll-desk,ep12-audio-mic. Your future self at hour five will thank you. - Import everything at once. Video, the separate mic track if you used one, music, logos. Then sync the audio to the video before you touch a cut.
- Make proxies if you shot 4K on a laptop. Most editors can generate low-resolution copies for editing and swap the full files back at export. Skip this and every scrub through the timeline stutters.
Step 2: How do you cut the boring parts out of a YouTube video?
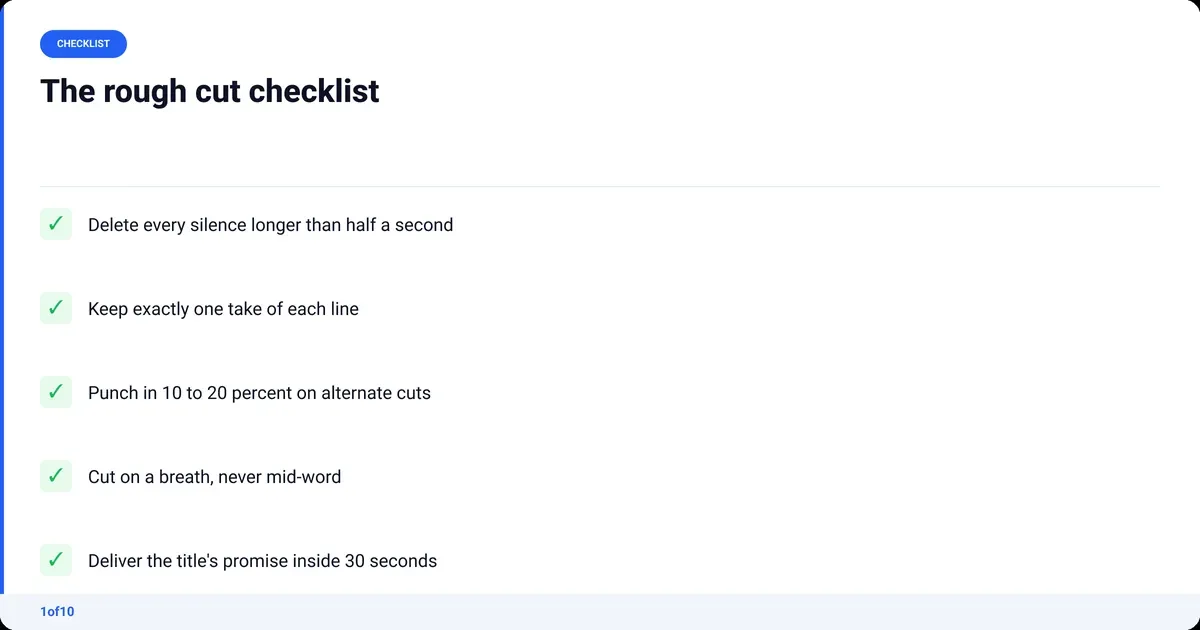
You cut the boring parts out by making a rough cut: go through the footage once, delete every silence longer than about half a second, delete every false start and ramble, and keep exactly one take of each line. What survives is your A-roll, the spine of the video. Everything else in the edit is built on top of it, so the rough cut has to happen first.
This is the stage that takes half the edit, and the one every software tutorial glosses over with "trim your clips". Here is what you are actually doing.
Cut the silence first
Turn on the waveform view in your timeline. Every flat stretch is a pause, a breath, a moment where you looked at your notes. Cut them all. A pause that felt natural while recording is dead air on playback. The video gets much shorter before you have made a single creative decision.
Pick one take per line
Every time you restarted a sentence, you left two or three versions of it in the footage. Play each version, pick the one with the best delivery, delete the others. The tell for a good take is not that it is word-perfect; it is that you sound like you mean it. Do not leave decisions for later. Later never comes and the video ends up with a repeated line.
Make the jump cuts invisible
Cutting silences and takes leaves jump cuts: the same framing, a small jump in your position. YouTube viewers are used to them. To soften the worst ones, alternate between the full frame and a 10 to 20 percent punch-in on every cut, and try to cut on a breath rather than mid-word. If you shot with two cameras, cutting between angles hides everything.
Pace for the viewer who is about to leave
The rough cut removes what is dead. The pacing pass removes what is merely alive. Watch the cut back at 1.5x speed and note every moment you get restless. Those are the moments a viewer leaves. Then:
- Deliver the title's promise in the first 30 seconds. No logo intro, no "before we begin".
- Move the best moment forward. If minute six is the reason to watch, tease it in minute one.
- Cut any sentence that explains what you are about to say instead of saying it.
- Check your retention graph on the last three videos in YouTube Analytics. The dips tell you which kind of segment your audience skips.
Now the honest part. Everything in this section apart from the pacing pass is listening. A 45-minute recording means 45 minutes of listening, then a second pass to check you did not cut a breath in half. It needs hours, not taste.
This is the job AutoCut, 1of10's AI video editor, does for you. Drop in the raw footage, one file or several, MP4 or MOV, up to 30 minutes, and it returns a clean A-roll in minutes with the silences, rambles, dead air and repeated takes gone. Its Auto Retakes view lines up every version of a take side by side so you pick the one you like instead of hunting for it in the timeline. Then you spend your time on the pacing pass, which is the part that was worth your time all along.
Step 3: B-roll, text and graphics
B-roll is any footage that is not you talking to camera: a screen recording, a product shot, a clip of the thing you are describing. It has two jobs. It hides a cut you could not make invisible, and it shows the viewer the noun you just said. If a shot does neither, it is decoration, and decoration is the most expensive thing in your edit.
Work through the A-roll in order and ask, at each cut and each concrete noun, "would a picture help here?" Then:
- Cover the ugly cuts. Any jump cut the punch-in trick did not fix gets a two-to-four-second cutaway.
- Illustrate, do not decorate. Talking about a spreadsheet? Show the spreadsheet. Talking about how you felt? Stay on your face. Viewers read faces better than stock footage.
- Shoot your own B-roll on a phone. A 20-second clip of your desk, your screen, your hands, in the same room, beats any stock clip. Stock reads as stock.
- Put the key phrase on screen, not the whole sentence. Three words, big, in one consistent font. Same position every time.
- One lower third, once. Your name and what you do, in the first minute. Not every time you appear.
Captions are a separate decision. YouTube generates automatic captions viewers can toggle; burned-in captions help the phone viewer with the sound off. If you burn them in, keep them short and out of the bottom band where YouTube's controls sit.
Nothing in this stage automates well, because it is all judgement. Budget for it. With the rough cut done for you, this is where your hours now go.
Step 4: Fix the audio
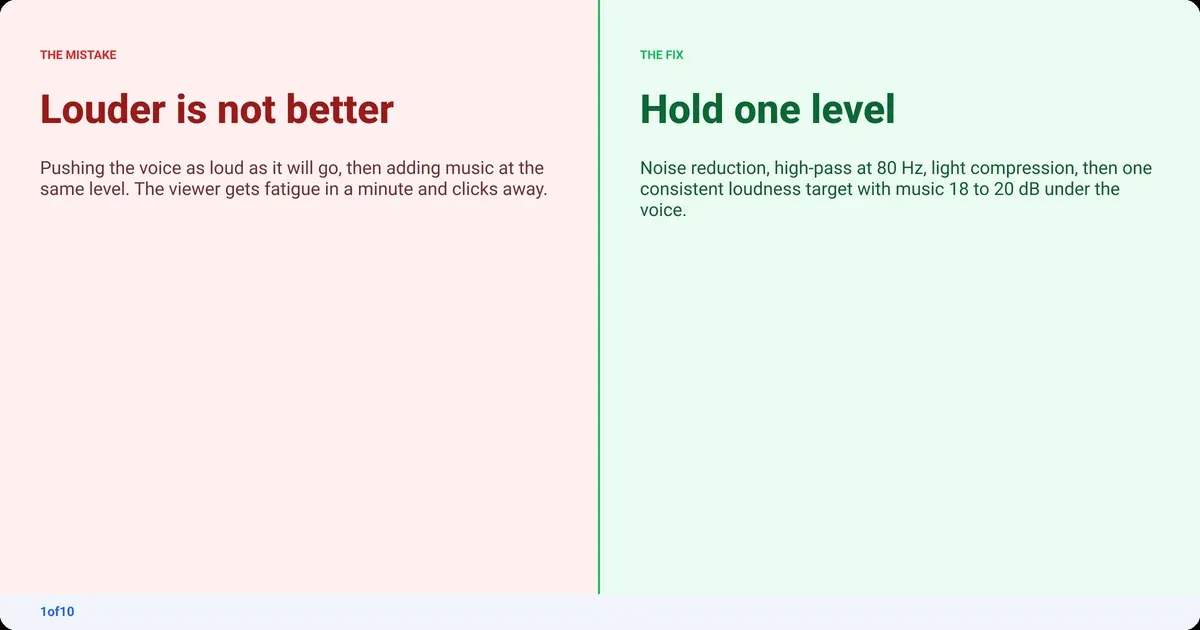
Viewers forgive soft video and never forgive bad audio. Fixing it is four moves in order: remove the background noise, cut the low rumble with a high-pass filter, even out the loud and quiet words with a compressor, then set the overall level so the voice is consistent from the first minute to the last. Music goes under all of that, well below the voice.
Do it in this order, because each step makes the next one easier:
- Noise reduction first. Sample a second of room tone (the hiss between sentences) and let the tool subtract it. Go gentle. Over-processed voice sounds like it is underwater.
- High-pass filter around 80 Hz. Removes desk thumps, air conditioning and traffic rumble without touching the voice.
- Compress lightly. A ratio around 3:1 with a few dB of gain reduction makes your quiet words audible without making your loud ones painful.
- Set a loudness target and hold it. Most editors aim for about -14 LUFS integrated for YouTube. YouTube applies its own loudness normalisation on playback, so there is no prize for being louder; there is only a penalty for being inconsistent.
- Music at least 18 to 20 dB under the voice. If you can hum the track while you are talking, it is too loud. Duck it further under speech if your editor has a ducking tool.
If you recorded on a phone or a cheap mic in an echoey room, you have two options. Do all five steps by hand and accept that a bad room only partly recovers, or let AutoCut's Audio Enhance remove the background noise and improve the voice as part of the same pass that makes the rough cut. It is built for exactly that phone-and-cheap-mic case.
Step 5: Color correct, then grade
Color has two stages that beginners mash together. Correction makes the footage look right: white balance so skin is not orange or blue, exposure so the face is neither muddy nor blown out, and matching so every clip looks like it was shot in the same room. Grading comes second and gives the video a look. Correct every video. Grade only when correction is done.
The order that works:
- If you shot in a log profile, convert it first. Apply your camera's log-to-Rec 709 conversion before touching anything else. Log footage looks flat by design; grading the flat image directly is how you get grey skin.
- White balance on skin. Get the face right and the rest of the frame usually follows.
- Exposure and contrast. Lift the shadows enough to see detail, set the highlights so nothing clips.
- Match every clip to your hero clip. Pick the best-looking take and match everything else to it. Consistency across a video matters more than any look.
- Then, and only then, a grade. A small push of warmth, a touch of contrast, a lift in the blacks. Save it as a preset. Reuse it on every video so your channel looks like one channel.
Two technical notes. YouTube recommends BT.709 (the same standard people call Rec 709) as the color space for SDR uploads, so unless you are deliberately delivering HDR, that is the space your timeline and export should be in. If that whole list read like a foreign language, start with one step: set the project and the export to Rec 709 and correct exposure and white balance. The color grading guide walks through the rest.
Step 6: Export settings for YouTube
Export an MP4 container with H.264 video and AAC-LC audio at 48 kHz, at the same frame rate you recorded, in the BT.709 color space. For 1080p at 24, 25 or 30 fps, YouTube recommends a video bitrate of 8 Mbps; for 4K at those frame rates, 35 to 45 Mbps. Stereo audio goes at 384 kbps. Every number here is from YouTube's recommended upload encoding settings.
| Setting | YouTube's recommendation |
|---|---|
| Container | MP4, with the moov atom at the front (Fast Start) |
| Video codec | H.264, progressive, High Profile, closed GOP, 4:2:0 chroma |
| Audio codec | AAC-LC (Opus and Eclipsa Audio also accepted), 48 kHz |
| Frame rate | Same as recorded: 24, 25, 30, 48, 50 or 60 |
| 1080p bitrate, 24/25/30 fps | 8 Mbps |
| 1080p bitrate, 48/50/60 fps | 12 Mbps |
| 4K (2160p) bitrate, 24/25/30 fps | 35 to 45 Mbps |
| 4K (2160p) bitrate, 48/50/60 fps | 53 to 68 Mbps |
| Stereo audio bitrate | 384 kbps |
| Color space (SDR) | BT.709 |
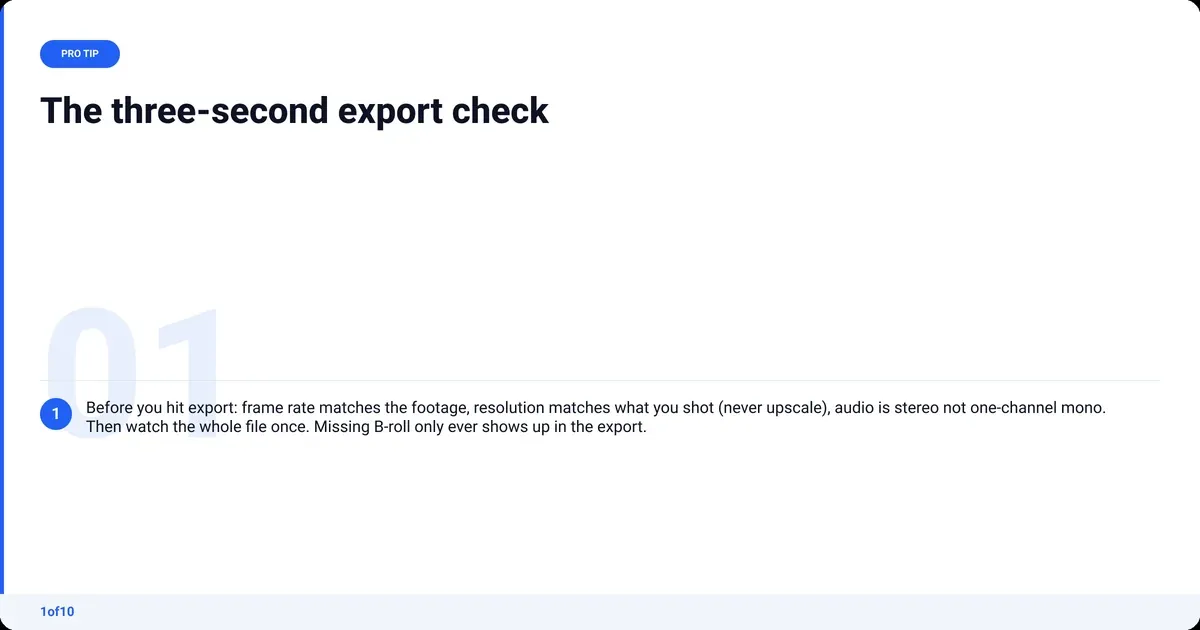
Most editors have a YouTube preset that sets all of this in one click. Check three things before you export: the frame rate matches your footage, the resolution matches what you shot (do not upscale 1080p to 4K, it gains nothing), and the audio track is stereo, not one-channel mono. Then watch the exported file once, start to finish. Every editor has shipped a video with a missing B-roll clip that only showed up in the export.
Once the file is out, the upload itself has its own set of fields to get right. The step-by-step guide to uploading a video to YouTube covers the visibility, chapters and end-screen settings that are easy to skip.
Step 7: Thumbnail and title before you upload
The edit decides whether people keep watching. The thumbnail and title decide whether anyone starts. YouTube shows your video as an impression, and the share of impressions that turn into clicks is your click-through rate (CTR). A finished video with a weak thumbnail is a finished video nobody sees, so packaging is part of editing, not an afterthought to it.
Do this while the export is rendering:
- Grab your expression frames from the timeline. You already scrubbed the whole video. Screenshot the three frames where your face is doing something: surprise, disbelief, a grin. A real frame beats a posed photo because it matches the video.
- Write the title as the promise, not the summary. "I tried X for 30 days" is a promise. "My experience with X" is a summary. The title formats that go viral are all promises.
- Check what a good CTR looks like for your size. Benchmarks move with channel size and niche; what counts as a good YouTube CTR walks through the ranges.
- Design for the phone. The thumbnail is read at the size of a postage stamp. One face, one object, three words at most. The YouTube thumbnail design guide covers the composition rules.
This is the half of the job 1of10 was built for. The AI thumbnail generator drafts options from your expression frames, and the Thumbnail Winners view in Analyze shows real A/B test winners from other channels with the measured CTR change, so you see which style is winning in your niche before you commit. Every 1of10 plan includes the AI generators on monthly credits, and research never uses credits.
What do YouTubers use to edit videos?
Most established YouTubers edit in one of four programs: Adobe Premiere Pro, DaVinci Resolve, Final Cut Pro (Mac only) or CapCut. A growing share now put an AI tool in front of that editor to do the rough cut and audio automatically, and only open the full editor for color, B-roll and graphics. Beginners mostly start on CapCut or the free version of Resolve.
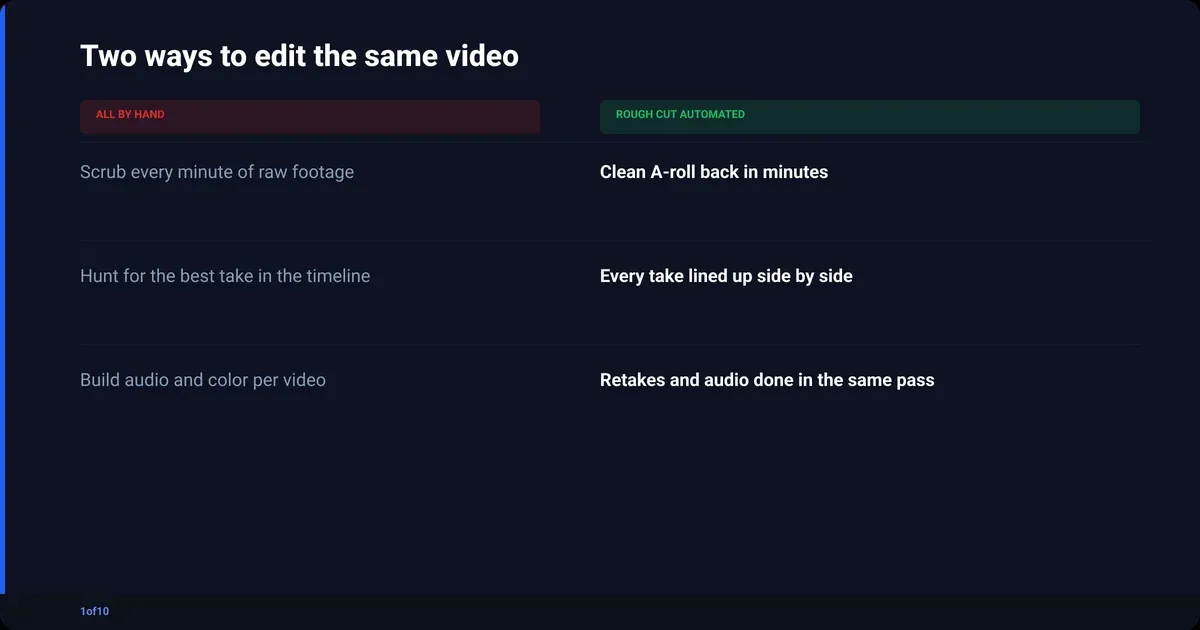
The honest answer to "which is best" is "best for what". Here is the field.
Best video editing software for YouTube, by situation
| Tool | Best for | Cost model | Learning curve |
|---|---|---|---|
| DaVinci Resolve | Full editing plus the strongest color tools; a serious free version | Free version; paid Studio upgrade | Steep |
| Adobe Premiere Pro | Industry-standard timeline, deepest plugin and template market | Subscription | Steep |
| Final Cut Pro | Fast timeline on a Mac, magnetic editing | One-time purchase, Mac only | Medium |
| CapCut | Quick edits, captions, Shorts, phone and desktop | Free tier plus a paid Pro tier | Low |
| Descript | Text-based editing: cut the transcript, the video follows | Free tier plus paid plans | Low |
| AutoCut (1of10) | Raw talking-head footage to clean A-roll in minutes, no prompts, no setup | First AutoCut free, up to 30 minutes | None |
| YouTube Studio editor | Trims, cuts and blurs on an already-uploaded video | Free | None |
Three ways to read that table:
- If you want one program forever, learn DaVinci Resolve. The free version does almost everything, and the color tools are the best in the list.
- If you want a published video this week, use AutoCut for the rough cut and the audio, then finish in CapCut or Resolve for color, B-roll and text. AutoCut works standalone or as the first step before Premiere Pro or DaVinci Resolve, so it locks you into nothing.
- If you make Shorts more than long-form, CapCut on the phone is fine. Stop reading the software debate.
How to edit videos for YouTube on a phone
Phone editing works for Shorts and for short, simple long-form. Shorts can be up to 3 minutes long, and CapCut or the YouTube app can cut, caption and add music to one without touching a computer. Where the phone breaks down is a 20-minute talking-head video: scrubbing an hour of raw footage on a six-inch screen is miserable, and the audio and color tools are thin. For long-form, record on the phone if you like, then move the files to a computer or upload them to AutoCut.
Is there a free way to edit YouTube videos?
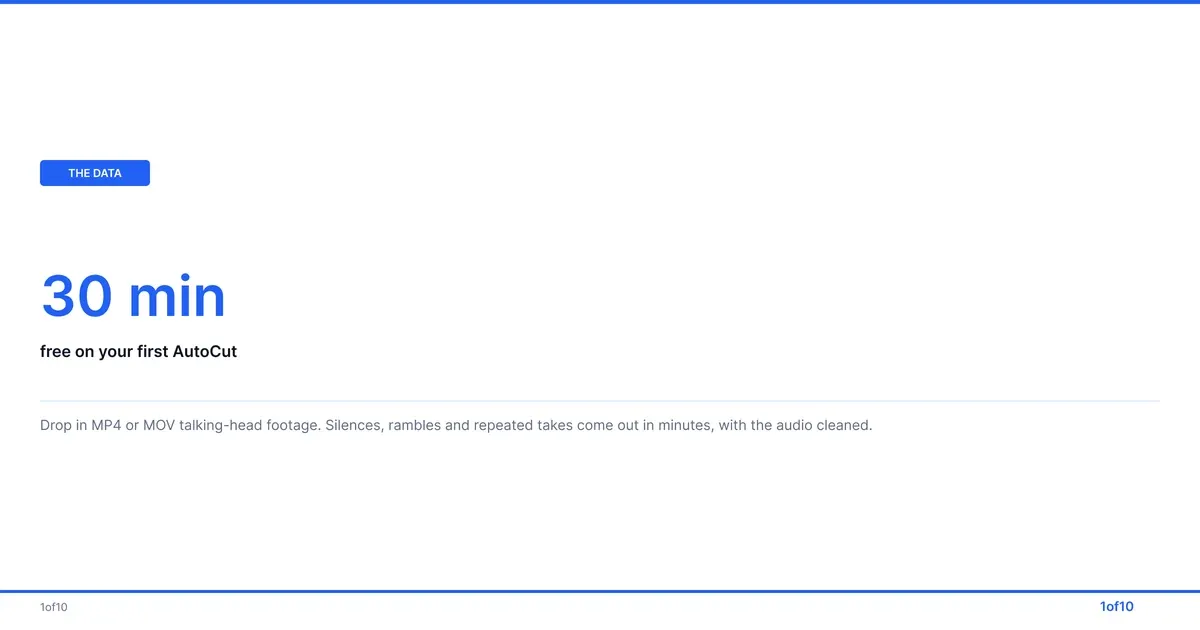
Yes, and the free options are good enough to build a channel on. DaVinci Resolve's free version is a full professional editor. CapCut's free tier handles cuts, captions and music on phone and desktop. YouTube Studio's built-in editor trims, cuts and blurs a video you have already uploaded. And your first AutoCut is free, on up to 30 minutes of raw footage, which covers the slowest part of the job.
Where each free route fits:
- DaVinci Resolve (free version): everything in this guide, by hand, with the best color tools available. The cost is the learning curve.
- CapCut (free tier): fast cuts, auto-captions, templates. Good for Shorts and simple long-form. Some effects sit behind the paid tier.
- Canva and other online template editors: fine for a slideshow-style video or an intro; not built for cutting an hour of talking-head footage.
- YouTube Studio editor: only for videos already on YouTube. Covered in the next section.
- AutoCut: the rough cut, Auto Retakes, Auto Sync and Audio Enhance, on up to 30 minutes of raw footage, with your first AutoCut free. The output is a long-form A-roll you can publish as is or take into any of the editors above.
The combination most new creators land on is AutoCut for the cut and CapCut or Resolve for the polish, at a total cost of nothing.
Can you edit a YouTube video after posting?
Yes, within limits. The editor inside YouTube Studio trims the beginning, middle or end of a published video, blurs faces or areas, and adds an audio track, without re-uploading. The URL, view count and comments stay the same. It works on videos under six hours; outside the YouTube Partner Program, a video with over 100,000 views can only be blurred, not cut. Source: YouTube Help's trim and cut page.
To trim or cut a section of a published video:
- Open YouTube Studio on a computer and go to Content.
- Click the video, then Editor in the left menu.
- Choose Trim and cut. To remove the start or end, drag the handles. To remove a section from the middle, place the playhead at the start of the section and choose New cut, then drag the cut's edges.
- Preview, then Save. Processing takes a while on longer videos.
Two cautions. YouTube removed the "revert to original" option, so saved edits are permanent; preview carefully. And the editor cannot replace the video file itself. For anything it cannot do (a wrong clip, a missing section, a re-shoot), you upload a new video.
Can you edit a YouTube video that is not yours?
Not on YouTube. There is no way to edit someone else's upload from your account. To react to or remix a video you need the creator's permission or a use that fits fair use in your country, and fair use is a legal defence, not a licence. Cut only what you have the right to use, and credit the source.
How to edit YouTube videos faster: a video editing workflow that survives weekly uploads
The fastest video editing workflow is the one where you never touch the mechanical stages. Shoot for the edit, let software make the rough cut, clean the audio and correct the color, then spend all of your hands-on time on pacing, B-roll and packaging. Done that way, a 10-minute talking-head video is an afternoon, not a weekend, and the quality goes up because your attention goes where it matters.
The principles, in the order they pay off:
- Batch the recording. Record two or three videos in one session with the same lighting and the same shirt. One setup, three edits that match automatically.
- Automate the rough cut. This is the single largest time saving available to a solo creator in 2026. Nothing else on this list comes close.
- Do the pacing pass in one sitting. Watch at 1.5x, cut what drags, and do not open the B-roll folder until it is done. Mixing the two passes doubles the time of both.
- Template the graphics. One title style, one lower third, one caption style, saved as presets. Every video uses them. Never redesign at 11pm.
- Save your audio chain and color grade as presets. Or let the tool apply them. Either way, never rebuild them per video.
- Package while the export renders. Thumbnails and titles come from the frames you already scrubbed. Do them while the machine is busy.
How AutoCut fits into the workflow
AutoCut is the rough cut and audio stages in one pass, with no prompts and no setup. Here is the whole process:
- Open the AutoCut AI video editor and drop in your raw talking-head footage: one file or several video and audio files, MP4 or MOV, up to 30 minutes.
- Wait. In minutes it returns a clean A-roll with the silences, rambles, dead air and repeated takes removed.
- Open Auto Retakes. Every version of each take is lined up side by side; pick the one you like. This replaces the hour of "which take was better" scrubbing.
- Audio Enhance has removed the background noise and cleaned up the voice, including from a phone or a cheap mic. If you recorded on more than one mic, Auto Sync has lined the sources up.
- Download the clean A-roll. Publish it as is, or take it into Premiere Pro or DaVinci Resolve for color, B-roll, text and graphics.
What it is not: a clip maker. AutoCut produces the long video, not vertical highlights. It is the first step of a long-form edit, and it is the step that was eating your weekend.
Your first AutoCut is free, on up to 30 minutes of raw footage. Drop in your last recording and see what comes back.
More comparisons:
Frequently asked questions
What do YouTubers use to edit videos?
Most YouTubers edit in Adobe Premiere Pro, DaVinci Resolve, Final Cut Pro or CapCut. Beginners usually start on CapCut or the free version of Resolve. In 2026 a growing number put an AI tool such as AutoCut in front of that editor to do the rough cut and audio automatically, and only open the full editor for color, B-roll and graphics.
Is there a free way to edit YouTube videos?
Yes. DaVinci Resolve's free version is a full professional editor. CapCut's free tier covers cuts, captions and music. YouTube Studio's built-in editor trims, cuts and blurs videos you have already uploaded. Your first AutoCut is free, on up to 30 minutes of raw talking-head footage, which removes the slowest stage of the job before you open any of the others.
How do I cut a part of a YouTube video?
In your editor, place the playhead at the start of the section, split the clip, do the same at the end, and delete the middle. For a video already on YouTube, open YouTube Studio, choose the video, then Editor, then Trim and cut, and use New cut to remove a middle section. The URL, views and comments are unchanged.
How long does it take to edit a YouTube video?
By hand, a 10-minute talking-head video takes roughly 4 to 9 hours from raw footage to upload, and the rough cut is about half of that. With the rough cut, audio and color automated, the same video takes about 2.5 to 4.5 hours, nearly all of it spent on pacing, B-roll and the thumbnail rather than on scrubbing silence.
How do I edit YouTube videos on my phone?
For Shorts, use CapCut or the YouTube app to trim, caption and add music, then upload directly. For long-form, record on the phone if you like, but move the files to a computer or upload them to AutoCut for the cut; scrubbing an hour of raw footage on a phone screen is slow and the audio and color tools are limited.
How many views on YouTube do you need to make $2,000 a month?
It depends on your RPM, the revenue you earn per thousand views after YouTube's share. At a $5 RPM you need about 400,000 monetised views a month; at $20 you need about 100,000. RPM varies widely by niche and audience country, and the YouTube pay-per-view breakdown shows the ranges by niche.