
Color Grading for YouTube: What It Is and How to Get It Right in 2026
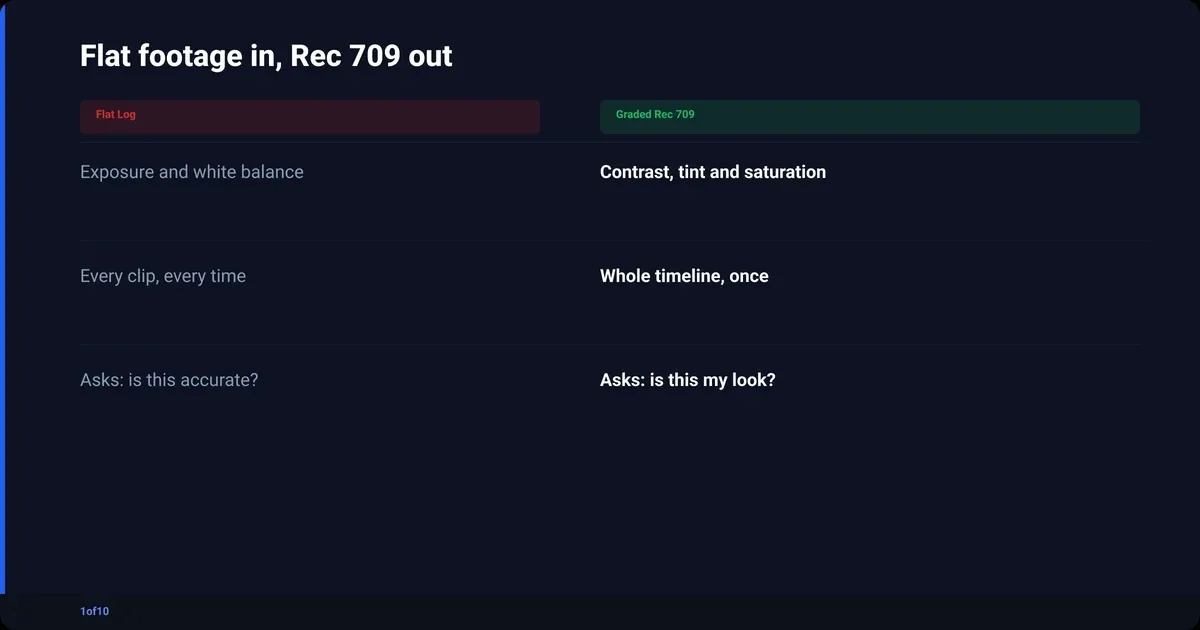
Color grading is the last color pass on a video. After you fix exposure and white balance (that part is color correction), you shape the contrast, saturation and palette so every shot matches and the whole video has one deliberate look. For YouTube, that look gets delivered in Rec 709, the SDR color standard YouTube names in its own upload recommendations, so the video plays back the way it looked on your timeline.
If you have ever exported a video that looked fine in the editor and then looked grey, or radioactive, on your phone, this post explains why and what to do about it. Most of the guides that rank for color grading were written for film school. This one is for someone with a mirrorless camera, a ring light and a video due on Thursday.
By the end you will know how to grade by hand in Premiere Pro and DaVinci Resolve, and how to get a clean talking-head A-roll from AutoCut before you grade, so your time goes on the picture, not on deleting silences.
If editing itself is new to you, start with the complete guide to editing YouTube videos and come back here when your rough cut is done. Grading is the last thing you do, not the first.
What is color grading?
Color grading is the creative step where you decide what a finished video looks like: how much contrast it has, how saturated the colors are, what tint lives in the shadows and highlights, and how skin reads. It sits on top of color correction, which makes the footage neutral. Correction fixes; grading chooses.
A grade changes five things, and knowing the names makes every tutorial easier to follow:
- Contrast: the distance between the darkest and brightest parts of the frame. More contrast looks punchy, less looks soft or "filmic".
- Saturation: how strong the colors are. Zero is black and white; too much is the oversaturated YouTube look everyone recognises and nobody likes.
- Hue: which color family something is. A grade might push the shadows toward blue and the highlights toward warm.
- Luminance: how bright a color is. Two greens with the same hue and saturation can be a dark forest or a bright lime.
- Consistency: the shot after the cut looks like the shot before it. This is the one viewers notice most and creators skip most.
| Term | What it controls | What it looks like when it is wrong |
|---|---|---|
| Contrast | Black point to white point | Muddy grey, or crushed shadows with no detail |
| Saturation | Color strength | Grey and lifeless, or neon skin |
| Hue | Color family | Green skin, purple shadows |
| Luminance | Brightness of a color | A red shirt that glows brighter than the face |
| Consistency | Shot-to-shot match | A cut that looks like a different day |
Viewers cannot name any of this, but they can feel it. Well-graded footage reads as "this person knows what they are doing" before you say a word.
Color correction vs color grading: what is the difference?
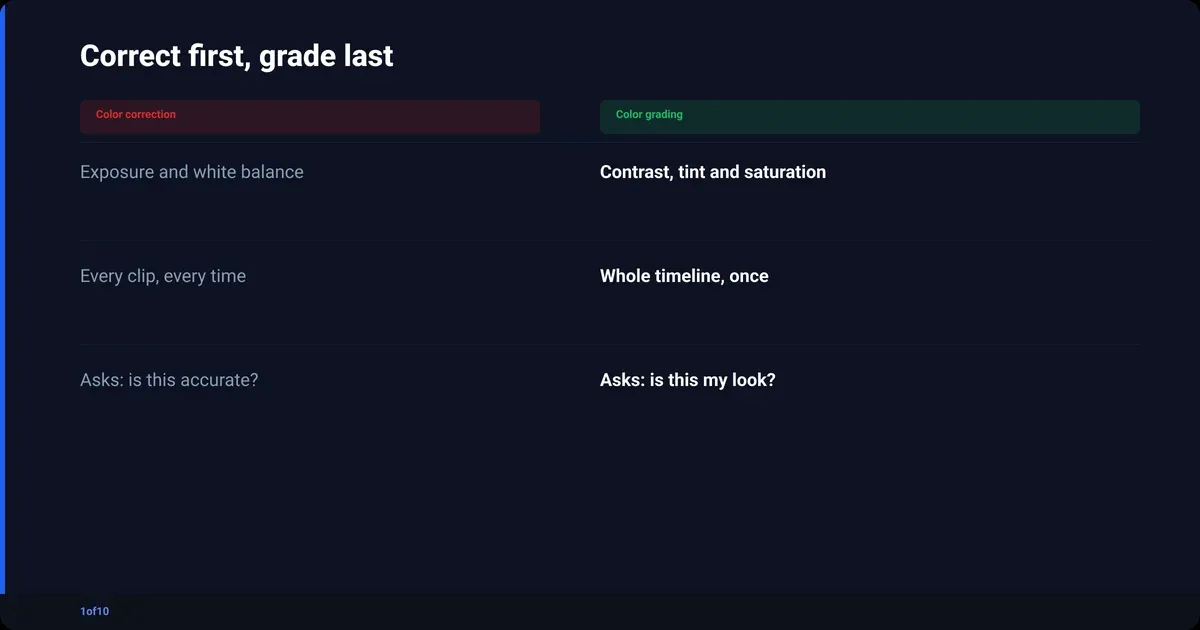
Color correction is the technical fix: exposure, white balance, and matching cameras so the footage is neutral and accurate. Color grading is the creative pass on top: choosing a look. Correction asks "is this right?" and grading asks "is this how I want it to feel?" You always correct first, because a grade built on wrong footage breaks the moment you cut to the next shot.
| Color correction | Color grading | |
|---|---|---|
| Goal | Accurate, neutral, matched | Deliberate, styled, consistent |
| When | First, on every clip | Last, usually on the whole timeline |
| Tools | Exposure, white balance, contrast, scopes | Curves, color wheels, LUTs, split toning |
| Question | Does the white wall look white? | Does the video look like my channel? |
| Skippable? | Never | Sometimes |
On a talking-head YouTube video, correction is about 80 percent of the visible difference between raw and finished footage. The grade is the last 20 percent. If you only have ten minutes, spend them on correction. If you have an hour, spend the first forty minutes on correction.
Three signs that you are grading before you have corrected:
- You add a LUT and the skin goes orange in one shot and yellow in the next.
- You keep dragging saturation up because the footage "still looks flat".
- Your B-roll and A-roll look like they came from two different channels.
All three are correction problems wearing a grading costume.
Why does YouTube footage look flat or oversaturated?
Footage looks flat when the camera recorded a Log or HLG profile that was never converted to Rec 709. It looks oversaturated when someone tried to fix that flatness with the saturation slider, or exported with the wrong color tags so the player displays the file differently from the editor. Both problems are color management, not taste.
Here is what is going on in each case.
The flat problem. Cameras have picture profiles. The standard one records a finished-looking image. The Log profiles (S-Log3 on Sony, V-Log on Panasonic, C-Log on Canon, Apple Log on recent iPhones) record a deliberately flat, desaturated image that holds more detail in the shadows and highlights. That extra detail is the point; it gives you room to grade. But a Log file is not meant to be watched. It is meant to be converted. Upload it as-is and it looks like it was shot through a grey sock.
The oversaturated problem. Two versions. One: the creator saw the flat Log footage, pushed saturation and contrast by hand until it "popped", and overshot. Two: the footage was shot on a standard profile with the camera's vivid setting on, then a LUT or filter was stacked on top. Either way, skin goes orange, reds bleed, and the video looks like a phone screen at maximum brightness.
The wrong-tag problem. Every video file carries metadata saying which color standard it uses. If the tag says one thing and the pixels are another (footage tagged for HDR when it was graded for SDR, say), YouTube and the viewer's player interpret the file differently from your editor. The classic symptom is a video that looks washed out on a phone but perfect on your desktop.
The fix for all three is the same: work in Rec 709, convert Log to Rec 709 before you touch anything else, and export tagged as Rec 709.
What is Rec 709 and why does YouTube expect it?
Rec 709 is the ITU-R BT.709 standard for HD video. It defines the color primaries (the exact red, green and blue a display should reproduce), the white point (D65, a standard daylight white) and the transfer characteristic (the curve that maps the camera signal to brightness). It is the color standard for SDR video, and YouTube's upload recommendations name BT.709 as the standard color space for SDR uploads.
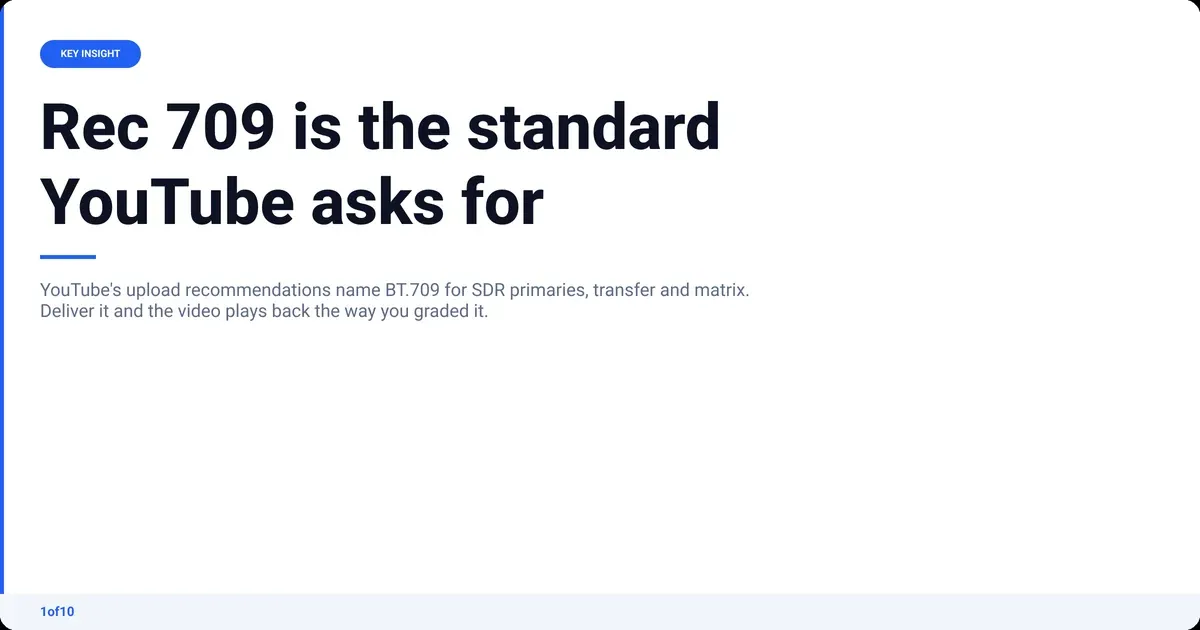
That last sentence is the one to remember. YouTube's recommended upload encoding settings list BT.709 for all three color signals in an SDR file: transfer characteristics, color primaries and matrix coefficients (each written as H.273 value 1, which is just the numeric code for BT.709 in the file's metadata). Deliver that and the platform does not have to guess what your pixels mean.
You can read the standard itself on the ITU's BT.709 page. You do not need to. What you need to know is what "Rec 709 delivery" means in practice:
- Your timeline works in Rec 709. Premiere Pro and Resolve default to it for SDR projects. Leave it there unless you are deliberately making an HDR video.
- Log footage gets converted to Rec 709 first. A conversion LUT or color space conversion node does this. Everything else happens after.
- Your export is tagged Rec 709. Most YouTube export presets do this by default. If the video looks different on YouTube than in the editor, check the tags before you touch the grade.
- HDR is a separate lane. YouTube's HDR upload guidance requires HDR files to be tagged with a PQ or HLG transfer function and Rec 2020 primaries, and says that viewers on non-HDR devices get an SDR downconversion that YouTube makes for you. You do not control what that downconversion looks like. For a talking-head channel, SDR in Rec 709 is the safer, more predictable choice.
| Format | What it is | Where it belongs | What happens on YouTube |
|---|---|---|---|
| Log (S-Log3, V-Log, C-Log, Apple Log) | Flat capture profile that keeps more detail | In the camera and at the start of your timeline | Looks grey and washed out if uploaded unconverted |
| Rec 709 (BT.709) | The SDR delivery standard | On your timeline and in your export | Plays back as you graded it |
| HDR (PQ or HLG, Rec 2020) | Brighter, wider-color format | Only if you shot, graded and checked in HDR | HDR on HDR screens, an automatic SDR version everywhere else |
One more thing Rec 709 is not: it is not a "look". Converting to Rec 709 gets you a normal-looking image. The style still comes from you.
How to color grade: the six steps in order
To color grade properly, set your project to Rec 709, convert any Log footage, correct exposure and white balance using scopes, match shots to each other, then apply the creative look on the whole timeline and check the result on a phone before export. The order matters more than the tools. Every common grading mistake is one of these steps done out of sequence.
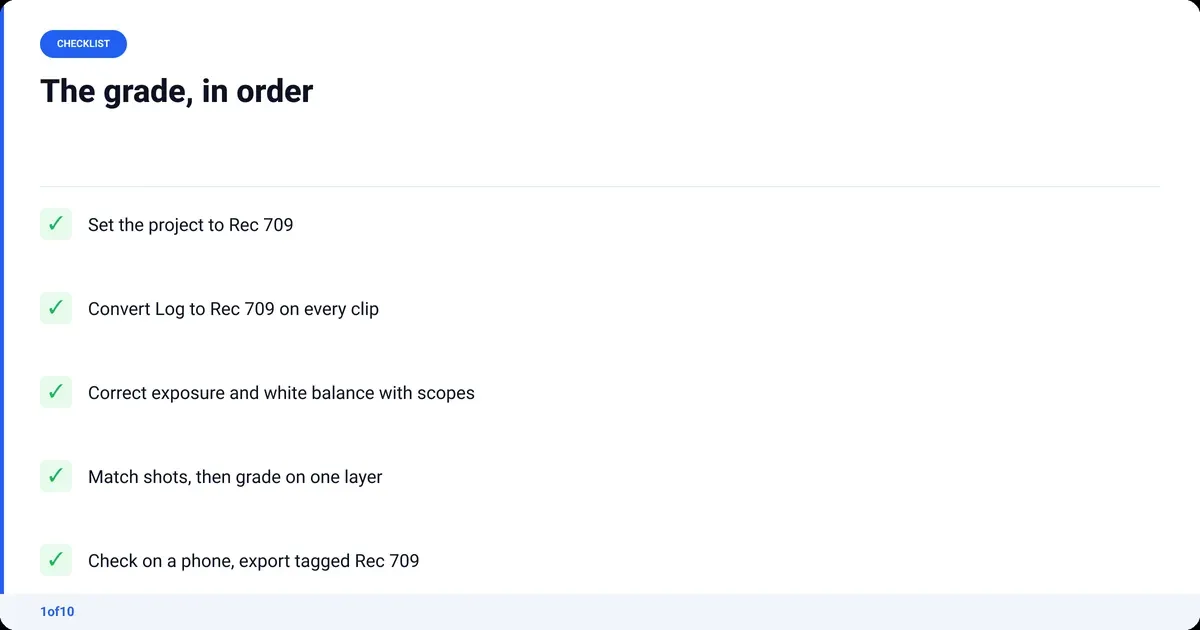
- Set the project to Rec 709. In Premiere this is the sequence's working color space. In Resolve it is the project's color management settings. Do it before you import a single clip.
- Convert Log to Rec 709 on every Log clip. Use the camera maker's conversion LUT, Premiere's Log detection, or Resolve's CST node. The image should look normal, slightly boring, and correctly exposed. If it does not, your exposure was off in camera and step three fixes that.
- Correct: exposure, white balance, contrast. Open the waveform scope. Skin should sit in the upper middle of the waveform, not the top. Nothing important should touch the bottom (crushed) or the top (clipped). Use the white balance eyedropper on something you know is white or grey. Then set your black point and white point.
- Match shots. Put your A-cam shot next to your B-cam shot and make the second look like the first. Premiere's Comparison View and Resolve's split-screen wipe exist for this. Match exposure first, then white balance, then saturation.
- Grade. Now, and only now, decide the look. Push shadows slightly cool and highlights slightly warm, or keep it neutral and add a touch of contrast, or apply a creative LUT at reduced strength. Do this on an adjustment layer (Premiere) or the timeline node (Resolve) so it hits every shot equally.
- Check on a phone, then export tagged Rec 709. Most of your viewers watch on a phone. Send yourself a short export, watch it in daylight, then export the full video with your platform's YouTube preset.
Two tools do most of the work in steps three and four, and they are both free in every serious editor:
- Waveform. A graph of brightness across the frame. It tells you what is crushed, what is clipped, and whether skin is sitting at a sensible level, without trusting your monitor.
- Vectorscope. A wheel of hue and saturation. It has a skin tone line; if the blob for a face is off that line, the white balance is wrong no matter how it looks to you.
If the whole video is one camera, one location and one person, steps four and five can be a single adjustment layer, and the whole process takes about as long as the rough cut to final cut pass before it.
What are LUTs and should you use them?
A LUT (lookup table) is a file that tells your editor "when you see this input color, output that color instead". There are two kinds. A conversion LUT (technical LUT) maps a camera's Log profile to Rec 709 and is made by the camera manufacturer; use it. A creative LUT (look LUT) applies a style, and it only works well on footage that has already been corrected.
The honest version of the LUT story:
- Conversion LUTs are essential if you shoot Log. Sony, Panasonic, Canon, Fujifilm, Blackmagic and Apple publish official ones. They are free and correct.
- Creative LUTs are shortcuts, not grades. A LUT pack was built on someone else's footage, someone else's camera and someone else's exposure. On your footage it is a starting point at best.
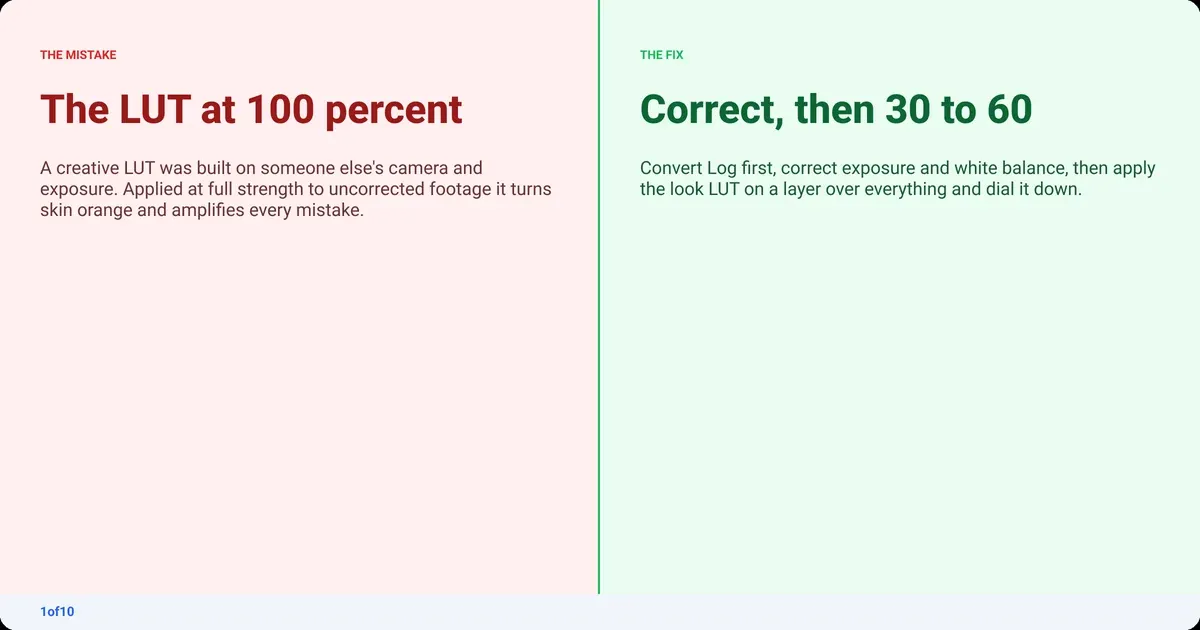
- A creative LUT at 100 percent is almost always wrong. Dial it back to somewhere between 30 and 60 percent and it stops fighting your skin tones.
- A LUT cannot fix what correction missed. Apply it to uncorrected footage and it amplifies every mistake: wrong white balance becomes wrong white balance with a tint on top.
- LUTs do not know about your cuts. If two shots were exposed differently, the same LUT makes them look more different, not less.
| Conversion LUT | Creative LUT | |
|---|---|---|
| Purpose | Log to Rec 709 | A style on top |
| Who makes it | Camera manufacturer | Anyone |
| Where in the chain | First, on each clip | Last, on the whole timeline |
| Strength | 100 percent | 30 to 60 percent |
| Needed for YouTube? | Yes, if you shoot Log | Optional |
If you want the teal-and-orange look, or the soft "film" look, a creative LUT is a fine way to try it on. Just do the boring correction first, put it on an adjustment layer at the end, and turn it down.
Color grading software: which one should a YouTuber use?
For a YouTube creator the choice comes down to four options: DaVinci Resolve if you want the most powerful free grading tools and can spend a weekend learning them; Premiere Pro if you already edit there; CapCut or a phone app if you need something quick and basic; or a LUT pack if you want a look without learning the wheels.
| Tool | Grading tools | Best for | Learning curve |
|---|---|---|---|
| DaVinci Resolve | Full Color page: nodes, wheels, curves, qualifiers, scopes, LUTs | Anyone who wants to learn grading properly; free version has the essentials | Steep at first, then fast |
| Premiere Pro | Lumetri Color panel: basic correction, creative LUTs, curves, wheels, match | Creators already editing in Premiere; subscription | Moderate |
| Final Cut Pro | Color board, wheels, curves, LUT loader | Mac editors; one-time purchase | Moderate |
| CapCut | Filters, basic adjustments, some LUT support | Phone-first creators, Shorts, quick work; free tier | Easy, but limited |
A few notes on the "color grading app", "color grading online" and "color grading AI" searches, because they are the same question in three costumes:
- Phone apps and online graders are mostly filter engines. They apply a look; they do not correct or match. Fine for a Short, rough for a 12-minute video with three camera angles.
- Photo tools like Lightroom and Photoshop grade stills, not video. Useful for thumbnails, which is a separate job; see the post on the best colors for YouTube thumbnails if that is what you are actually here for.
- AI grading is the newest category. The good ones read the footage, do the technical correction to Rec 709, and hand you a clean base. Treat any automatic grade as a starting point and check it on the scopes.
Prices for the editors above change often and by region, so this post does not quote them; check the vendor's pricing page. What you can count on: Resolve has a free version that is more than enough for YouTube grading, CapCut has a free tier, and your first AutoCut is free, which clears the cut before you grade.
If you are still deciding on an editor at all, the video editing for beginners guide covers that choice in full.
Color grading in Premiere Pro: the Lumetri walkthrough
Color grading in Premiere Pro happens in the Lumetri Color panel. The order is: convert Log in Basic Correction or through color management, correct exposure and white balance with Lumetri Scopes open, match shots in Comparison View, then put your look on an adjustment layer above the whole sequence. Export with the YouTube preset and Premiere tags the file Rec 709.
Step by step:
- Open the panel. Window, then Lumetri Color, and Window, then Lumetri Scopes. Drag the scopes somewhere you can always see them.
- Handle Log. If you shot Log, either pick your camera's conversion LUT in the Input LUT dropdown under Basic Correction, or use the color management section in Lumetri's Settings tab, which can detect common Log profiles and convert them for you. Do one or the other, not both.
- Basic Correction. White balance eyedropper on a white or grey object. Then Exposure until skin sits in the upper middle of the waveform. Then Contrast, Whites and Blacks to set the range without crushing or clipping. Leave Saturation alone for now.
- Match shots. Comparison View (the button at the bottom of the Program Monitor) puts a reference frame next to your current shot. The Match button under Color Wheels & Match does a decent first pass; adjust by hand from there.
- Grade on an adjustment layer. New Item, Adjustment Layer, drag it over the full sequence. Apply Lumetri to that layer. Use the Creative tab for a Look LUT with Intensity between 30 and 60, or the Color Wheels to tint shadows and highlights, or Curves for contrast.
- Check and export. Watch it back on the Program Monitor at full quality, then File, Export, choose the YouTube 1080p or 4K preset (H.264, MP4). Match Source keeps the color tags consistent with your Rec 709 sequence.
Two Premiere-specific traps:
- Stacking Lumetri effects on one clip gets slow and confusing. One Lumetri per clip for correction, one on the adjustment layer for the look.
- Grading at half quality in the Program Monitor hides banding and noise. Set it to Full before you judge anything.
Color grading in DaVinci Resolve: the Color page walkthrough
Color grading in DaVinci Resolve happens on the Color page, where each adjustment is a node in a chain. A clean YouTube chain is four nodes: convert Log to Rec 709, correct exposure and white balance, fix skin if needed, then the look. The Deliver page has a YouTube preset that exports Rec 709 correctly.
Step by step:
- Set color management. File, Project Settings, Color Management. Either leave it on the default (DaVinci YRGB, with Rec 709 as the timeline space) and convert Log yourself, or switch to DaVinci YRGB Color Managed and tell it your camera's input color space so Resolve converts automatically.
- Node one: conversion. If you are converting manually, add the CST node from the Effects panel (search "CST", Resolve's color space conversion effect) to the first node. Input: your camera's Log profile. Output: Rec 709. The image should now look normal.
- Node two: correction. Use the Primaries wheels. Offset for overall exposure, Lift for the shadows, Gain for the highlights, Gamma for the midtones. Temp and Tint for white balance. Keep the Waveform and Vectorscope open; the Vectorscope has a skin tone indicator you can toggle.
- Node three: skin (optional). If skin is slightly off after correction, use the Qualifier to select it and nudge hue or saturation. Small moves only.
- Match across shots. Grab a still from your best-corrected shot, then use the wipe in the viewer to compare. Resolve's Shot Match does a reasonable first pass. Once one shot is right, Grab Still and Apply Grade to the others from the same camera.
- Node four: the look, on the timeline. Switch the node editor to Timeline mode and add your creative grade there so it hits every clip. A creative LUT goes here, at reduced Key Output gain if you want it softer.
- Deliver. Deliver page, pick the YouTube preset, choose your resolution, and render. Resolve tags the file Rec 709.
Two Resolve-specific traps:
- Wrong node order. If the look sits before the conversion, the LUT sees Log values and everything goes strange. Conversion first, always.
- A creative LUT as the output LUT in Project Settings. It bakes the look into everything, including shots you have not corrected yet. Use a timeline node so you can turn it off.
Common color grading mistakes on YouTube (and the fix for each)
Most bad grades on YouTube are not bad taste. They are one of ten technical mistakes, and each one has a two-minute fix.
| Mistake | What the viewer sees | The fix |
|---|---|---|
| Grading before correcting | Skin changes color between shots | Correct every clip first, grade on a layer last |
| Saturation as the only dial | Neon skin, bleeding reds | Fix contrast and white balance, then add a little saturation at the end |
| Crushed blacks | Beard, hair and dark shirts turn into one black shape | Lift the black point until the waveform shows detail at the bottom |
| Clipped highlights | A white wall or a window with no texture | Lower exposure or highlights until the waveform stops flattening at the top |
| Wrong skin tone | Orange, yellow or green faces | Check the face against the vectorscope skin tone line |
| Creative LUT at 100 percent | The "Instagram filter" look | Drop it to 30 to 60 percent |
| Grading on a dimmed laptop at night | The video looks dark on everyone else's screen | Grade in a lit room at normal brightness, night mode off |
| Ungraded B-roll | Phone B-roll looks like a different video | Match it to the A-roll, or grade the A-roll toward the B-roll if the B-roll is most of the video |
| Wrong export tags | Washed out on phones, fine on desktop | Use the YouTube preset; make sure the file is tagged Rec 709, not HDR |
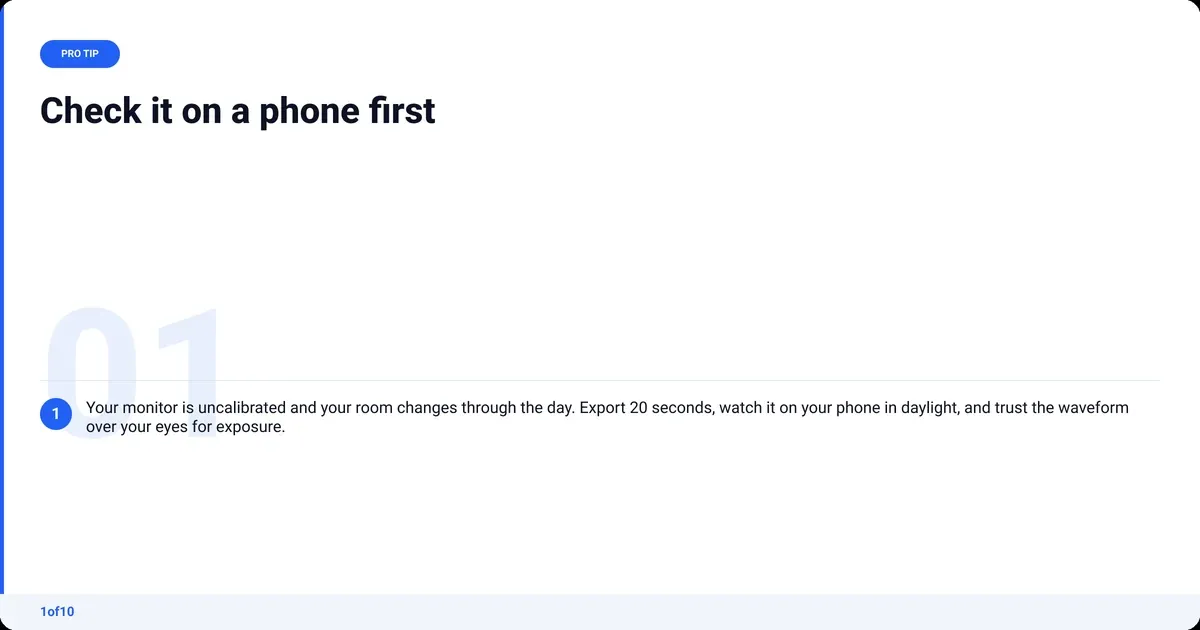
| Never checking on a phone | Everything above, discovered after upload | Export 20 seconds, watch on your phone in daylight, then export the rest |
Two of these deserve a longer note.
The monitor problem. You are grading on an uncalibrated screen, in a room whose light changes through the day, possibly with night mode warming everything. That does not make your grade wrong, but it makes your eyes wrong. The scopes do not care about your room. Trust the waveform for exposure and the vectorscope for skin.
The consistency problem. A single slightly-off shot is invisible. Two shots that do not match, cut back to back, are the most noticeable thing in the whole video. This is why the "one layer over everything" habit matters, and why matching cameras is worth ten minutes even when you would rather be uploading.
One connected note: the frame you pull for your thumbnail should get the same grade as the video, then a little extra contrast, because it lives next to nine others.
How much does color grading cost?
For a YouTube creator, color grading costs either your time or a colorist's. The software can be free: DaVinci Resolve's free version has a full Color page. A freelance colorist charges by the hour, the day or the finished minute, and rates vary widely by country and experience, so this post does not quote a figure.
The realistic options, cheapest to dearest:
- Do it yourself in Resolve. Free software, a weekend to learn, then 15 to 45 minutes per video depending on cameras and locations.
- Do it yourself in Premiere. No extra cost if you already subscribe. Similar time per video once Lumetri is familiar.
- Buy a LUT pack. A one-off purchase. Saves time on the look, saves nothing on correction, which is the slow part.
- Hire a colorist. The professional result, priced per project. Sensible for a trailer or a sponsor deliverable. Rarely sensible for a weekly upload.
- Automate the cut, not the grade. AutoCut removes silences, rambles and repeated takes and cleans the audio, so the time you have goes on the grade. Your first AutoCut is free.
For most channels the honest cost of grading is the 30 minutes a week it takes, multiplied by every week. That is the number to think about.
Is color grading easy?
Color correction is easy to learn: an afternoon with the waveform and the white balance eyedropper covers it. Color grading a single shot is also easy. The hard part, and the part that makes a channel look professional, is doing it consistently across every shot of every video, every week, without it eating the evening. That consistency is a process problem: one saved grade per setup, applied the same way every week.
Where creators actually get stuck, in order:
- Trusting their monitor. Fixed by scopes.
- Skipping the Log conversion. Fixed by doing it first.
- Grading clip by clip. Fixed by one adjustment layer or timeline node.
- Doing all of the above at 11pm before an upload. Fixed by saving the grade as a preset or PowerGrade and getting the cut done earlier.
If you shoot one person, one camera, one room, week after week, the grade is the same job every time. Save it once and reuse it. The part worth handing off is the cut.
Where AutoCut fits: a clean A-roll before you grade
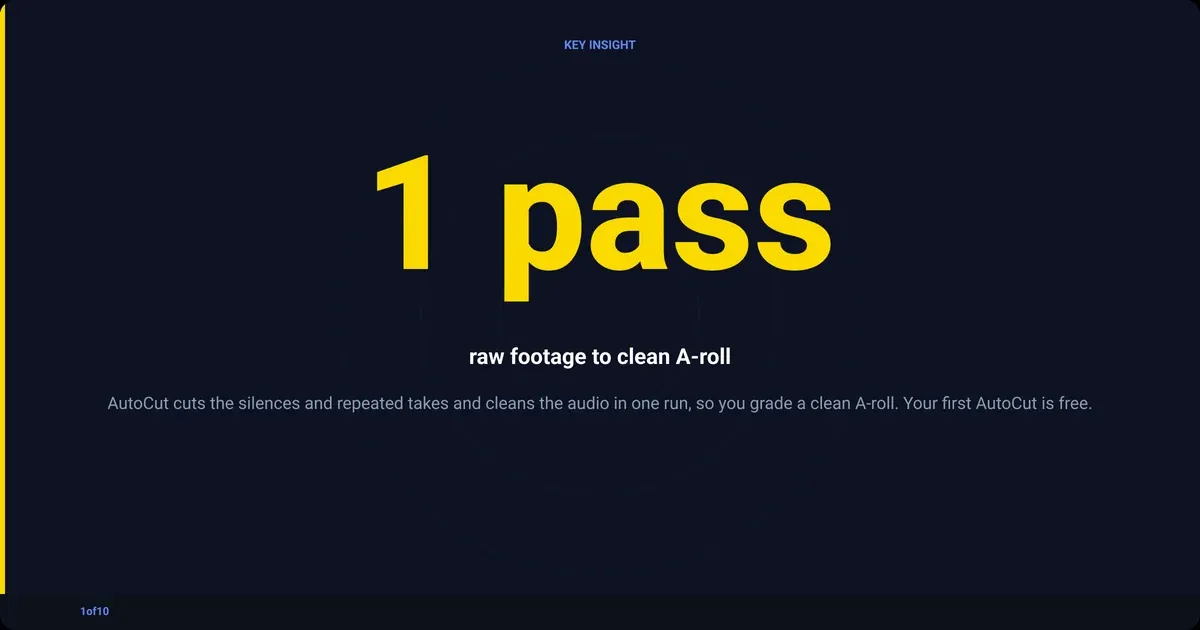
AutoCut is 1of10's AI video editor for talking-head footage. Its job sits in front of the grade and eats more of the evening than the grade does: the cut. Drop in your raw recording, one file or several, MP4 or MOV, up to 30 minutes, and it removes silences, rambles, dead air and repeated takes, then returns a clean A-roll.
What happens in a run:
- Upload. Drop your talking-head footage into AutoCut. No setup, no prompts, no project settings to check.
- The cut. AutoCut removes silences, dead air, rambles and repeated takes. If you want to know what that pass is doing, the jump cut post explains the mechanics.
- Auto Retakes. Every version of a take is lined up side by side so you pick the one you like.
- Audio Enhance. Background noise stripped out and the voice cleaned up, including phone and cheap-mic recordings.
- Grade. Take the clean A-roll into Premiere Pro or DaVinci Resolve and run the six steps above on a timeline that is already the right length, so you correct and match only the shots that survived the cut.
It is not a clip maker; it produces the long video, not vertical highlights. For the one-person, one-camera channel, handing off the cut gives the grade the time it needs. Your first AutoCut is free, on up to 30 minutes of raw footage.
Frequently asked questions
What exactly is color grading?
Color grading is the creative pass that gives a video its finished look: the contrast, saturation, and the tint in shadows and highlights, applied consistently across every shot. It comes after color correction, which fixes exposure and white balance so the footage is neutral. Correction makes footage accurate; grading makes it feel like your channel.
How do you color grade properly?
Set your project to Rec 709, convert any Log footage to Rec 709 first, correct exposure and white balance using the waveform and vectorscope, match shots to each other, then apply the creative look on an adjustment layer or timeline node so every clip gets it equally. Check a short export on a phone before you render the whole video.
Do I need to color grade YouTube videos at all?
You need to color correct, always, and if you shot in Log you must convert to Rec 709 or the video will look grey. A creative grade on top is optional. Many big talking-head channels run a clean, neutral correction and nothing else. Consistency between shots matters far more to viewers than any particular style.
What is the difference between Rec 709 and sRGB?
Rec 709 and sRGB share the same red, green and blue primaries and the same D65 white point, so their colors line up. They differ in the transfer curve and in what they are for: sRGB is the standard for still images and the web, Rec 709 is the standard for HD video. Grade video in Rec 709 and design thumbnails in sRGB.
Should I upload HDR to YouTube?
Only if you shot, graded and checked the video in HDR on an HDR display. YouTube requires HDR files to be tagged with a PQ or HLG transfer function and Rec 2020 primaries, and it makes an automatic SDR version for viewers without HDR screens, which you do not control. For a talking-head channel, an SDR video delivered in Rec 709 is more predictable.
Can you color grade on a phone?
You can correct and apply filters on a phone in CapCut or similar apps, and for a Short that is often enough. Real grading, with scopes, shot matching and a look applied across a whole timeline, is a desktop job in Resolve or Premiere.