
How to Shoot a Talking Head Video and Edit It in Minutes
A talking head video is one person speaking straight down the lens, framed from the chest up, with the camera at eye level and the lens about an arm's length away. It is the cheapest format on YouTube to make and the most exposed: there is no B-roll to hide behind, so the light, the sound and the cut do all the work.
That is the format. The rest of this guide covers the setup that makes it look good, how to shoot so the edit is easy, the four-step edit itself, and how AutoCut runs three of those four steps on raw footage in minutes. Nothing here needs a studio. Most of it needs a window and a list of bullet points.
What is a talking head video?
A talking head video is any video where the subject talks directly to the camera and the frame holds their head and shoulders for most of the runtime. The term came from television news, where an anchor's head filled the screen with nothing else to look at. It started as an insult. On YouTube it is the default.
Three things make it a talking head video rather than something else:
- One person, one lens. The speaker addresses the viewer, not an interviewer off to the side.
- A tight, static frame. Chest up or shoulders up. The camera does not move.
- The words carry it. Cutaways are optional. A pure talking head can run ten minutes with nothing but the person and the cut.
The format has cousins, and search results mix them up:
| Format | Who is talking to whom | Frame | Where you see it |
|---|---|---|---|
| Talking head | Speaker to viewer, down the lens | Chest up, static, 16:9 | YouTube essays, tutorials, course videos |
| Interview | Speaker to an interviewer off-axis | Chest up, eyes off the lens | Documentaries, news |
| Vlog | Speaker to viewer, handheld | Loose, moving | Daily vlogs, travel |
| Talking head reel | Speaker to viewer, vertical | Head and shoulders, 9:16 | Shorts, TikTok, Instagram |
The Google AI Overview for this query says "a person speaks directly into the camera, usually framed from the chest up". True, and no use when you sit down to shoot one.
Why does talking head YouTube work so well?
Because it is fast to make and hard to fake. A talking head video costs one afternoon: write, shoot, cut. It also puts a face on the channel, and faces are what viewers subscribe to.
There is a retention argument too. YouTube's audience retention report marks "dips" as moments viewers skipped or stopped watching, and reports the share still watching after the first 30 seconds as your intro score (YouTube Help). In a talking head video the dips are almost always the same thing: a pause, a restart, a sentence that went nowhere. Every one of those is deletable. No other format lets you fix retention with the delete key.
What talking head video setup do you actually need?
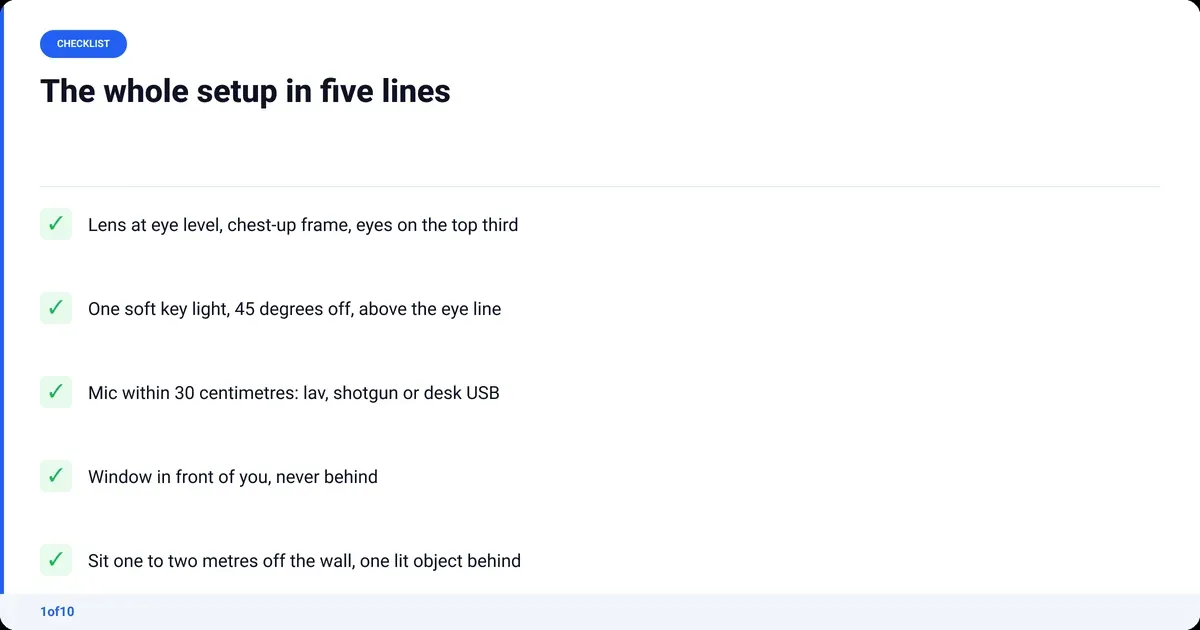
A camera at eye level, one soft light from the front and side, a microphone within 30 centimetres of your mouth, and a background with something in it. That is the whole talking head video setup. Everything else is a nicer version of one of those four.
Camera and framing
- Any camera that shoots 1080p at 24, 25 or 30 frames per second. A phone from the last five years qualifies. YouTube's recommended upload settings are 16:9, an MP4 container, and the same frame rate you recorded at (YouTube Help).
- Lens at eye level. Not the desk, not the shelf above the monitor.
- Frame from the chest up. Eyes sit on the top third line. Leave a hand's width above the head, no more.
- Distance about an arm and a half. Close enough that the face is the subject, far enough that a lean does not crop your forehead.
- Shoot 4K if the camera has it, then edit in 1080p. That spare resolution is your punch-in for later.
Light
- One key light, 45 degrees off to one side, slightly above the eye line, big and soft. A window with a thin curtain does this for free. A softbox or a large LED panel through diffusion does it after dark.
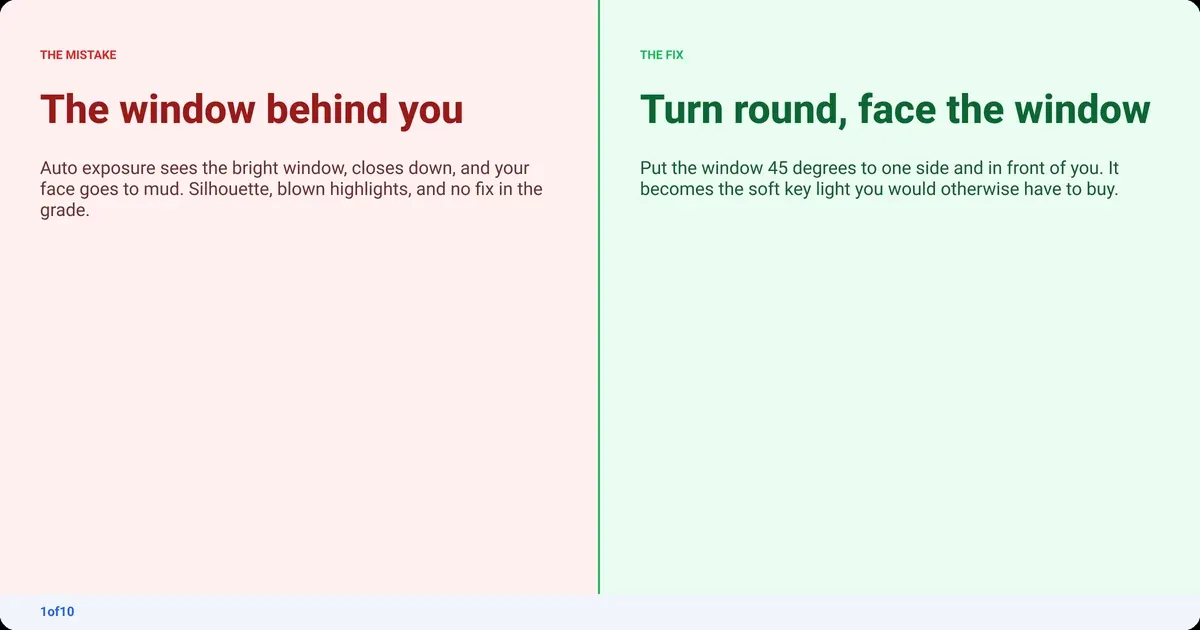
- Never put the window behind you. Auto exposure sees the bright window, closes down, and your face goes to mud.
- Turn the overhead room light off. It sits above you and puts shadows in your eye sockets.
- A second, dimmer light on the background or behind you separates you from the wall. Optional, but it is the one thing that makes footage look filmed rather than captured.
Microphone
The AI Overview says audio matters more than the camera. Correct, and here is the evidence behind it: in a 2018 study, listeners rated the same talk as less credible and less interesting when the audio quality was poor, even though the words were identical (Newman and Schwarz, Science Communication). Viewers forgive a soft image. They do not forgive a hollow, echoing voice.
- Get the mic close. A lavalier on the collar, a shotgun just out of frame above you, or a USB mic on the desk edge all work at 15 to 30 centimetres.
- The camera's own mic is the one option that does not work. It is a metre away and it hears the room more than you.
- Record at 48 kHz. That is YouTube's recommended sample rate and every camera and phone offers it.
- Kill the fridge, the fan and the air conditioner for the take. Noise removal exists and works, but the cleanest fix is silence at the source.
- Soft room beats big room. Curtains, a rug and a sofa absorb echo. A bare box room with a hard floor rings.
Background
Give the frame depth. Sit one to two metres in front of the wall, not against it, and put one lit object behind you off to the side: a lamp, a shelf, a plant. The eye needs somewhere to rest that is not your face. A plain wall at zero distance reads as a passport photo.
How to make talking head videos: the shoot
Shoot like an editor. The goal of the recording session is not a perfect take; it is footage that is quick to cut. That changes how you record.
- Script in bullets, not sentences. Write the points you have to hit and the exact wording of the first line and the last. Say the rest off the bullets. A full script read aloud sounds read aloud.
- Put the script next to the lens. A phone or a sticky note taped just below the camera. Your eyes stay within a few degrees of the lens and the viewer never sees you read.
- Hit record once and leave it running. Do not stop the camera between lines. One 20-minute file cuts faster than forty 30-second files.
- Record retakes on purpose. When you fluff a line, do not stop. Pause for two full seconds, say the line again from the top of the sentence, and keep going. The gap is what the edit finds later. Say every line you are unsure of twice, even when the first one was fine. The choice happens in the edit, not on the day.
- Clap or snap after a keeper. A sharp sound after the take you liked is a visible spike on the waveform. It is the fastest way to find the good version in a long file.
- Bring the energy up by about a fifth. The camera flattens you. What feels slightly too much in the room looks normal on screen.
- Record ten seconds of room tone. Sit still, say nothing, let the mic hear the room. The edit uses it to patch the gaps between cuts so the background noise does not jump.
- Keep the session under 30 minutes of footage. Past that, your energy drops and the edit balloons.
If you want to see how these habits feed the wider process, the pillar on how to edit YouTube videos walks the whole thing from shoot to upload.
Talking head video editing: the four steps
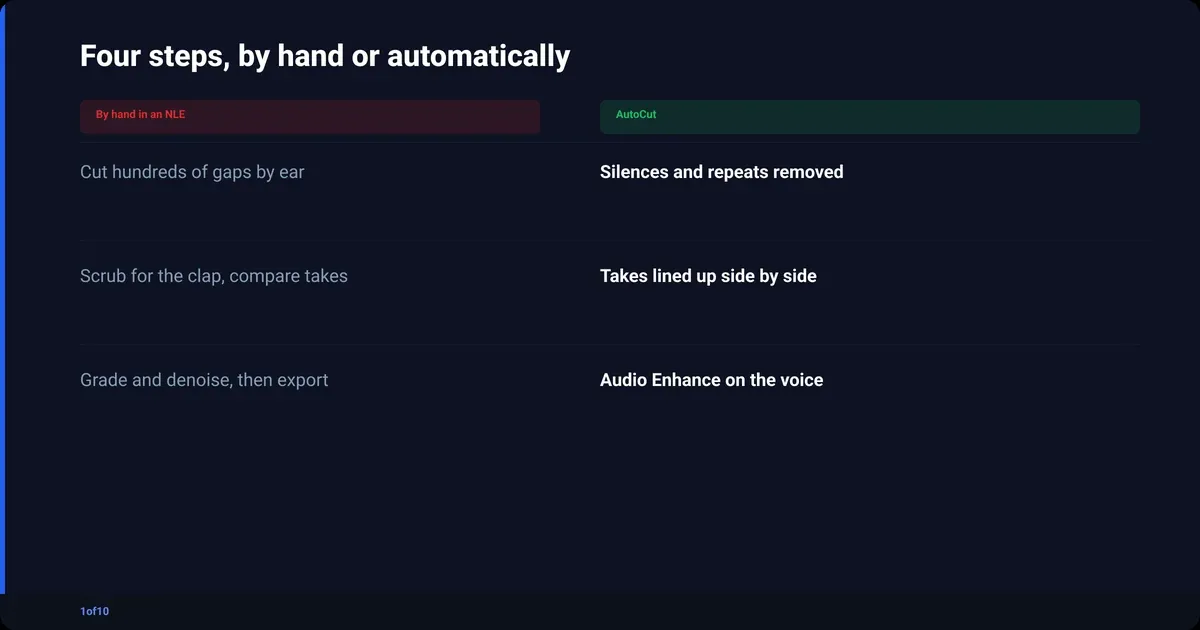
Every talking head edit is the same four jobs in the same order: cut the silences, pick the best take, grade the image, fix the audio. Done by hand in an NLE they take roughly an hour per ten minutes of raw footage. Done by a tool that knows the format, they take minutes.
1. Cut the silences
This is the jump cut, and a talking head video is made of hundreds of them. Lay the whole file on the timeline, expand the waveform, and cut every gap longer than a breath: the pauses, the restarts, the "um", the two seconds before a retake. Cut after the last word, not before the first, so the sentence lands. The full method is in what a jump cut is and how to make them.
2. Pick the best take
Each retake you recorded on purpose is now two or three versions of one sentence sitting next to each other on the timeline. Play them back to back. Keep one, delete the rest. The clap on the waveform tells you which one you liked on the day, but trust your ear now over your memory then.
3. Grade
Talking head footage straight out of a camera is flat, a little green or a little magenta, and rarely at the right brightness. A grade fixes the white balance, sets the exposure so skin sits mid-tone, and adds enough contrast that the image has a floor and a ceiling. Rec 709 is the delivery standard, and the ordinary YouTube grade is a correction to that standard rather than a look. The post on color grading for YouTube goes deeper.
4. Fix the audio
Remove the room noise, even out the levels so the quiet lines match the loud ones, and pull the voice forward. Do this last, once the cut is locked, so you are not treating footage you then delete. If your recording is on a phone or a cheap mic, this step is the one that saves it; removing background noise from a video covers the manual and automatic options.
After step four you have a rough cut: the video in the right order with the dead weight gone. B-roll, captions, music and the thumbnail come after, on the way to the final cut.
| Step | By hand in an NLE | What it fixes |
|---|---|---|
| Cut silences | Cut by ear along the waveform, hundreds of cuts | Retention dips, pace |
| Pick takes | Compare each version, delete the losers | Delivery |
| Grade | White balance, exposure, contrast, Rec 709 | Image |
| Audio | Noise removal, levels, voice EQ | Clarity, credibility |
How AutoCut and Auto Retakes do three of those four steps
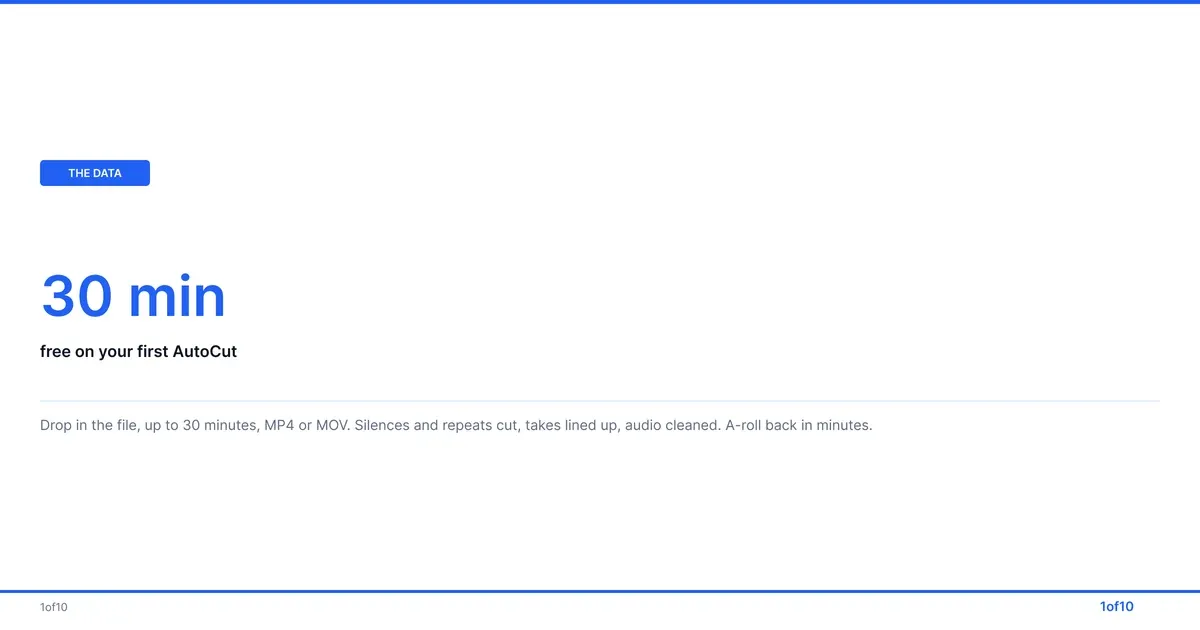
AutoCut is 1of10's AI video editor, built for exactly this footage. You drop in the raw talking head file, one file or several, MP4 or MOV, up to 30 minutes, and it runs three of the four steps above with no prompts and no setup. A clean A-roll comes back in minutes.
- Cut the silences: AutoCut. It removes silences, rambles, dead air and repeated takes and returns a clean A-roll. The two-second gaps you left on purpose are exactly what it keys on.
- Pick the best take: Auto Retakes. Every version of a take is lined up side by side. You pick the one you like. Nobody scrubs a 25-minute waveform looking for the clap.
- Grade: in your editor. A light correction on the clean A-roll in Premiere Pro or DaVinci Resolve: exposure, white balance, Rec 709 export.
- Fix the audio: Audio Enhance. It removes background noise and improves the voice, including phone and cheap-mic recordings.
The output is the long video, not a set of vertical clips. AutoCut is not a clip maker. It works on its own for a video that is pure talking head, or as the first step before Premiere Pro or DaVinci Resolve when you want B-roll and titles on top of a clean cut.
Your first AutoCut is free, on up to 30 minutes of raw footage. That is one full session at the length recommended above.
Talking head video mistakes that lose viewers
There is nothing else on screen, so every one of these shows. In the order viewers notice them:
- Eyes on the screen, not the lens. If you watch yourself on the monitor, the viewer sees you looking just past them. Cover the preview.
- The window behind you. Silhouette, blown highlights, and no fix in the grade.
- The camera's built-in mic. Hollow, roomy, and the first thing the comments mention.
- Reading a script word for word. The cadence flattens, the eyes track left to right, and it sounds like a voicemail.
- Every cut at the same scale. Two hundred jump cuts at one framing means two hundred visible head twitches. Punch in to 110 or 120 percent every few cuts, which is what the 4K recording was for.
- Not fixing the first 30 seconds. That is the intro score in the retention report. Put the reason to keep watching in the first two sentences, and cut anything before it.
- Stopping the camera between takes. Forty files to sync and sort is more editing, not less.
Frequently asked questions
What is a talking head in video?
A talking head is a shot where one person's head and shoulders fill the frame while they speak, usually straight to the lens. The term started as newsroom slang for an anchor on screen with nothing else to look at. In video production it now describes any direct-to-camera piece: a tutorial, a course lesson, an opinion piece or an interview answer.
What does "talking head reel" mean?
A talking head reel is the same format shot vertically for Instagram Reels, TikTok or YouTube Shorts: one person, head and shoulders, speaking to camera in a 9:16 frame for under a minute. The edit is tighter than a long-form talking head, usually a jump cut every few seconds and captions on screen, because much of it is watched muted.
What is the talking head video format?
The talking head video format is a fixed, eye-level camera framed from the chest up, one speaker addressing the viewer, a soft key light from the front and side, and a close microphone. It runs on the cut rather than on camera moves: silences and retakes are removed so the delivery stays continuous. Most YouTube educational and commentary videos use it.
Can you make a talking head video with a phone?
Yes. A recent phone shoots 1080p or 4K at 30 frames per second. Mount it at eye level, use the rear camera, lock the exposure and focus, and add a lavalier or a separate recorder for the voice. The phone's own mic is the weak link, not its lens. Audio Enhance in AutoCut is built to clean up phone and cheap-mic recordings.
How long should a talking head video be?
As long as the idea needs and no longer. Watch the audience retention report in YouTube Studio: dips are moments viewers skipped or left, and in a talking head video those are almost always a pause or a repeated point. Shoot no more than 30 minutes of raw footage per video and let the cut decide the runtime.
Can AI make a talking head video?
Two different things share that name. AI avatar tools generate a synthetic presenter from text, which is a different product and a different relationship with the audience. AI editing tools such as AutoCut take your real footage and do the editing: cutting silences, choosing between takes and cleaning the audio. For a YouTube channel built on a face, the second kind keeps the face yours.