How To Start a YouTube Channel on a Budget
Think starting a YouTube channel requires a fortune? This blog shows you how to create high-quality content with a budget of just $100. We'll cover affordable cameras, mics, editing software, and even thumbnail design tips using free tools!
There's no doubt that starting a YouTube channel seems expensive. From pricey video editing software and 4K 60FPS cameras to the Shure XLR mics you see in every big creator's setup, it’s easy to assume you need a significant budget to create high-quality content.
But here’s the good news: you can launch a successful YouTube channel for less than $100 and still produce content that looks and sounds great.
In this article, I’ll show you exactly how to allocate a $100 budget to kickstart your channel. And honestly? $100 is actually on the higher side of what you need to get started. By the end of this guide, you’ll know exactly where to spend your money, the best budget-friendly tools and equipment to invest in, and how to share your first videos with the world to start growing your channels.
NOTE: I expect you to know starting a YouTube channel is free and easy to do, so I won't waste your time getting into that.
Let's begin!

Step 1: Choosing Your Camera
What This Means
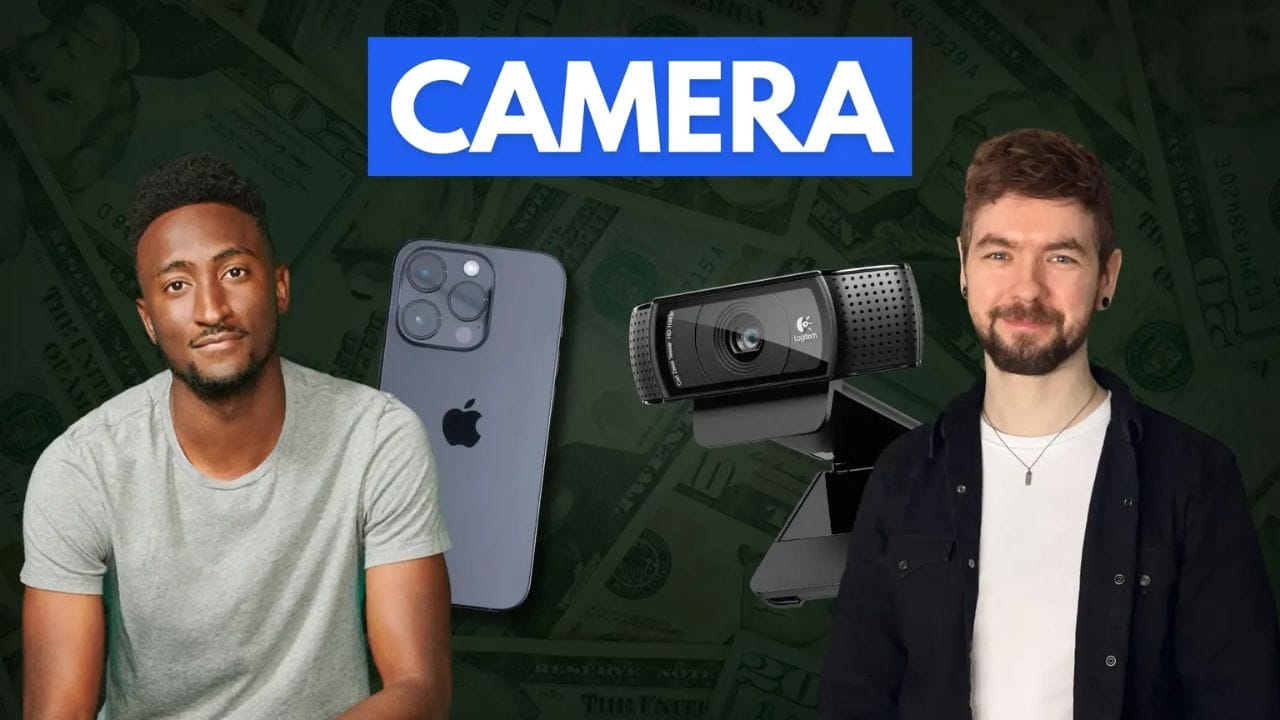
Smartphones have come a long way in recent years, with most modern devices capable of recording high-quality 1080p or even 4K video. When paired with good lighting, a smartphone can produce footage that rivals much more expensive setups.
Just a quick tip: Be sure to stabilize your smartphone with a tripod or a gimbal for smoother, professional-looking footage. You can find budget-friendly tripods for under $20 that are compatible with almost any smartphone, letting you adjust to your needs.
Good lighting can instantly elevate the quality of your video. Natural light is your best friend when it comes to this, especially if you’re just starting out. Set up in front of a window during the day to make the most of this free resource if you're not willing to invest into lighting - be sure to always keep the light source in front of you, not behind.
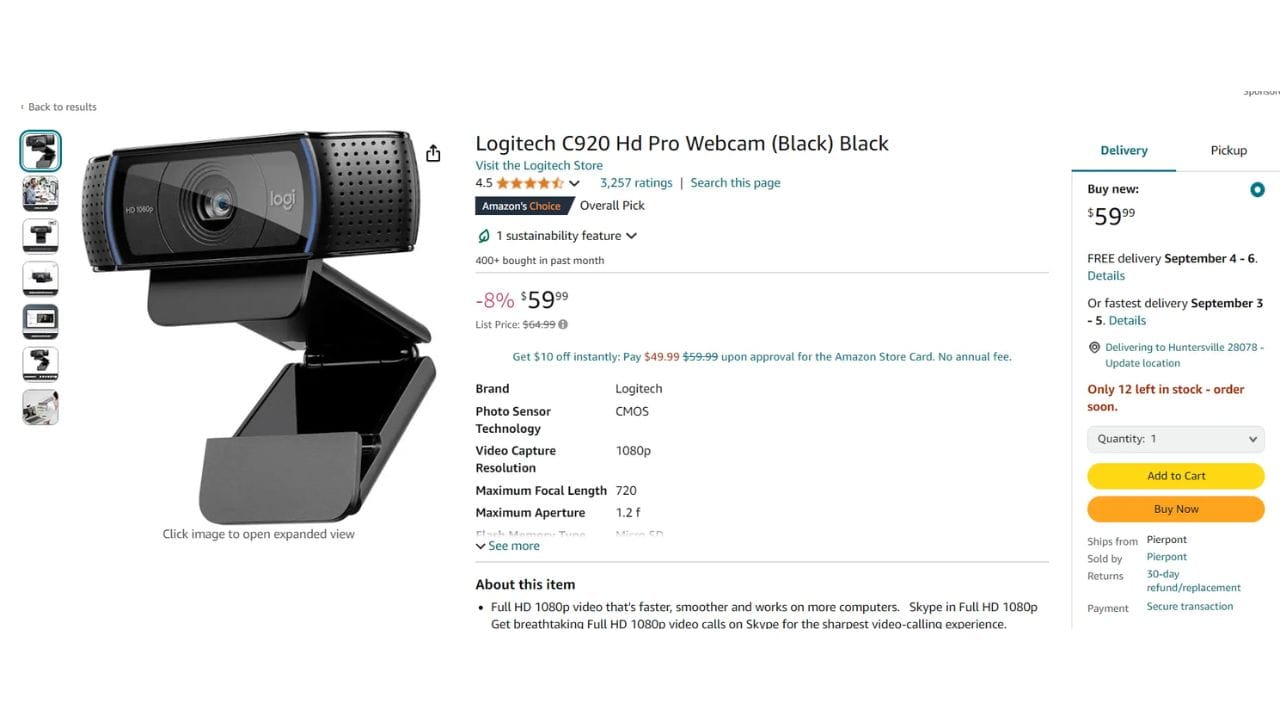
If your content involves sitting in front of your computer, such as gaming, tutorials, or commentary videos, a webcam can be a fantastic, budget-friendly choice.
The Logitech C920 is an all-time favourite among content creators. For its price, it delivers excellent 1080p video quality, reliable performance, and an easy setup process.
Step 2: Audio
What This Means
Clear audio is just as important as good video quality. If no one can hear or understand you, no one is going to watch.
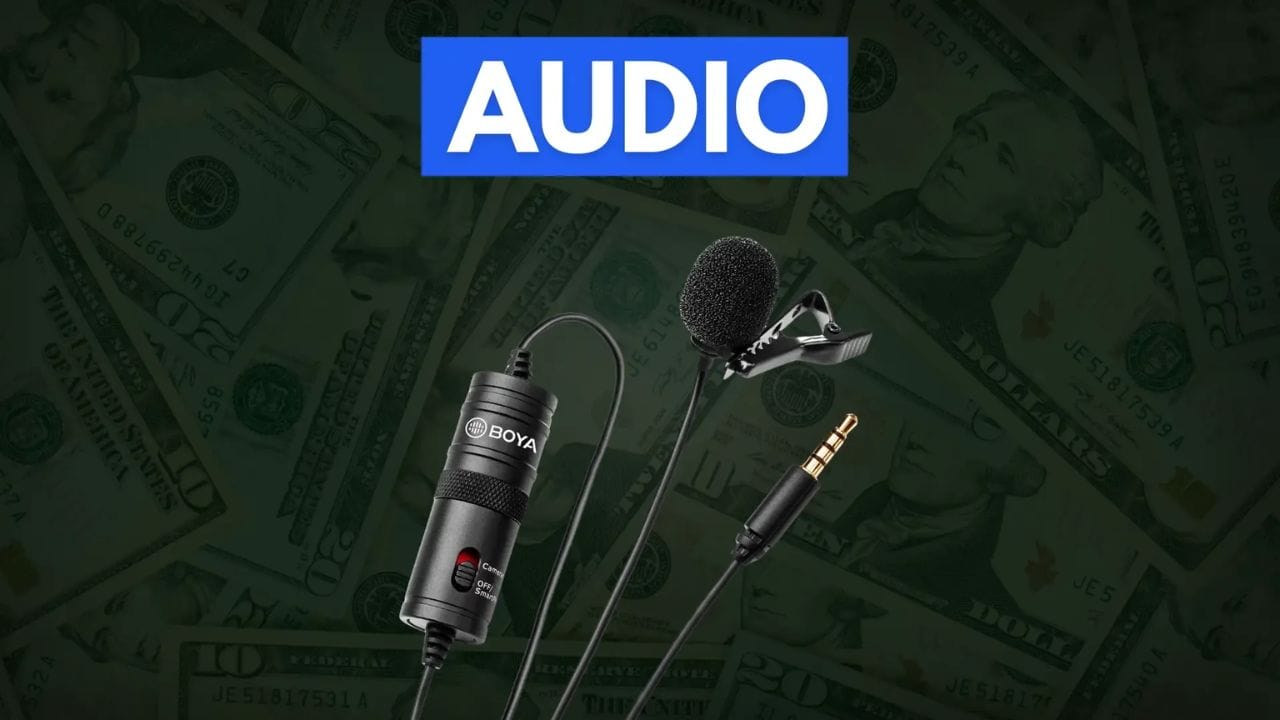
While most smartphones and webcams come equipped with built-in microphones, the sound quality is often subpar. Poor audio can make even the best video look unprofessional. That’s why investing in an external microphone is crucial, even if you’re on a tight budget.
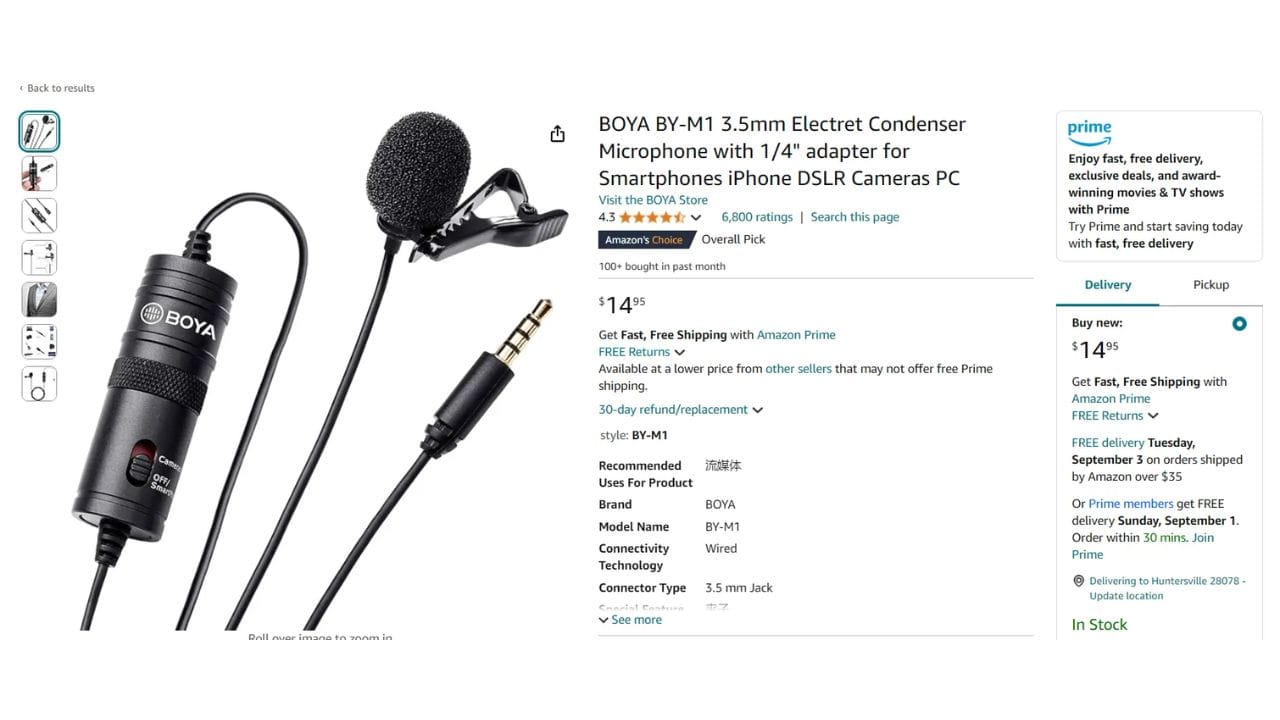
This is why there's the Boya BY-M1, a budget-friendly microphone that costs around $20. This microphone is a favourite among beginners and delivers crisp, clear audio at an incredibly affordable price.
Pro Tip: When using the Boya BY-M1, make sure the microphone is securely clipped near your chest area to pick up your voice clearly, typically clipping it on a shirt or clip it to anything like a spoon to hold it near your mouth. Avoid placing it too close to your mouth to prevent distortion of the quality.
Step 3: Video Editing
What This Means
Once you’ve finished recording your video, the next step is editing. The best part is you don’t need to spend a dime on expensive editing software to create high-quality content. There are several free options available that are designed for beginners and even more advanced creators.
If you'd like to edit on your phone, CapCut is the best option. It's great for beginners who just need basic editing tools like trimming, cutting, and adding text. My favourite part of it all is the built-in effects and motion graphics you can add in 2 seconds, which would take 15 minutes in software like Adobe After Effects.
For those who prefer editing on a computer, DaVinci Resolve is a game-changer. This free, professional-grade video editing software is used by a range of content creators and filmmakers on different skill levels.
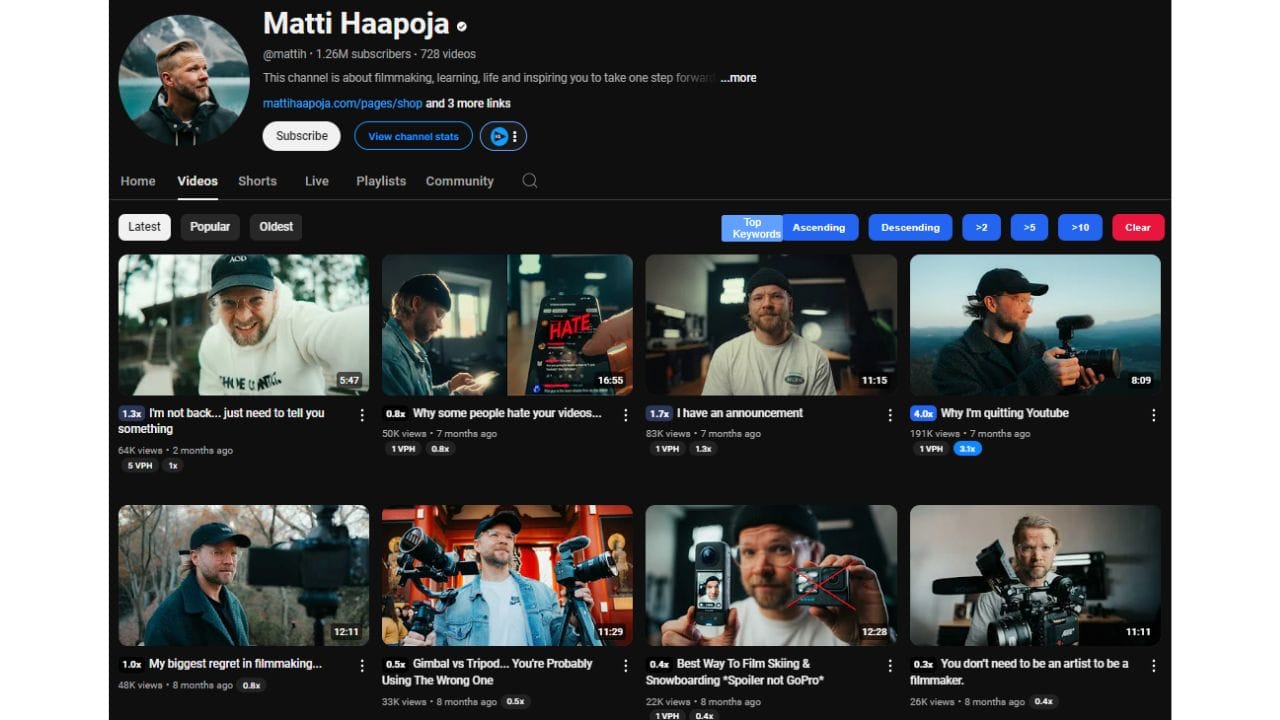
Matti Haapoja uses Davinci in his videos, especially for big prducts.
Step 4: Thumbnail Design
What This Means
Your thumbnail is the first thing people see when your video shows up in their recommendations. Luckily, though, this is another step we don't need to spend a penny on. That software being, you guessed it, Canva.
In Canva, you can choose from different templates and multiple fonts, and the free version includes a ton of stock images and icons that you can use. With the paid version, you get features that allow you to press a button and automatically cut out an image, upscale it up to 8x, and access hundreds of filters. Since Canva gives you a 30-day free trial, let's go ahead and access the full version.
YouTubers who use Canva for their thumbnails is 1of10, actually.

Many successful creators started with basic setups and small budgets. However, there are still thousands of channels with hundreds of thousands of subscribers who still use the equipment they began with.
For those who still have space in their budget, the BEST investment you can make into your channel is a way to think of incredible ideas that are bound to work. And the best site on the market for just that is 1of10.com!
