
How To Make A YouTube Video (Ultimate Blueprint)
This excerpt is from a guide on how to create successful YouTube videos. It emphasizes finding a niche, filtering video ideas, and crafting strong titles and thumbnails to grab viewers' attention.
Making a YouTube video may seem frightening at first, but it’s really just about following a few key steps.
Nonetheless, there’s still space for you on the ever-expanding platform of YouTube to create your first online video and stand out against everyone else.
In this guide, we’ll show you the 10 most important steps on how to make a YouTube video from scratch.
Let’s go!
Step 1: Find Your Niche
What This Means
This step would have saved me years of confusion if I knew it when I first started creating content.
The most important step in creating a YouTube video is finding the right niche (a small, specific topic for certain people). Preferably a niche with very low competition. Knowing who you want to target and attract rather than throwing everything at the wall is key to starting on YouTube.
How do you find a low competition niche you’re interested in?
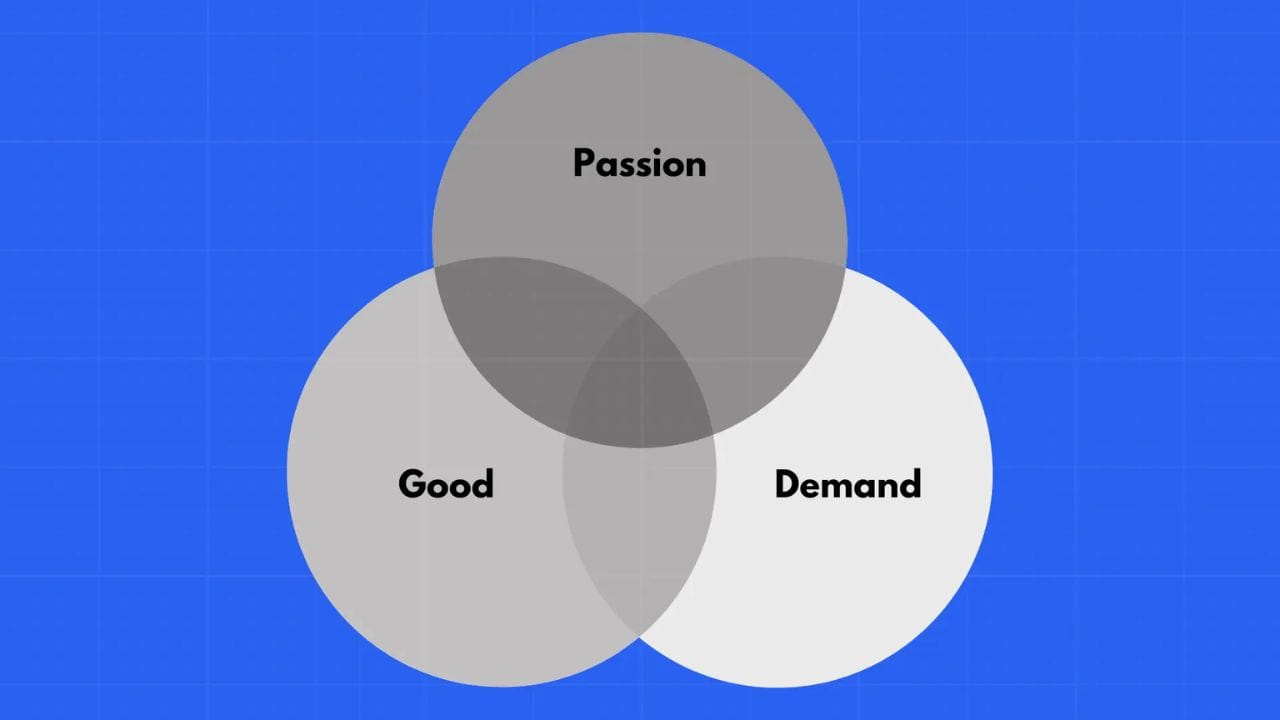
Let’s first start with what you’re interested in. What topics are you passionate about? What are you good at? What is there demand for on youtube? The intersection of your passion and expertise is often a good starting point.
Next, get as specific as possible within that niche.
Are you thinking of targeting business owners? If so, what type of business owners? Real estate? E-commerce? What specifically about that type of business?
The reason we do this is because if you try to make videos in several or broad enough niches, you’ll be competing against several other creators.
For example, if you decide to go in the business niche you’re going against juggernauts like Alex Harmozi, Ali Abdaal and Simon Squibb. However, if you niche down to let's say the brick and mortar micro-niche you decrease the competition by quite a lot.
But by focusing on a specific niche, you narrow down your competition to just a few channels that are targeting the same audience. This gives you a better chance of standing out and getting noticed.
Step 2: Think & Write Down Ideas
What This Means
After you know who you’re targeting it’s time to find ideas!
Luckily, we made the perfect tool for not just finding ideas that might work, but ideas that have worked for other creators like you!
Search 1of10.com, create your account, and search your niche on the search bar above. You'll then be flooded with ideas with probabilities of accelerating your growth!
We’ll get more into 1of10 and the countless capabilities it has and how you can take advantage of it later. But by now you probably have several ideas in your mind. Write them down!
The ideas don’t have to be written perfectly. Just well enough where you can understand them.
Step 3: Ideation Filtering
What This Means
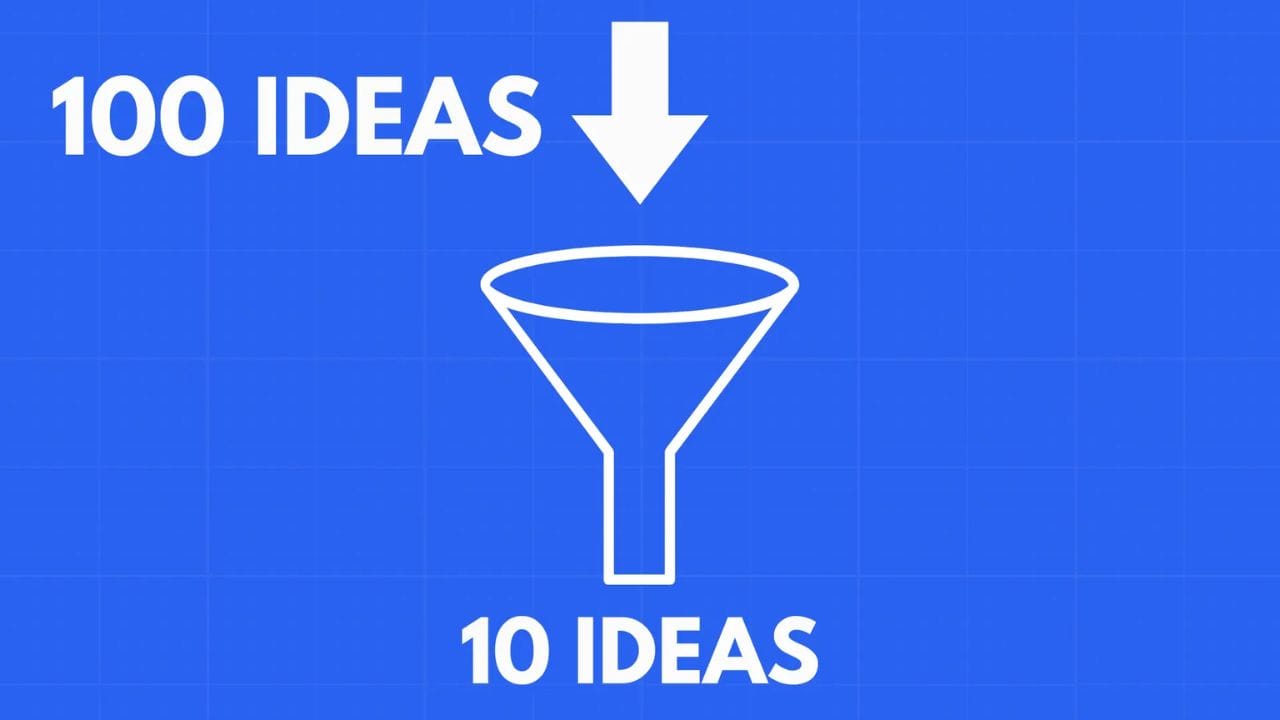
Now, once you have them all written down either on paper or a google doc, it’s time to filter those through an elimination criteria:
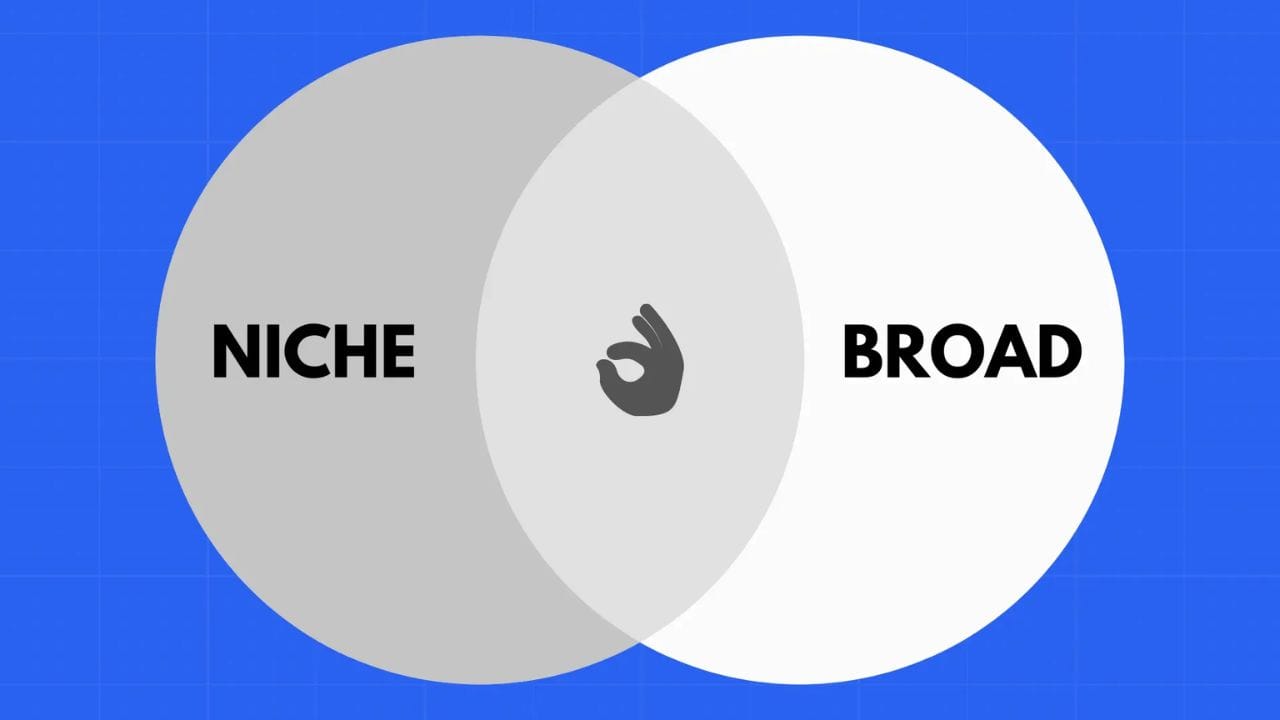
- Is it interesting to a niche and broader audience?Although we want to hone in on a certain group of people, we do not want to exclude the possibility of broader audiences being interested in our content. Think of ideas anyone inside and outside of the scope of your video can understand. For example, if you’re a dog trainer for a specific breed of dog. Create videos that can be both interesting to the owners of that bread and of other breads. If other audiences can enjoy our content, they are welcome to view it!
- Is it easy to convey in a title or thumbnail?The title and thumbnail is what catches the viewer's eyes and intrigues them to click on our video. If your title is about swimming in the biggest pool in the world, adding onto it an additional element would cause the viewer to be confused on what the video is about. It’s important that our idea is simple enough to convey that in one sentence and a single image.
- Does it combine a single or several formats together?When you looked on 1of10 for your next idea you already have a format that’s been proven to work if given the right conditions. But think, is there something else I can add to this concept? Perhaps a time constraint I could add, a twist I could incorporate, stakes I could include, etc.That way your content is unique and captivates the viewer with something they haven't seen before.
With the ideas that made it through the filter, you can now choose one and start production. Let’s talk about it!
Step 4: Titles & Thumbnails
What This Means
Titles and thumbnails work in tandem with one another. The thumbnail catches the viewer's eyes and the title promises the viewer what the video will be about. Perfecting one and not the other is like making the best pen in the world without paper to write on.
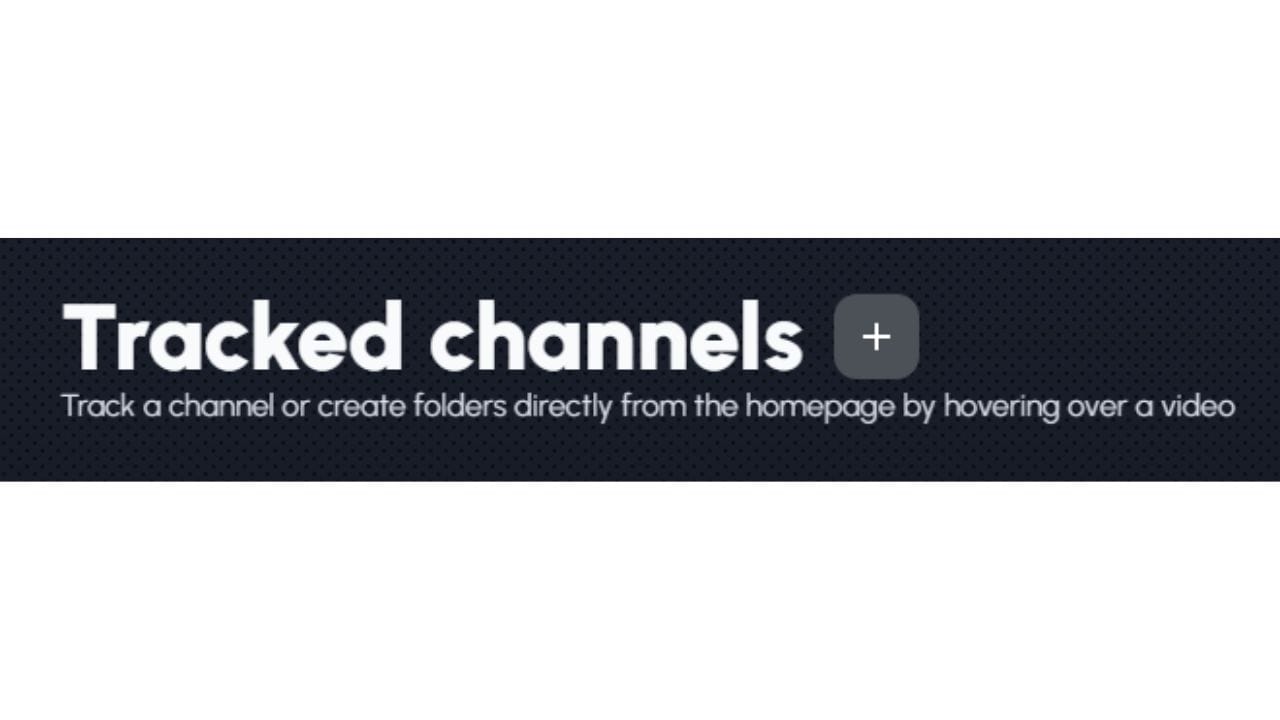
- First, list all competitors in your niche and add their channels to a tracked folder in 1of10.
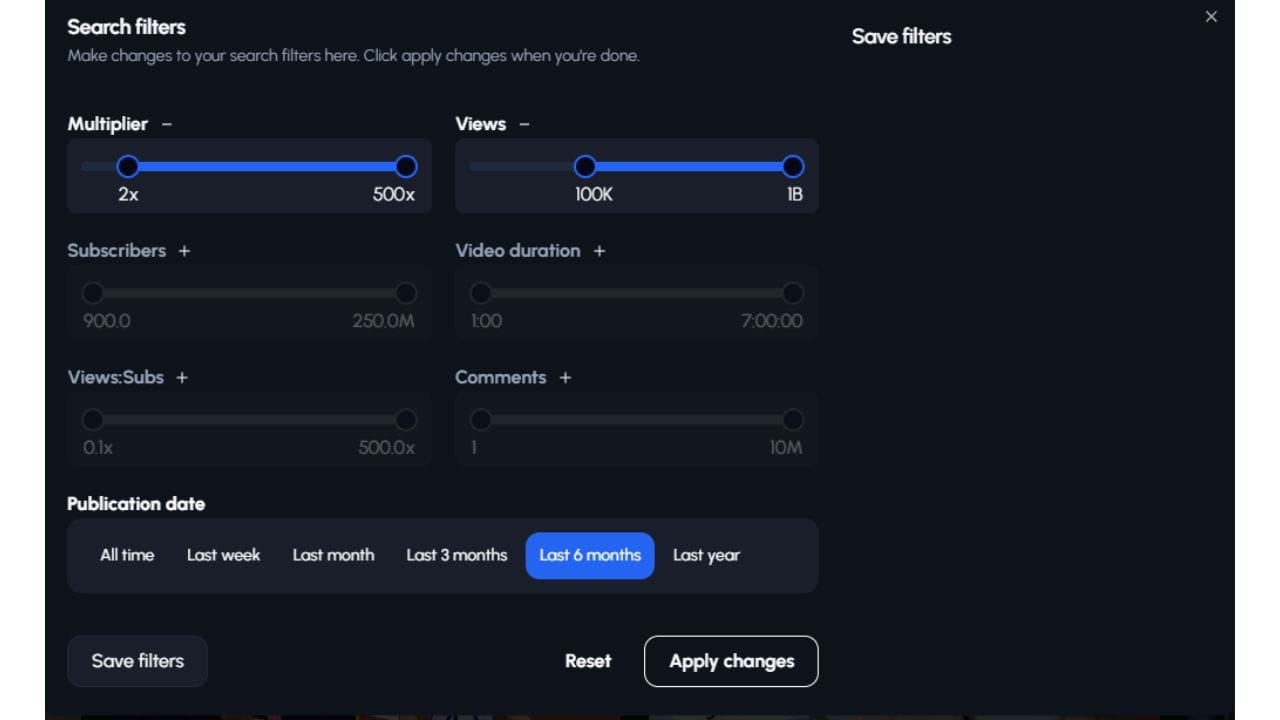
- Next, filter the folder to show only videos from the last 6 months with at least a 2x outlier score and over 100k views (these settings are not set in stone, please adjust if needed).
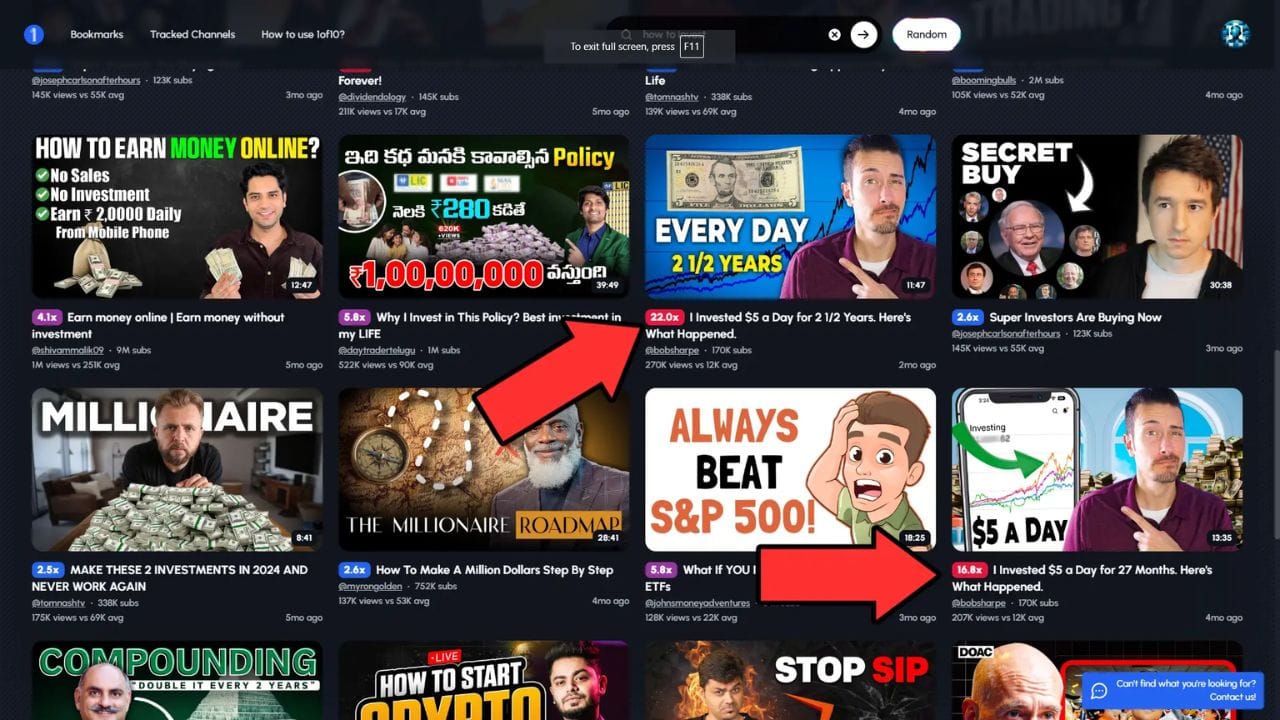
- Finally, identify patterns in thumbnails and titles to find a strong outlier format (the higher the score, the better)!
Step 5: Hook
What This Means
Before we get into the good stuff, note that writing is dependent on the niche and the creator.
If you’re in the minecraft manhunt niche for example, you’re expected to not script for those types of videos since they’re highly dependent on the unpredictability factor on yours and the audience end.
However, if you’re in the education niche you’d be expected to create a roadmap for what your audience will learn and a script or at least bullet points for you to not get out of topic.
While writing your script make sure to keep in mind who you are writing it for, your audience.
Think how’d they like it said and how’d they like the information or entertainment shown to them.
With that being said there’s three main elements in a good video script:
Hook
The first 10-30 seconds of your video. The hook is to grab the viewer's attention and reassure the viewer they made the right choice by clicking on your video.To begin the creation of your hook you want to begin with a sentence that peaks the viewer's interest. For example, “I’m about to expose everything there is about story structure in this video!”After that, briefly mention the steps, keys, or strategies you’ll share to get to their desired goal.For example, “We’ll discuss how to create engaging hooks, portraying value efficiently, and masterful Call-to-actions.”Finally, flow into the value portion of your video where you give the audience the information or entertainment they were promised in the title and thumbnail.For example, “Take notes if you need to because you can't write a good story without first nailing the hook...”
Step 6: Value
What This Means
George Blackman, who has worked with people like Ali Abdaal, was interviewed on our 1of10 podcast. You can listen to it here: (link).
George mentioned his ‘retention checklist’ he uses to guarantee viewers don’t click off on his videos. He usually charges for this kind of valuable information, but I’m sure he won’t mind if we share a it with you:
- Progression - Does the viewer feel like they’re progressing towards their desired outcome.
- Payoffs - Think of it like a cartoon: a hunter would bait his kill with crumbs to lead to its impending doom. The same is with your viewers, you want to leave crumbs of payoffs to eventually lead to the big pay off at the end of your video.
- Repetition - Make sure you’re not repeating yourself or showing the same thing after you’ve already shown it.
- Clarity - Make sure what you say is clear and easy for the viewer to understand. Avoid using confusing terms, and don’t give too much unnecessary detail.
Step 7: CTA
What This Means
A CTA can be as simple as asking someone to subscribe or buy your high ticket product. Nonetheless they work the same.
It needs to flow properly (not abruptly stopping the video),what it is, how it can benefit the viewer, and create a sense of curiosity that keeps them engaged and thinking.
But when should you ask? The end? The middle?
The best time to ask is after you've provided value and made them feel like there's more to come in the rest of the video. That way although you're telling the viewer to do something they may not have thought or want to do, they feel obligated to since you satisfied them.
The last thing to note about CTA’s is that they can be as short as you want, however the longer and more you ask, the obligation they may have felt will begin to turn into a bitter taste towards not just your content but you as a whole.
PS: If you want to learn more about storytelling we have a whole podcast going over the hero’s journey and how he helped get 1M views in 7 days. Click here if you’re interested: (link)
Step 8: Video Editing
What This Means
Now, it’s time to record and edit!
With the quality of technology we have around us on a daily basis it’s almost impossible to not have the right equipment to record quality content.
You can use your phone, laptop, and even some fridges out there!
For video editing there are many options online both free and paid but DaVinci Resolve (Free) and Premiere Pro are the two that YouTubers swear on. DaVinci Resolve (Free) is perfect if you want powerful editing tools at no cost, and it's perfect for learning the basics of video editing. On the other hand, Premiere Pro is a top choice if you're willing to invest a bit of money for advanced features and professional-quality results. Both programs are excellent, so it really depends on what you're looking for and how much you're ready to spend.
Rules for editing are different for every niche.
If you’re MrBeast you prefer fast paced, high energy, loud music type of editing.
If you’re Casey Neistat you probably prefer a more authentic, professional style of editing.
And if you’re Sam Sulek you might prefer music and cuts only if there needs to be.
Find how the bigger creators in your niche edit and gain inspiration from them.
Step 9: Photo Editing
What This Means
The same goes for photo editing, CapCut and Photoshop are on top. CapCut is for the creator who doesn’t need too much, just enough to create an appealing thumbnail and upload it. Photoshop on the other hand has a lot more features you can mess around with. AI fill, content masking, advanced filters, etc. However, there is a big learning curve when it comes to Photoshop. It is not a software you can learn all the features of in a couple days.
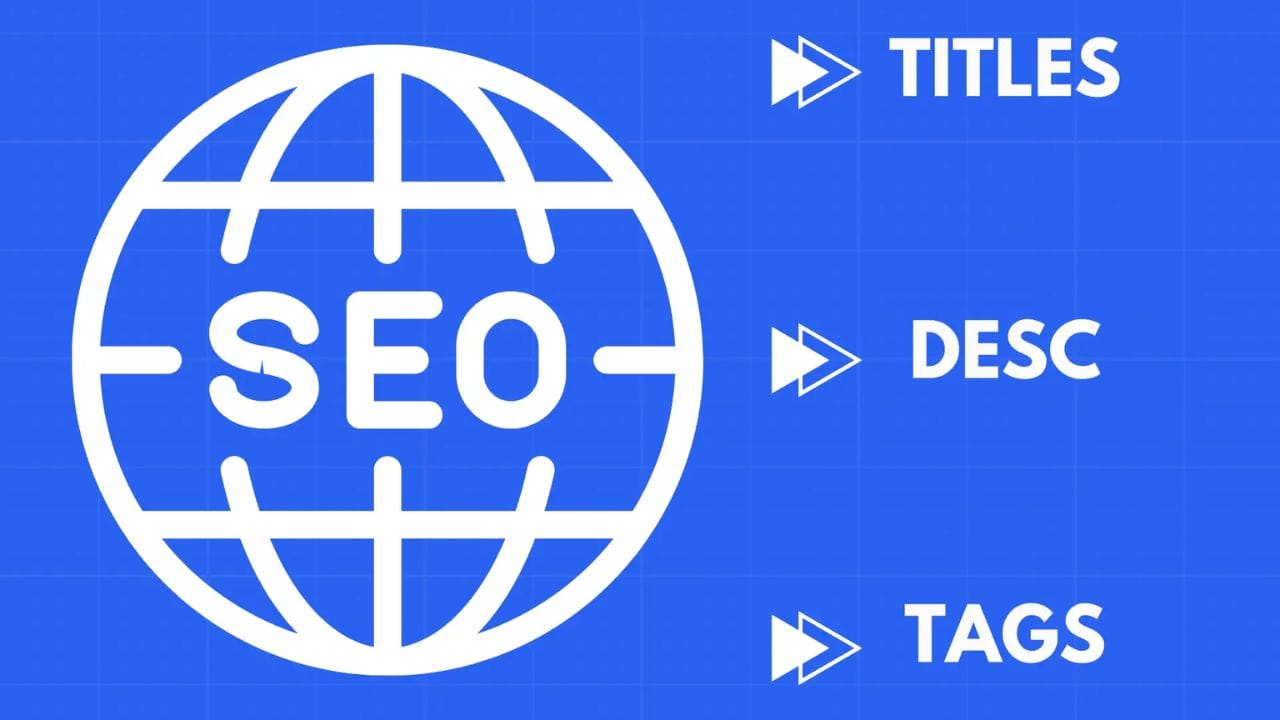
Step 10: SEO
What This Means
With everything said, you’re ready to upload your YouTube video!
But before you do let’s make sure you have your title, description and tags optimized for YouTube search.
Title
- Include primary keywords in your title, preferably the first word your viewer reads.
- Keep it under 50 characters. If your title is too long, YouTube will cut it off.
Description
- Focus on the first 150 characters. The first part of your description shows up in search results, so make sure it includes your main keywords and a quick summary of the video.
- Use keywords naturally, add your main keywords throughout the description, but make sure it still reads smoothly. Don’t stuff keywords in unnaturally.
- Finally, I’ve seen this too many times, especially when creators have it saved automatically, add links to your website, social media, or other related videos and double-check they work.
Tags
- Mix broad and specific tags. Use a combination of broad tags (like “YouTube SEO”) and specific tags (like “how to optimize YouTube titles”) to cover different aspects of your video.
- Don’t overuse certain tags. You can use up to 500 characters for tags, but don’t go overboard. Stick to 10-15 tags that are most relevant to your video.
- Avoid irrelevant tags. Only include tags appropriate to the video.
Here’s an example, for a video about YouTube SEO, your tags might include:
- YouTube SEO
- How to rank YouTube videos
- Optimize YouTube title
- YouTube description tips
- Increase YouTube views
Phew! We've gone over a lot in this guide. Whether you're new to making videos or already have experience, you've picked up some important tools and strategies to help you create successful YouTube videos.
You can learn more about the 1of10 tool or download our free Chrome extension.